"fabric"

Morning Make 2023 - Collage Portraits

Up first in my portrait making, aside from learning how to draw, was something I was just a bit familiar with. Back in 2017 I took a class with Melissa Averinos on making faces in fabric. I made one face, loved the process, developed some grand ideas, then promptly did nothing about them. Needless to say, that’s why I chose to start with this technique. Also, I was using her book to learn the drawing basics so it was a natural extension.

In the book Melissa walks us through the basics of anatomy and shape. She outlines many ways your can interpret this with fabric, then encourages you to go for it. It’s all so very approachable. She also has tonnes of examples. You can see the myriad ways people, her students, took to the portraits. You also get to see a big selection of her own work. It is all inspiring.

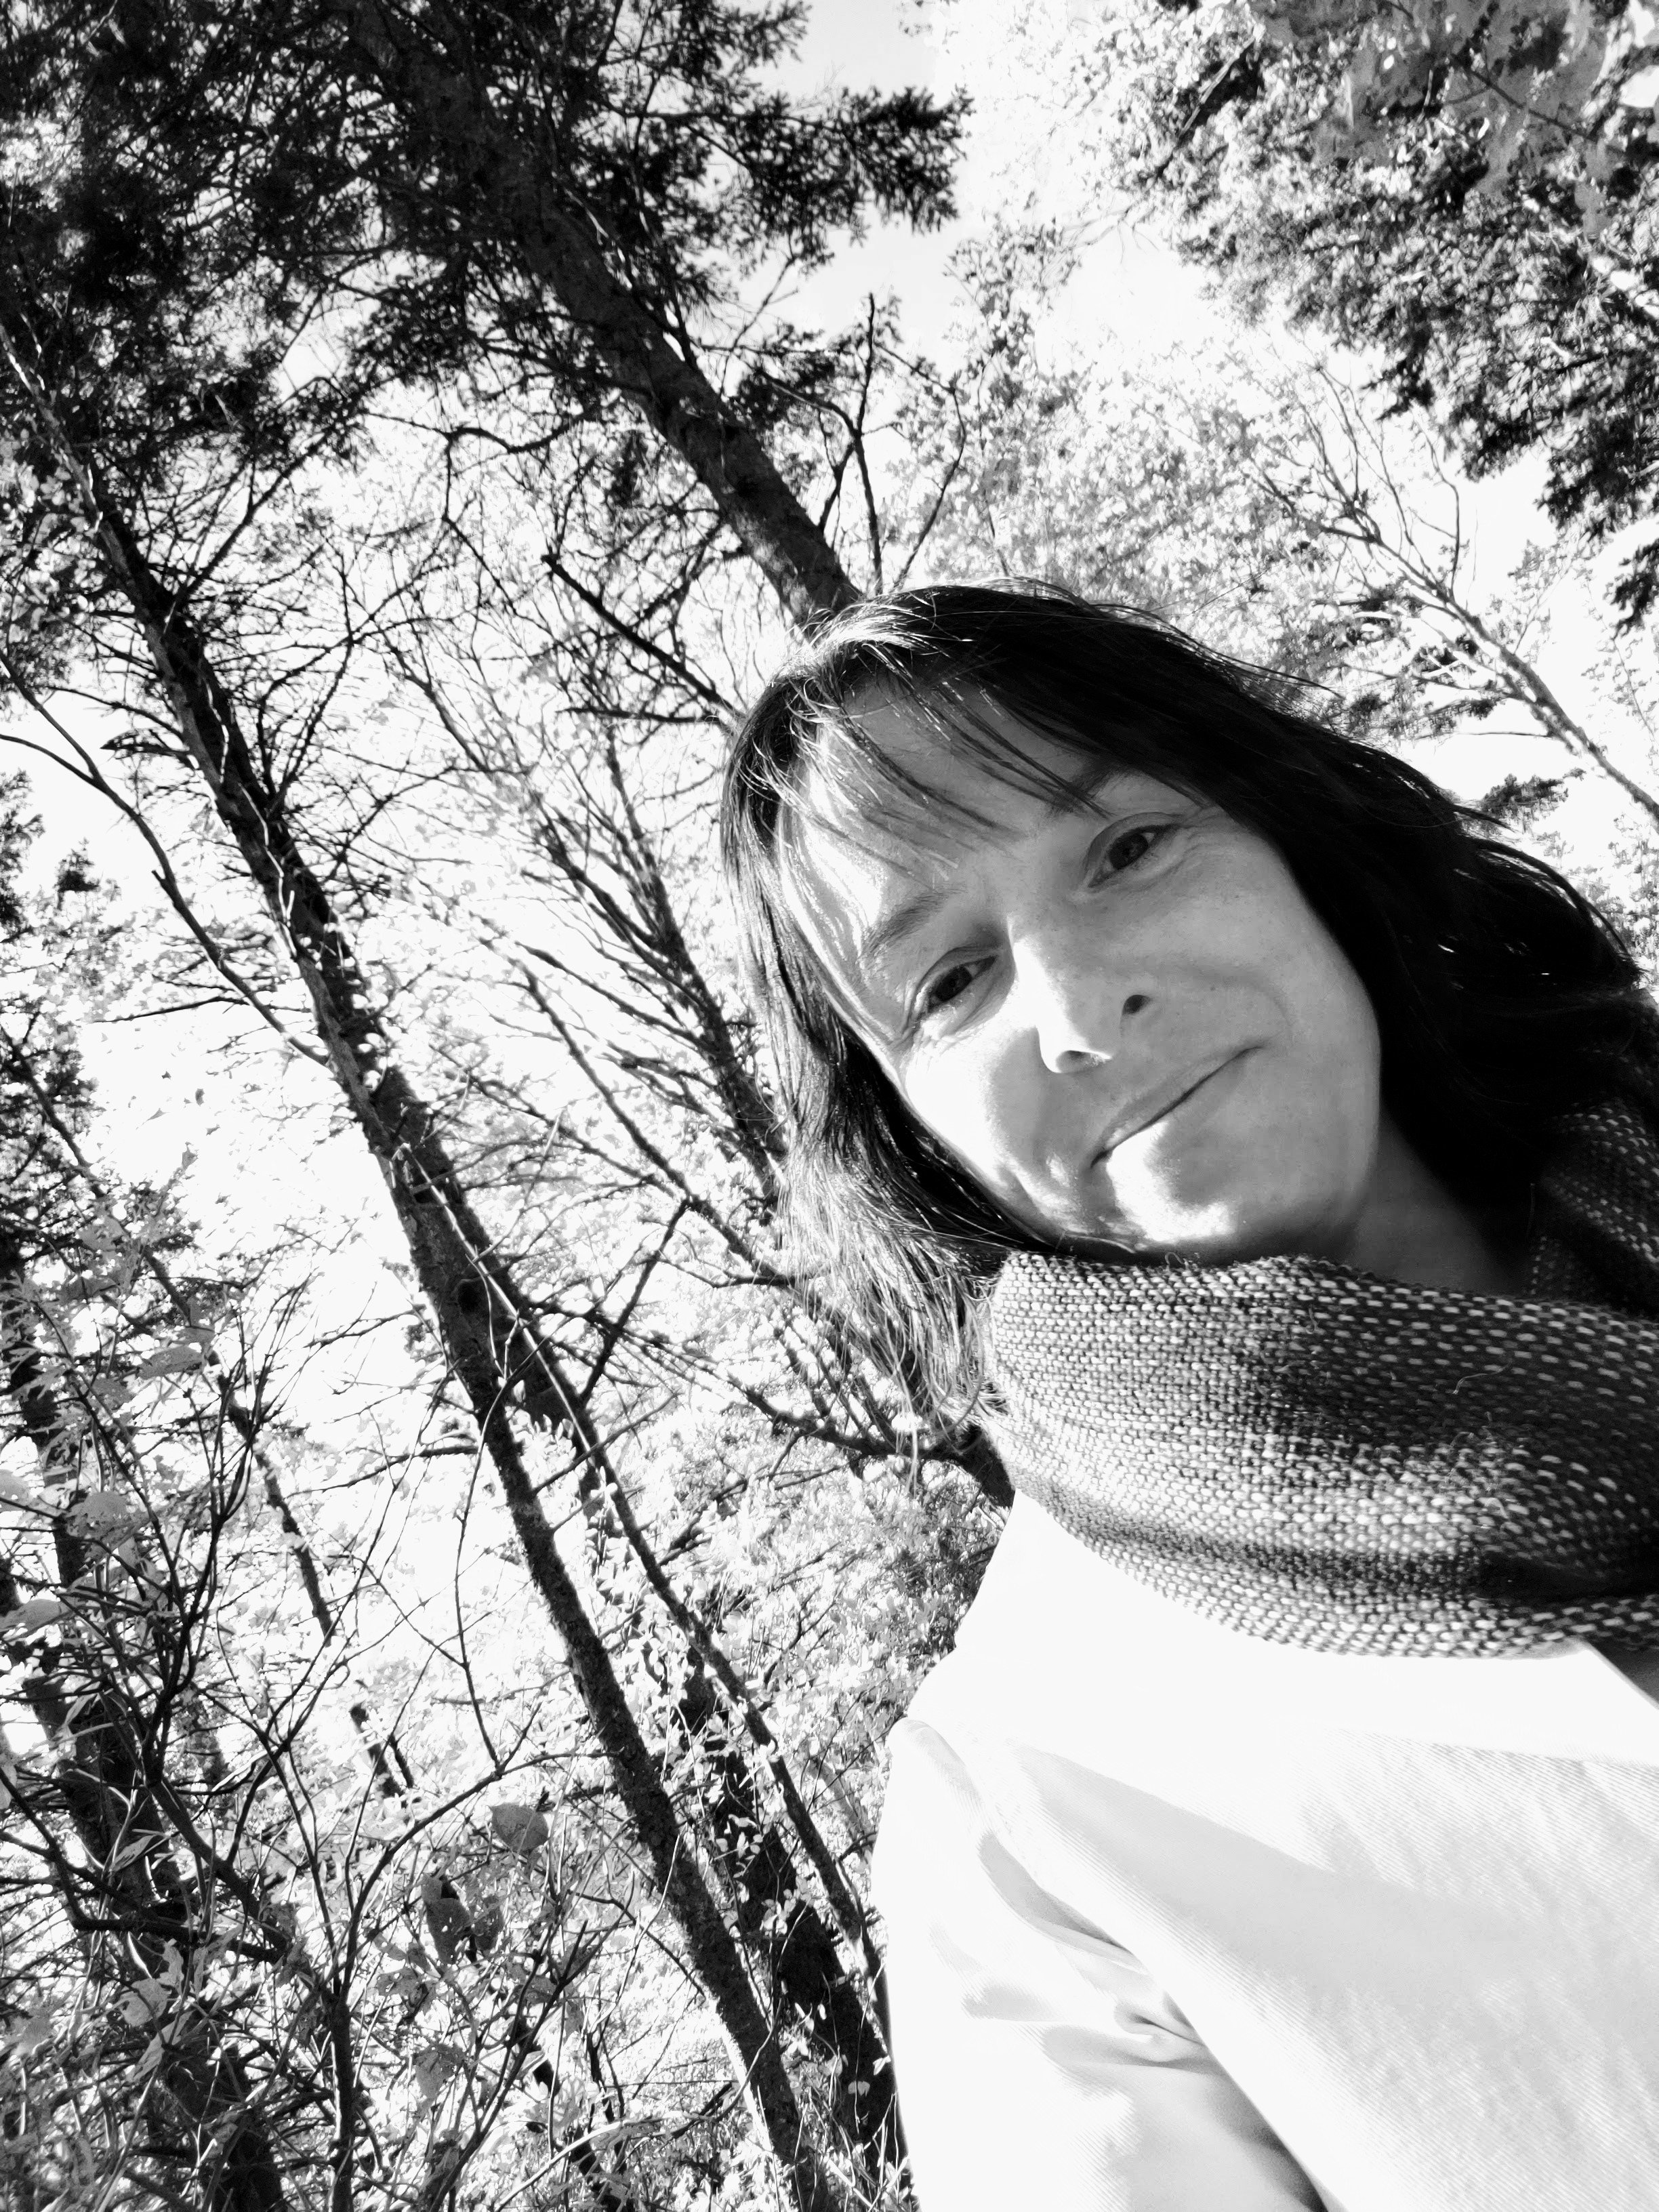
The first photo I took to interpret in fabric was my headshot, the main photo on the homepage here. I found it an interesting challenge because it is hard for me to convey depth in the collage. It’s obvious in the photo but in the collage the shoulders look a little off. But can we take a moment to celebrate my hair?! She is quilted with a million thread colours and stops and starts, providing texture and depth.

The second collage portrait I did was in black and white. I took a colour photo from when I was visiting Lucy Maud Montgomery’s house in PEI. I was just to happy on that entire trip and it shows in the original photo. I think the collage does not quite show that. In fact, it feels a bit skeletal to me. That being said, I still really like it. I played with being a bit more abstract in shapes and with value. To soften the whole thing I used a pale pink thread for quilting.

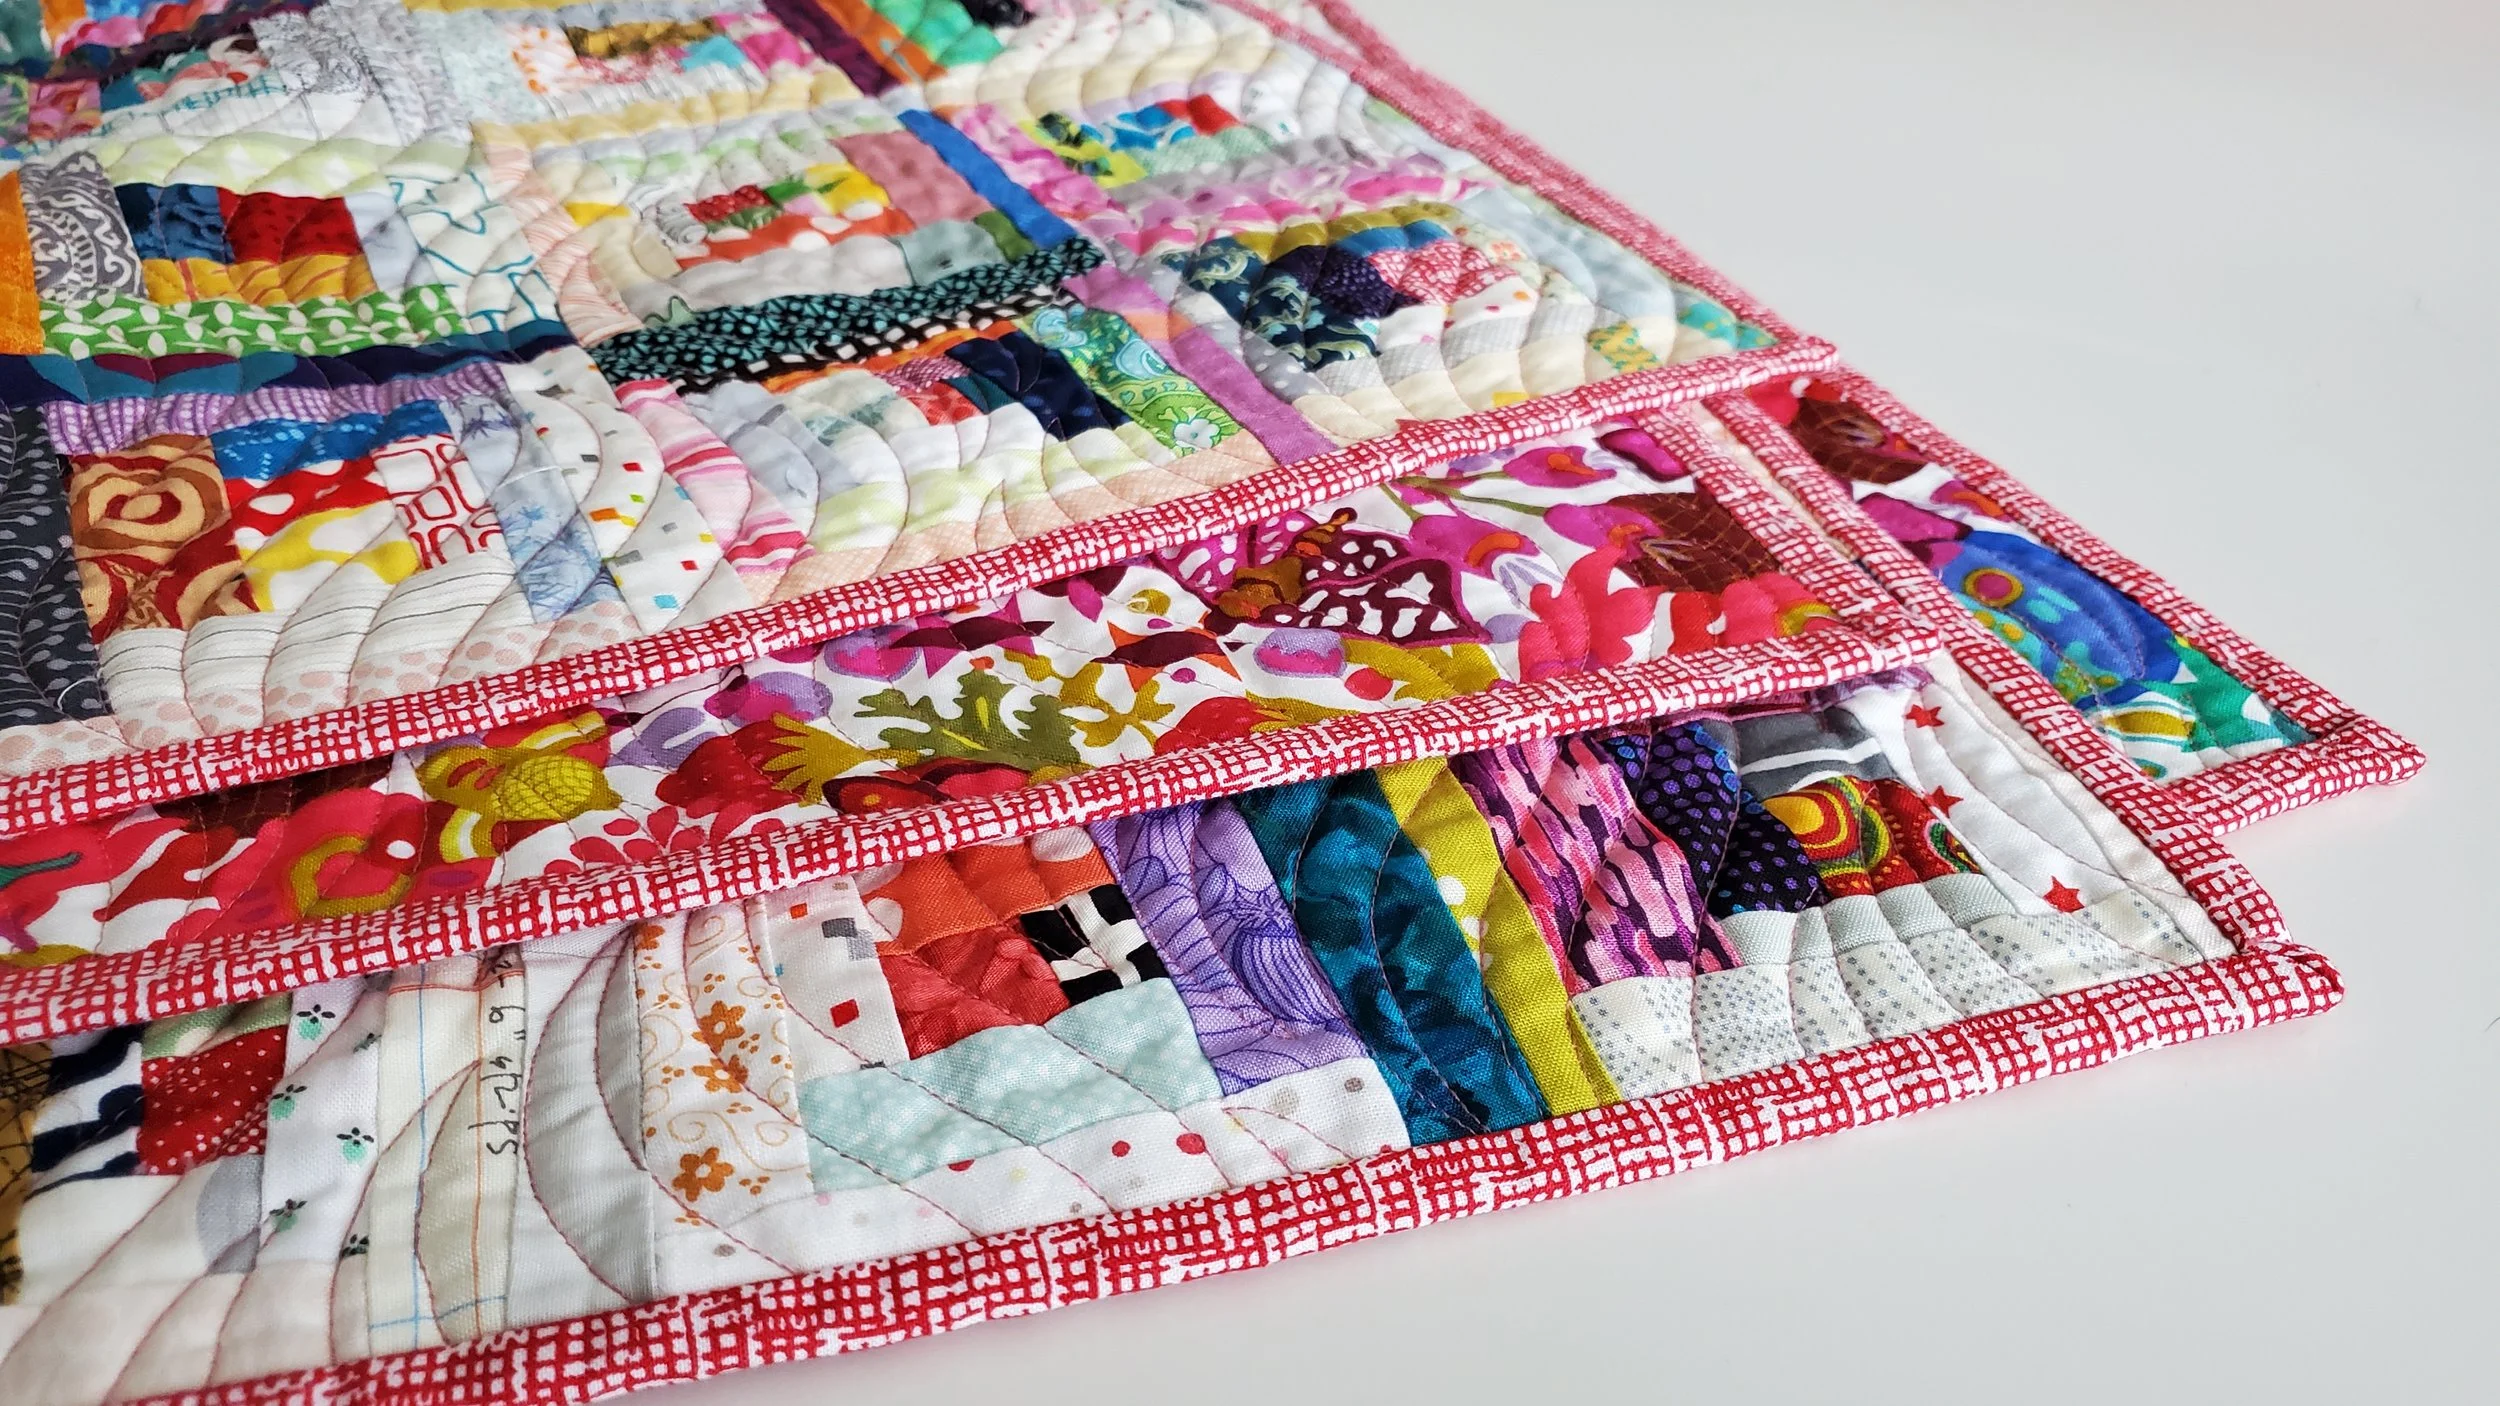
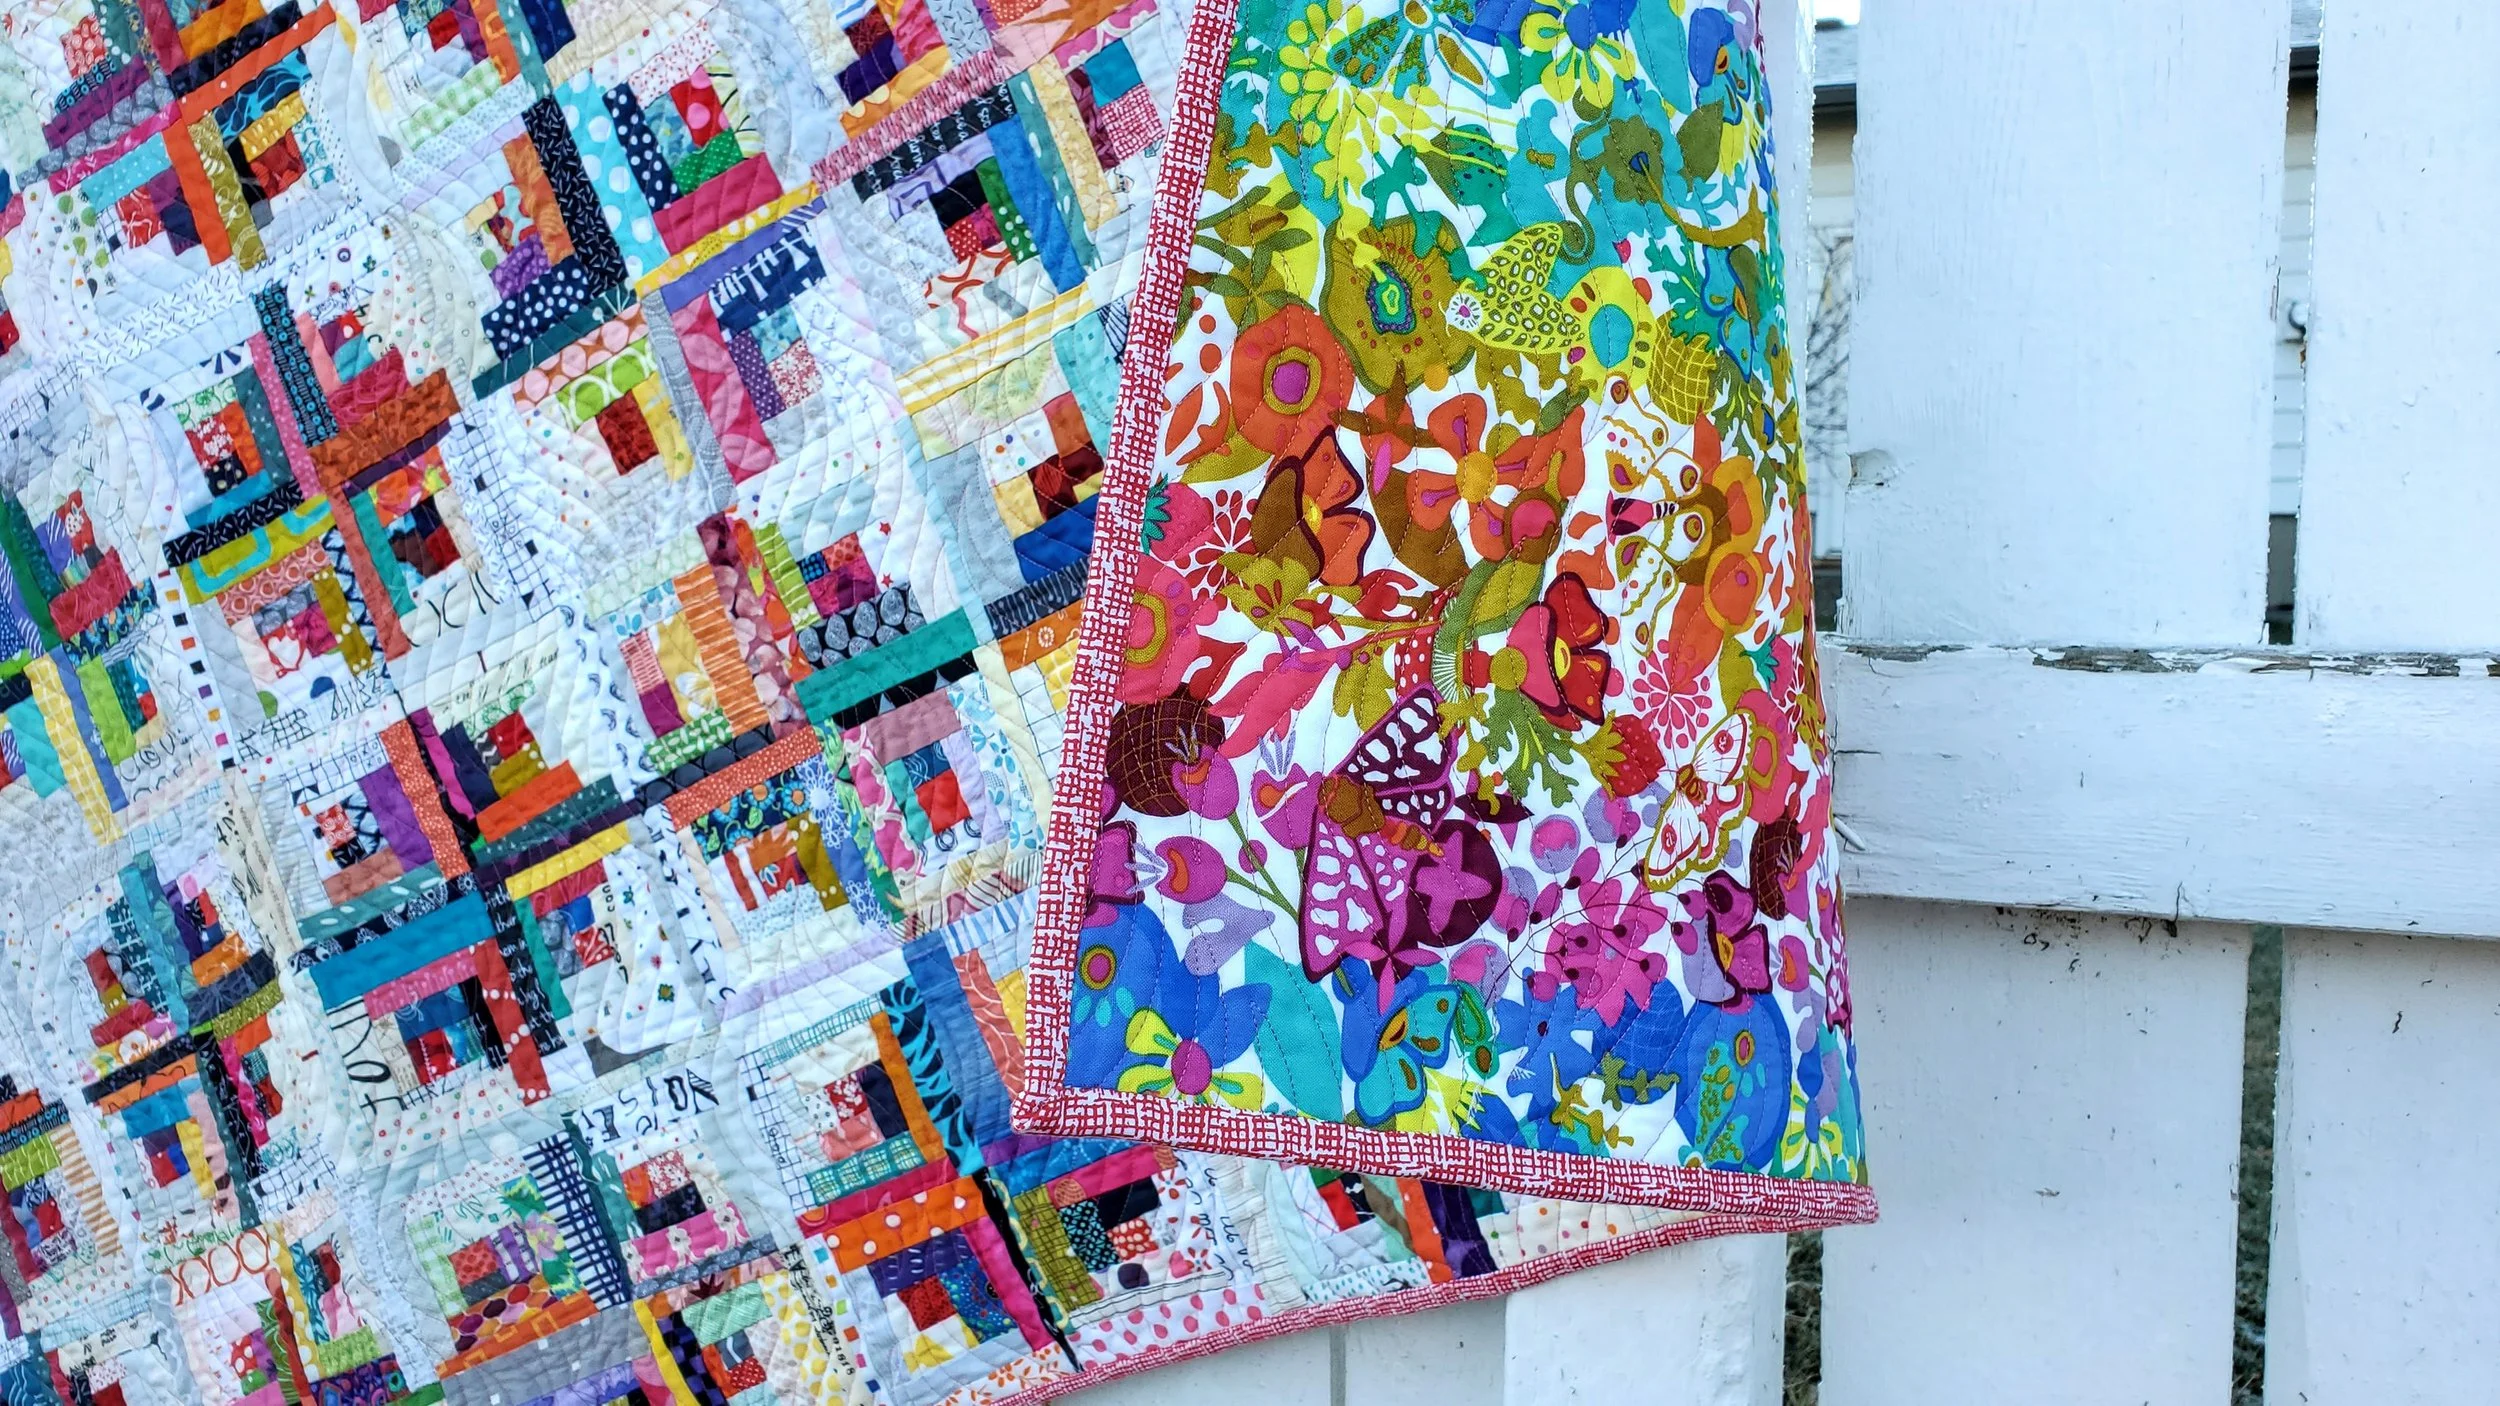
To finish both quilts I did give them a quick soak and blocked them. They are small (less that 20” on any side) but had got a bit misshapen in handling. This roughed up the fabric and I discovered places I hadn’t quilted as well. A few repairs with both glue and the sewing machine were needed. Then the mini quilts are bound with a single fold binding in a black on black print. I decided to be consistent among all my self portraits with binding and treated it like a picture frame.

These quilts were an excellent first start to this Morning Make adventure. Fundamentally, I am a quilter so fabric portraits are the way to go for me. Will I make more fabric collages? I’m not sure. the technique is freeing and effective, yes, but I don’t love the roughness of the raw edges. You do get ultimate freedom in cutting your collage though. I think this is a great technique for play and it may instead stay in the repertoire for that reason, even if I don’t make another full portrait quilt with it.

Noelle

Noelle

72” x 72”

I’m either really late finishing a Christmas quilt or really early for next year. Let’s go with the latter, shall we?

This quilt was started in the Quilters’ Playcation Cut Sew Repeat Party in December. It’s such a quick way to make a quilt top that I had it done a few days later. With a long arm appointment already booked I decided to go ahead and finish her quickly.

Close up of the wavy line quilting on a a white, aqua, green, pink, and gold Christmas quilt

It was a quick make, a fast quilt, and a quick finish. I still didn’t get it done before Christmas. It’s all good, I’m just ready for next year! I used a light turquoise thread for the quilting in freehand, wavy lines. It’s almost garland like.

The fabric all comes from the Alison Glass Holiday collection. Buying a single collection bundle is not my norm, but I’d picked this up early in the pandemic as an example for a stash class I was teaching. It is an unconventional holiday fabric and I love that. Using a single collection is a fantastic way to explore the Cut Sew Repeat Technique AND show off the fabric at the same time.

Close up of the coral fabric with random, tiny white dots on the quilt binding

When I finished quilting I took a quick look around My Sewing Room, where I was renting the long arm time, and found this coral fabric in the clearance section. What a find! I had been thinking hot pink but there are just enough hints of this coral in the multicolour prints of the collection that it worked perfectly. It was a lovely way to spend a few afternoons of winter finishing up the binding by hand.

The Cut Sew Repeat Party is returning on March 18. I’ll have a different stack of fabric, but the same great fun ready for you. Even if you attended the Party last time, we will have new treats and tips to explore as we play with our fabric. You can register here.

Linda - September Morning Make 2022

Linda

79” x 72”

Linda is a force to be reckoned with. A retired educator she may be seen as not much to society now but she still brings joy to people and holds the world together for her family. The matters. She matters. She knows pain and joy, she struggled and fought but is coming out better for it. And now, as a grandmother she gets to see her children blossom more and those babies bring light to all.

This quilt came together in the month of September. Each day started with a scrap of batting and a handful of scrap strips. Trying to avoid a log cabin I sewed the strips to the batting one at a time. When the batting was covered I added a backing piece and quilted lines over it all. Sometimes straight, sometimes curved, sometimes on the diagonal. Then I trimmed it square. Repeat the next day. Essentially, I was making mini quilts, without the binding.

The technique is known as quilt as you go. There are actually a few different ways to approach the technique and, more importantly, how to approach attaching each piece to the others. Before I started I did some research and landed on the way that Marianne Haak teaches. I liked hers because I could quilt to the edge, rather than have to stop, and the joining method would use more strips. For my particular intentions this was perfect. I joined pieces every few days so it would keep me on track for a totally finished quilt at the end of the month.

Back of a quilt as you go quilt showing the various grey fabric squares joint together by strips.

You can see the back of the quilt here. Initially, I used the large scale print fabric. It is one from my 2017 collection with Connecting Threads called Tag. Unfortunately, I ran out of what I had left partway through the quilt so I had to back half the blocks with something else. With a busy fabric you wouldn't likely see the joining strips. In the end, I rather like the effect of the two fabrics on the back.

Close up of the straight-line quilting and pale yellow binding on a scrappy quilt

One of the great things about this technique is no basting! You quilt each block as you finish piecing and none were big enough to even need a more than a few pins. Then, at the end of it you have a finished quilt and it didn’t take much longer than the regular piecing. Brilliant! So all I had to do was pick the right binding and stitch it on. In the end, I chose this great pale yellow print from Heather Givens from Crimson Tate.

I used all scrap strips to make this quilt. I deliberately chose not to use blacks, dark greys, dark blues, or any muddy colours. As a result, the quilt is bright and sunny. It certainly made a dent in the strip bin, but I could easily make more quilts this same way. Indeed, I have a few more ideas for playing with this quilt as you go technique. It’s a win win situation too because I have a whole pile of scrap batting!

pastel scrappy quilt hanging off a forklift in a mostly empty workshop

All the photos taken in the space that will become both our family business’ new workshop and my new quilting studio.

Gremlins

80” x 80”

Named because scraps, like gremlins, multiple at night.

If I’d started this project thinking I was going to make 400 4 1/2” log cabin blocks I never would have started. Thankfully, I started with a bit of play; just seeing if I could use a pile of skinny scraps in an easy and useful way. One block, then another, and another. Indeed, the pile came from the trimmings from yet another scrap quilt. The scraps truly never end!

As I was binding the quilt I kept examining the blocks, looking for memories. You know what I mean - oh, this fabric is from that quilt, and this from that one! The truth is, though, so many of the fabrics I use find their way into multiple quilts. That is that whole scrappy look I seem to be known for. Needless to say, I couldn’t find a single block where I could identify each previous use of all the fabrics. Even the binding was leftover from a previous project. (Only it that case it was the background material, not the binding.)

My plan was to get my friend Phil to baste the quilt for me. I wasn’t keen on wrangling the pins through all those little pieces. I changed my mind on her front steps though. She does lovely panto work and I really just wanted this quilt done. A dense panto called Time Warp done in pink thread provided amazing texture and stability to all these pieces without overwhelming the value work of the block placement.

Months ago I grabbed yardage of this amazing Allison Glass print for the back. I didn’t have quite enough to match the print when piecing the back but it is so busy that only I (and now you) will know. Such a perfect compliment to the scrap goodness of the front.

To end, I want to share a little unknown fact about scrap quilts: they are heavy. Because you are using smaller bits of fabric than most of us sew with and you are using a lot of it to make a functional quilt, the extra weight of the fabric in the seam allowances adds up. That added weight to the quilt is glorious. You don’t need a weighted blanket if you have a great scrap quilt!