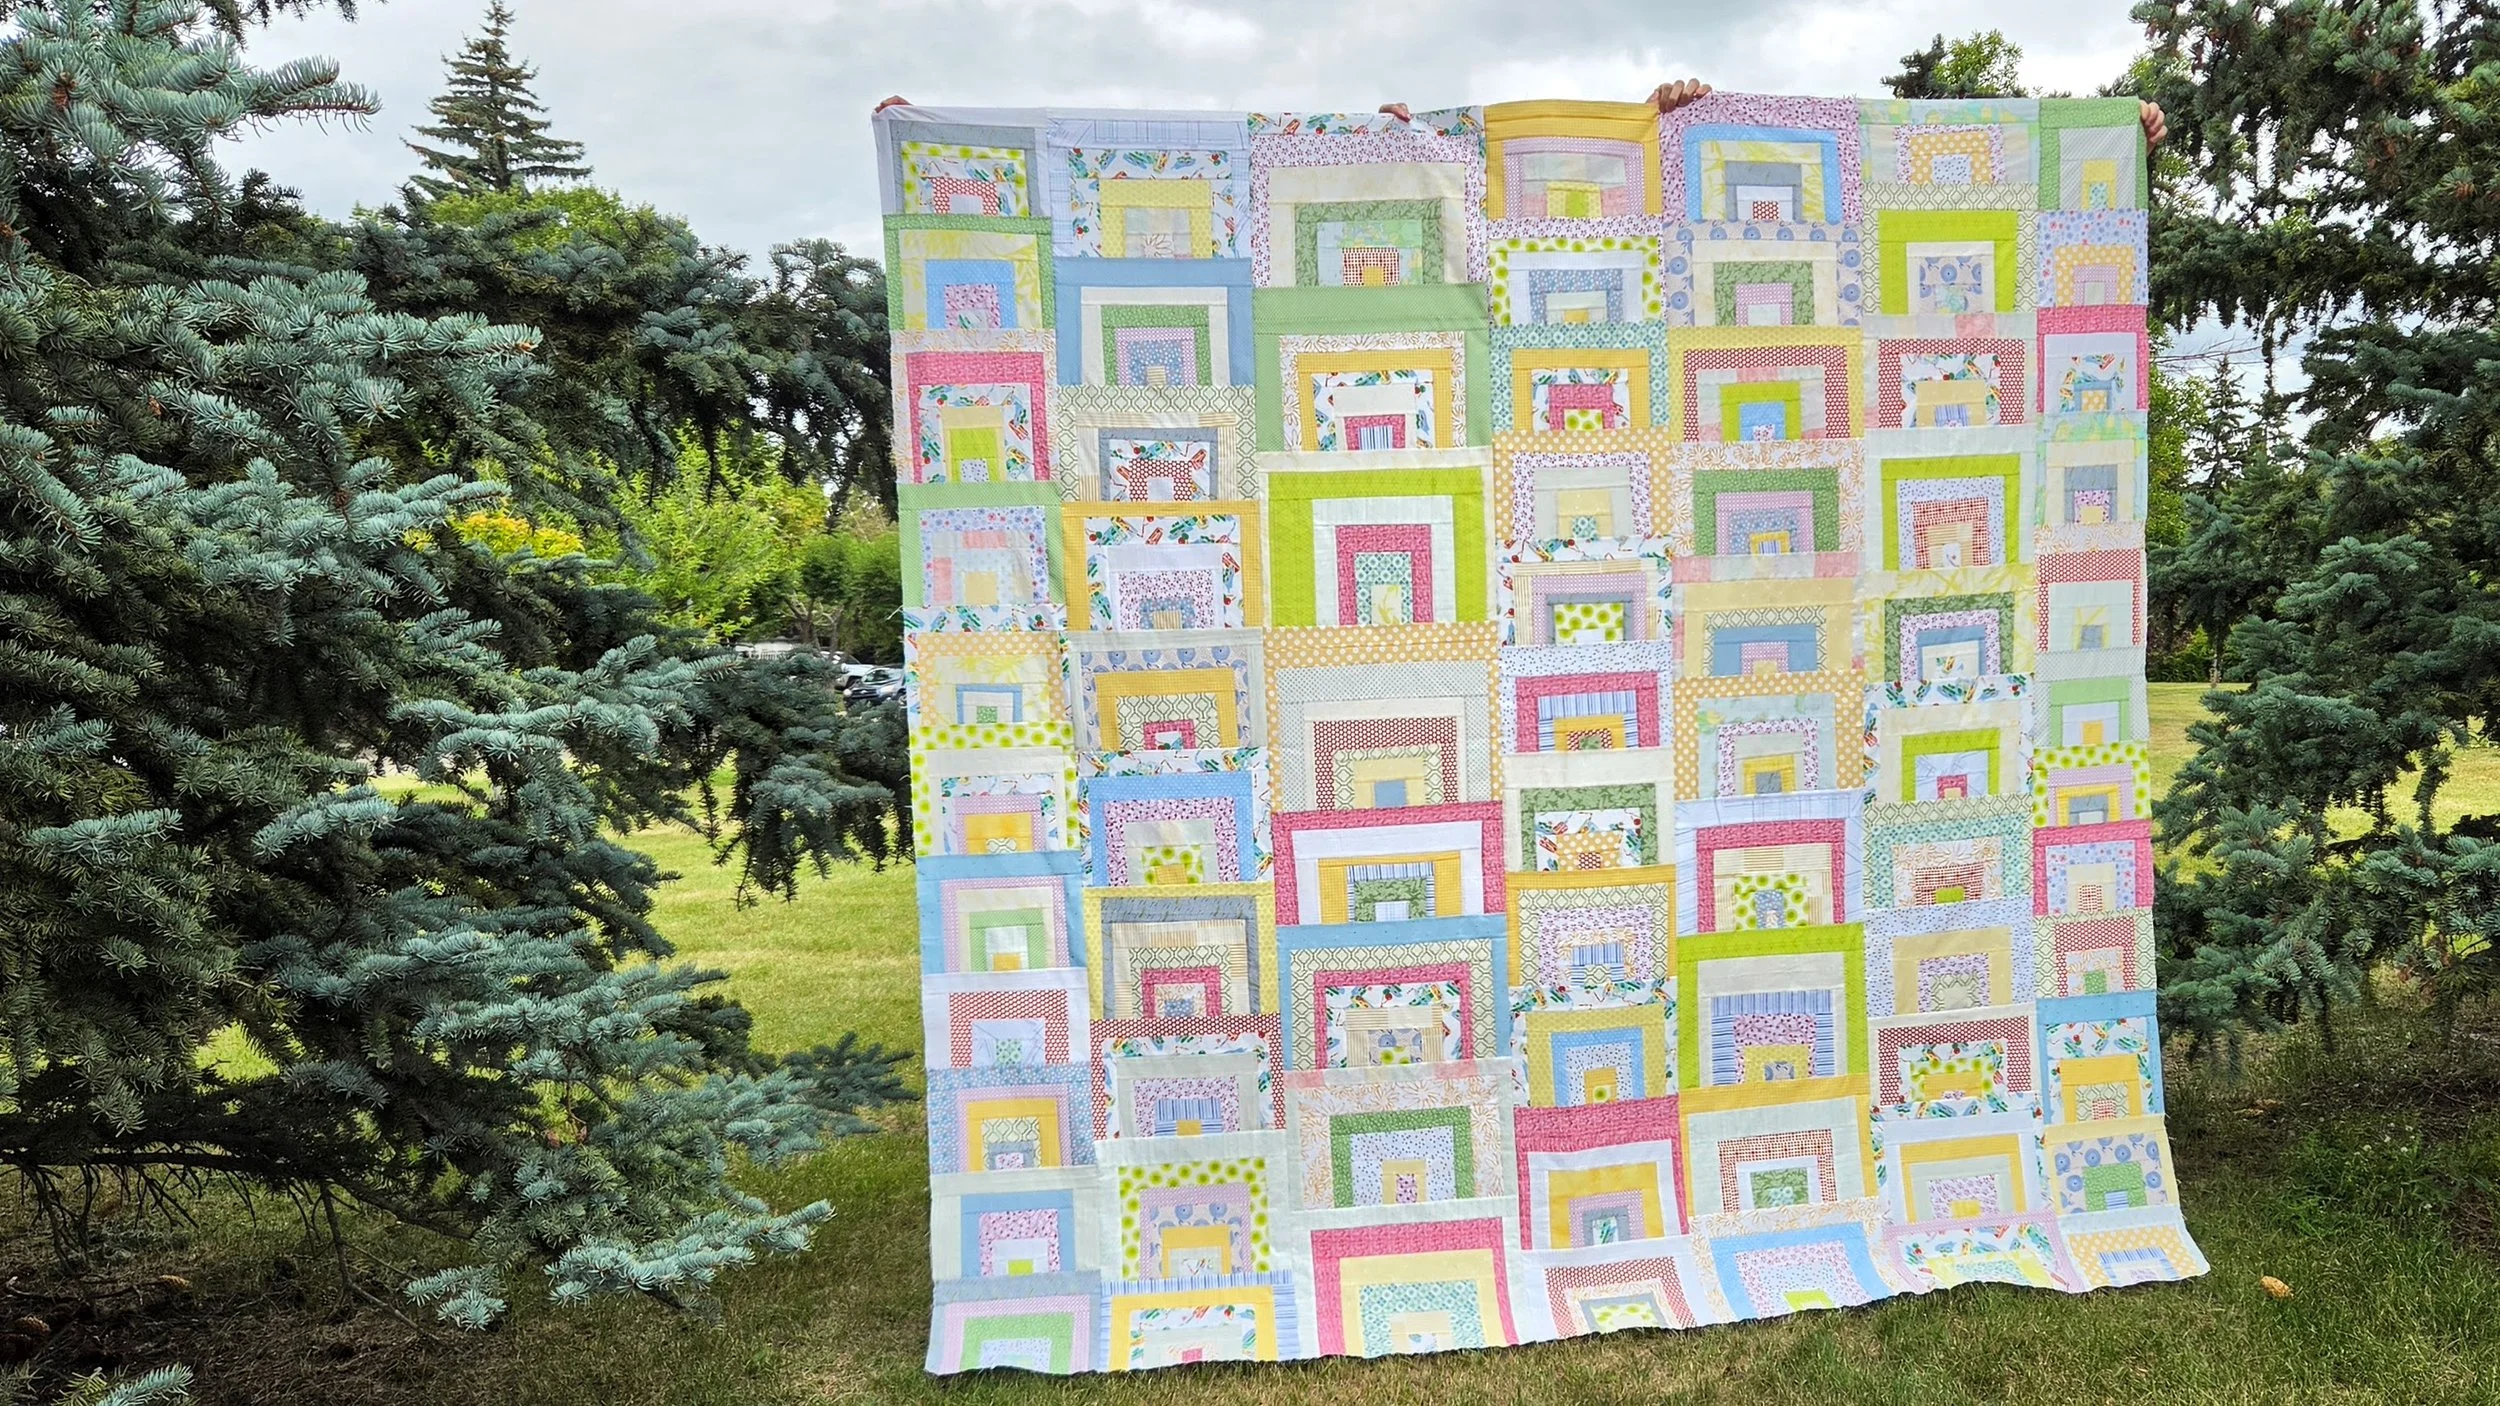
Quinn - An Improv and Quilt As You Go Experiment

Quinn

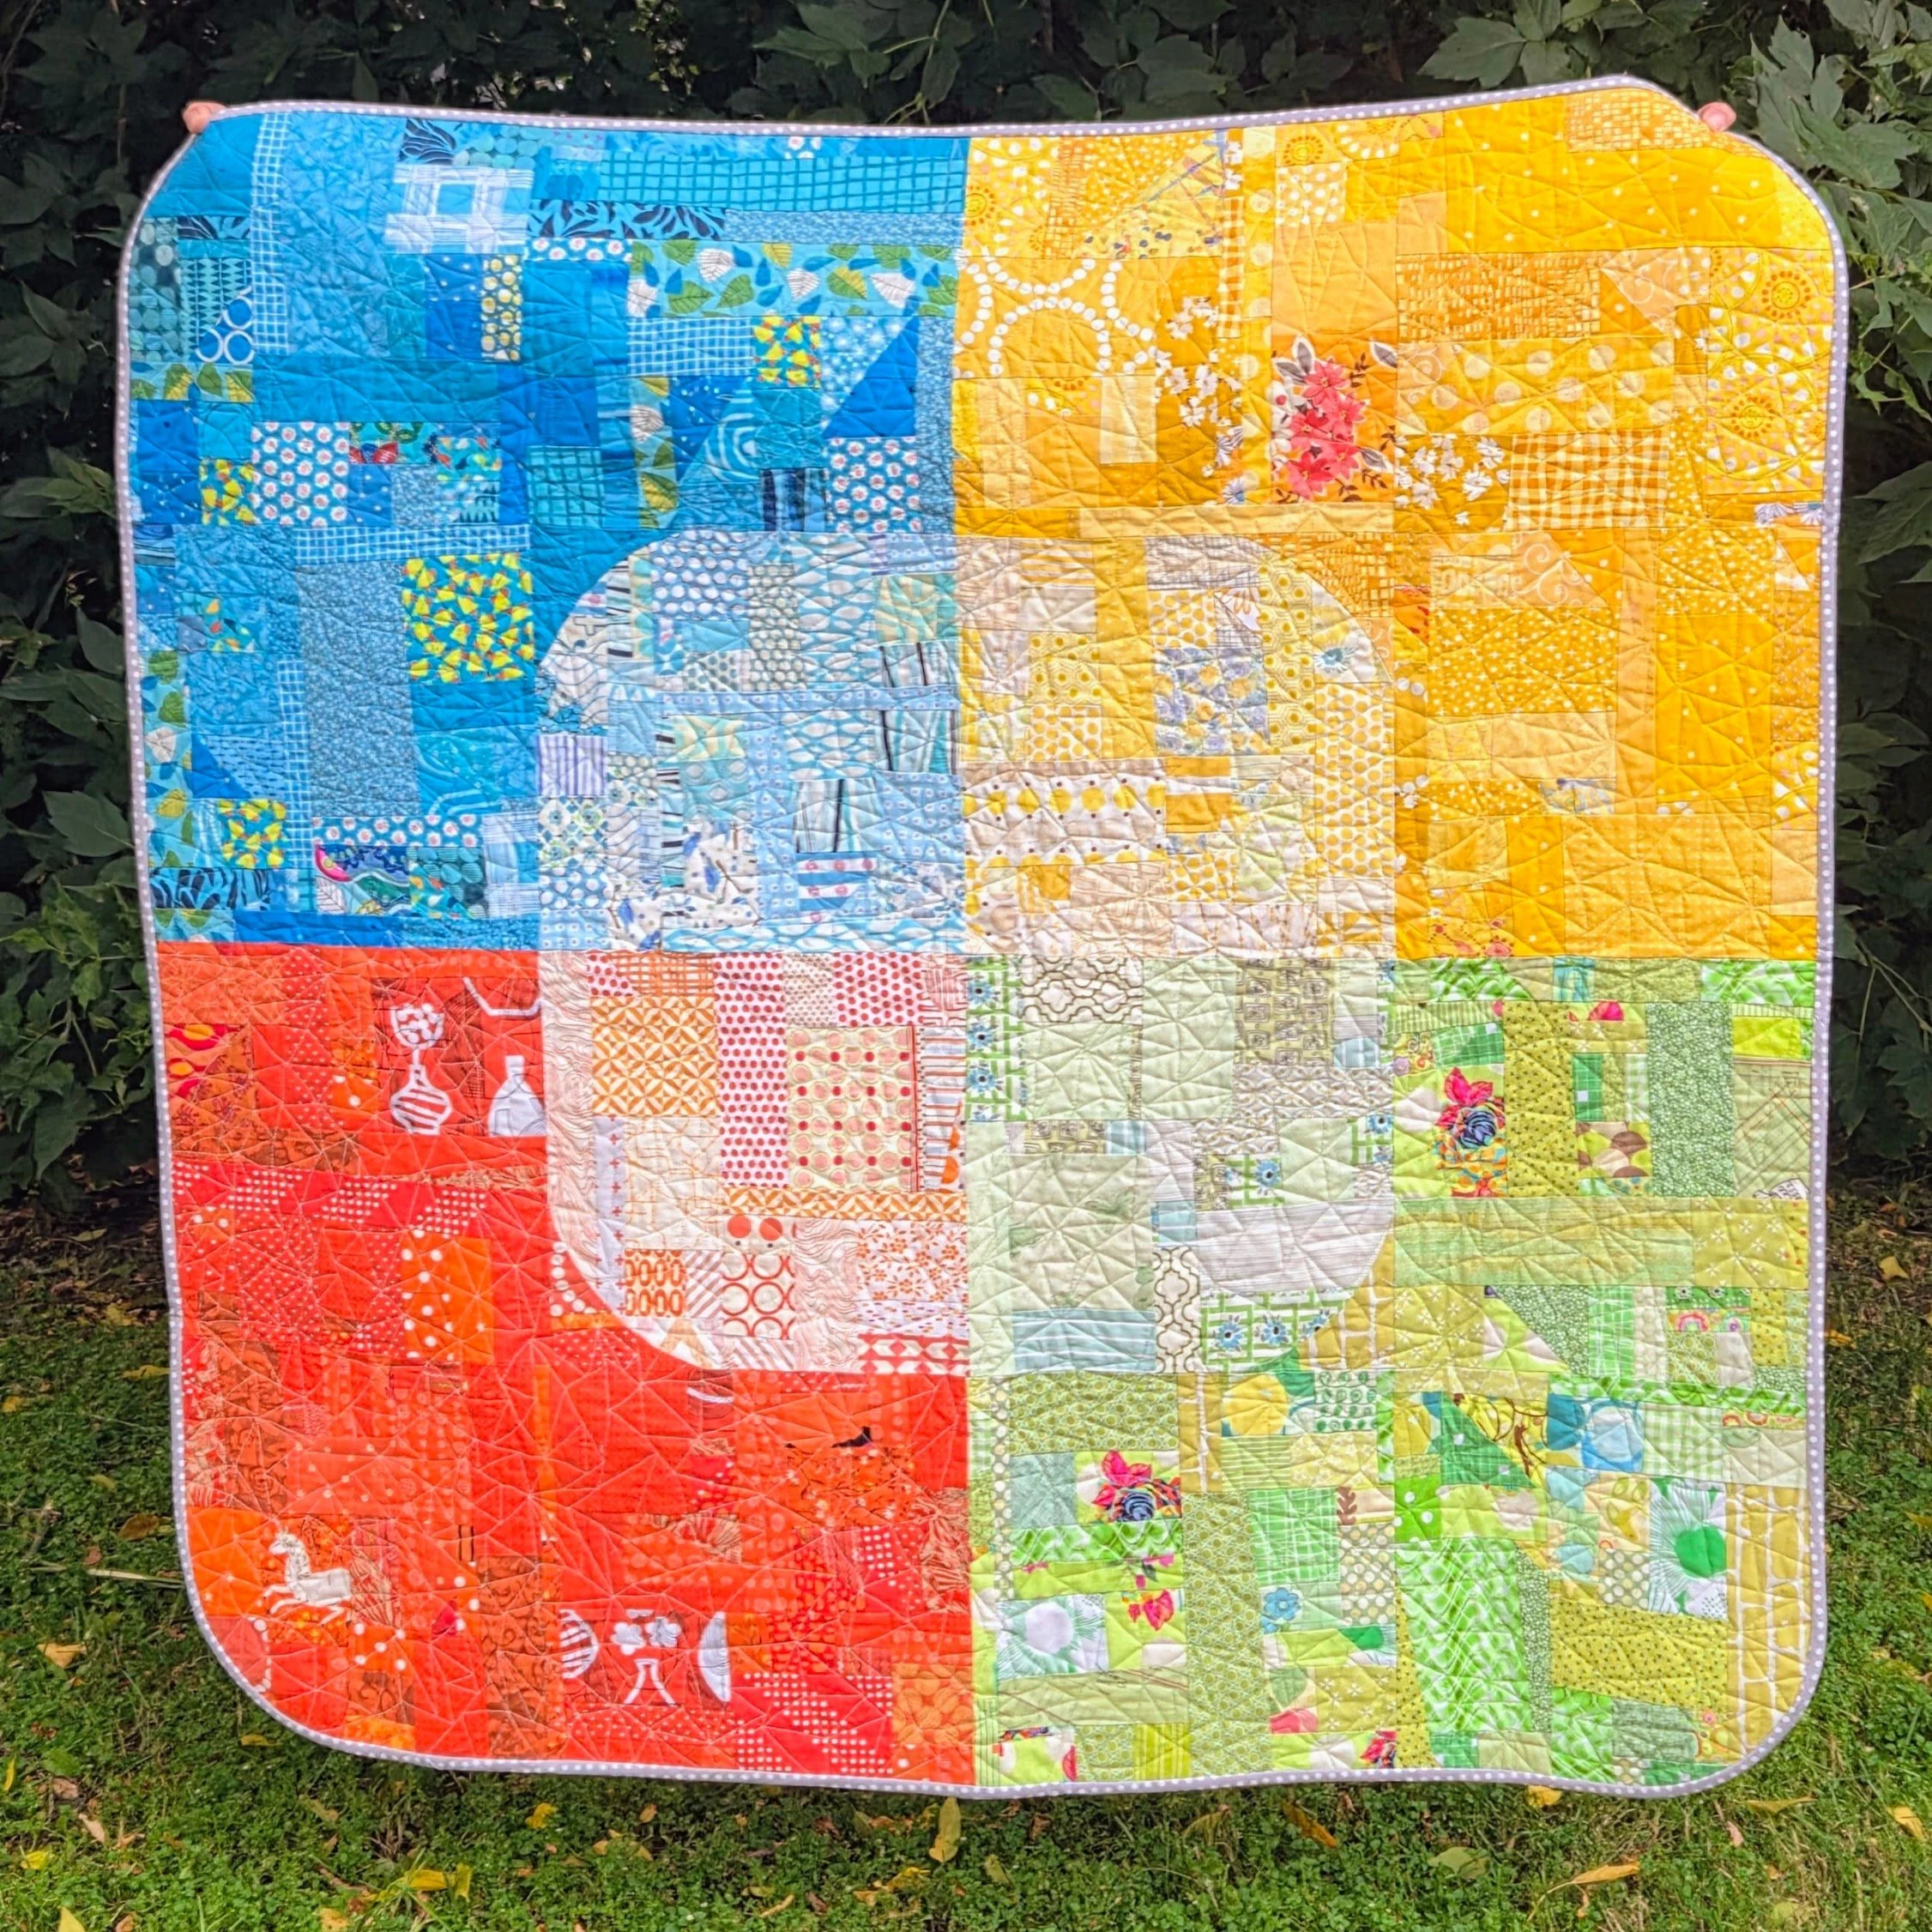
72” x 72”

She’s quiet on the outside but inside she is full of energy and desire. You wouldn’t know it, but she is a lover of dance and travel and experimentation. She only needs a fellow warm heart to open her up, then all the colour and joy pour out.

You’ve heard me say before that I am easily swayed by suggestion. I was teaching my Braided Rug class and someone asked about a square block. My samples were all rectangles at the time. So we made a square together. I liked it so much I made more and more of them. Actually, I made 36 of them. And now, if I teach the class again I will need another sample!

The bin of scrap strips was not emptied, but this did put a dent in it. And it forced me to sort those fabrics! I did have to supplement with some fresh strips cut from the stash to get enough in a few colours. Remember, though, fabric is fabric.

Around the time I finished most of the blocks - I sewed each colour into a 4 patch as I completed each set - I cleaned up my batting scraps. The pile was unruly and large. That spurred a decision to assemble this in a Quilt As You Go style. It used up most of what was left of my old design wall (it was wrapped in quilt batting) and a few other pieces. Brilliant!

I want to do a proper comparison of the techniques, but here are my initial thoughts.

  1. It uses up more material on the quilt back. But only because my blocks were 24” square, which means more than a half of a width of fabric with an odd cut left over. That’s why I don’t have all the same fabric on the back, I didn’t have enough.

  2. It is very handy to quilt in smaller sections. I could change the thread colour to match and there is no wrangling of a large quilt.

  3. Assembly is both easy and fiddly. Just a straight seam joining the front seams, but trimming and hand sewing to finish the back.

  4. I don’t think it necessarily saves time, because of the hand stitching required, but not a bad technique overall.

This is not the first time I’ve done Quilt As You Go, but the previous time I used strips as joining, an entirely different technique. For this quilt I followed the instructions laid out my Judy Gauthier in her book, Quilt As You Go For Scrap Lovers.

To finish the quilt I found a brilliant Tula Pink stripe. Not exactly a rainbow, but it had all the same colours as my colourful quilt. Originally, I thought I might match the binding to each block, but this was too perfect. One last bit of hand stitching to finish the quilt.

Pat - Playing with Scraps and Slabs

Pat

44” x 44” (ish)

Great grandmother, grandma, mother, wife. From British stock to Canadian stalwart.

This quilt was very recently gifted for an upcoming baby in the family. 28 years ago I made my first ever quilt when I found out my (future) sister in law was expected her first child. That boy is now married and they are expecting their first child. This quilt is a gift for that upcoming baby. Isn’t that a full circle moment?!

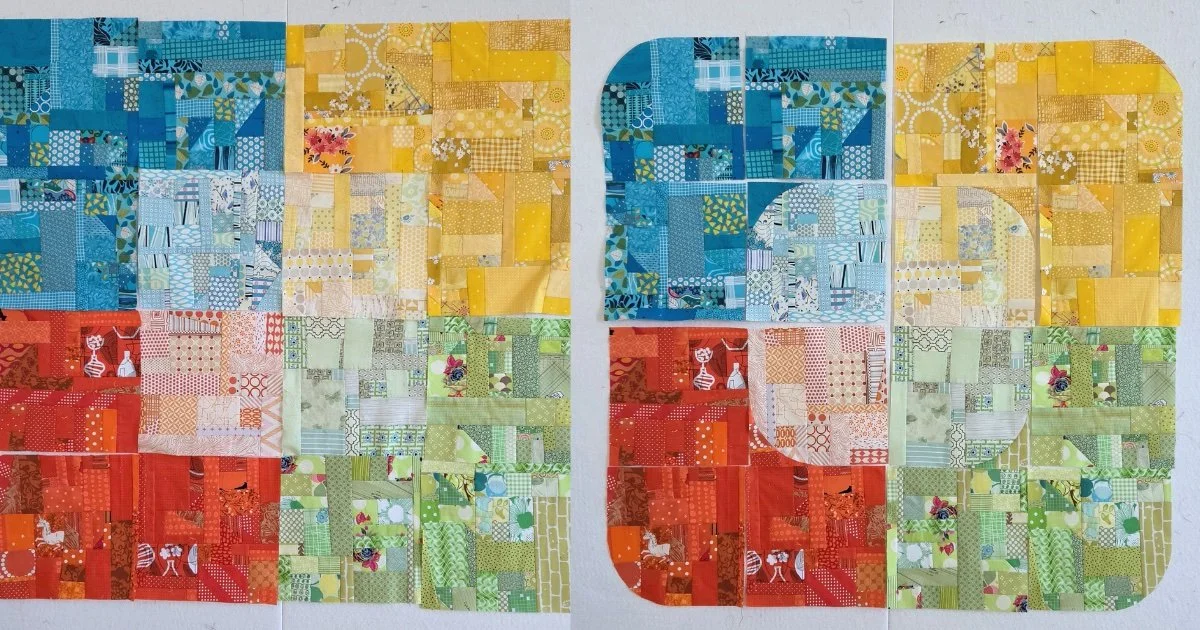
As a quilt teacher who loves her scraps, one of my most often made samples are slabs. In the last year I had made a handful of them during classes and they were just hanging out. After one event this spring I decided to add to the pile with some alternate values in the same colours. In the end, I made the 12 slabs you see on the left. However, I felt like these blocks - if they were going to be a quilt top - needed something a bit more. Not a right or wrong situation, but a “why not” kind of thing.

It’s been a while since I made precise curves. I’m usually all about the improv, but precision felt right for these particular curves. Yes, I had to look up my own instructions because it’s been that long. Good thing I have them in this book!

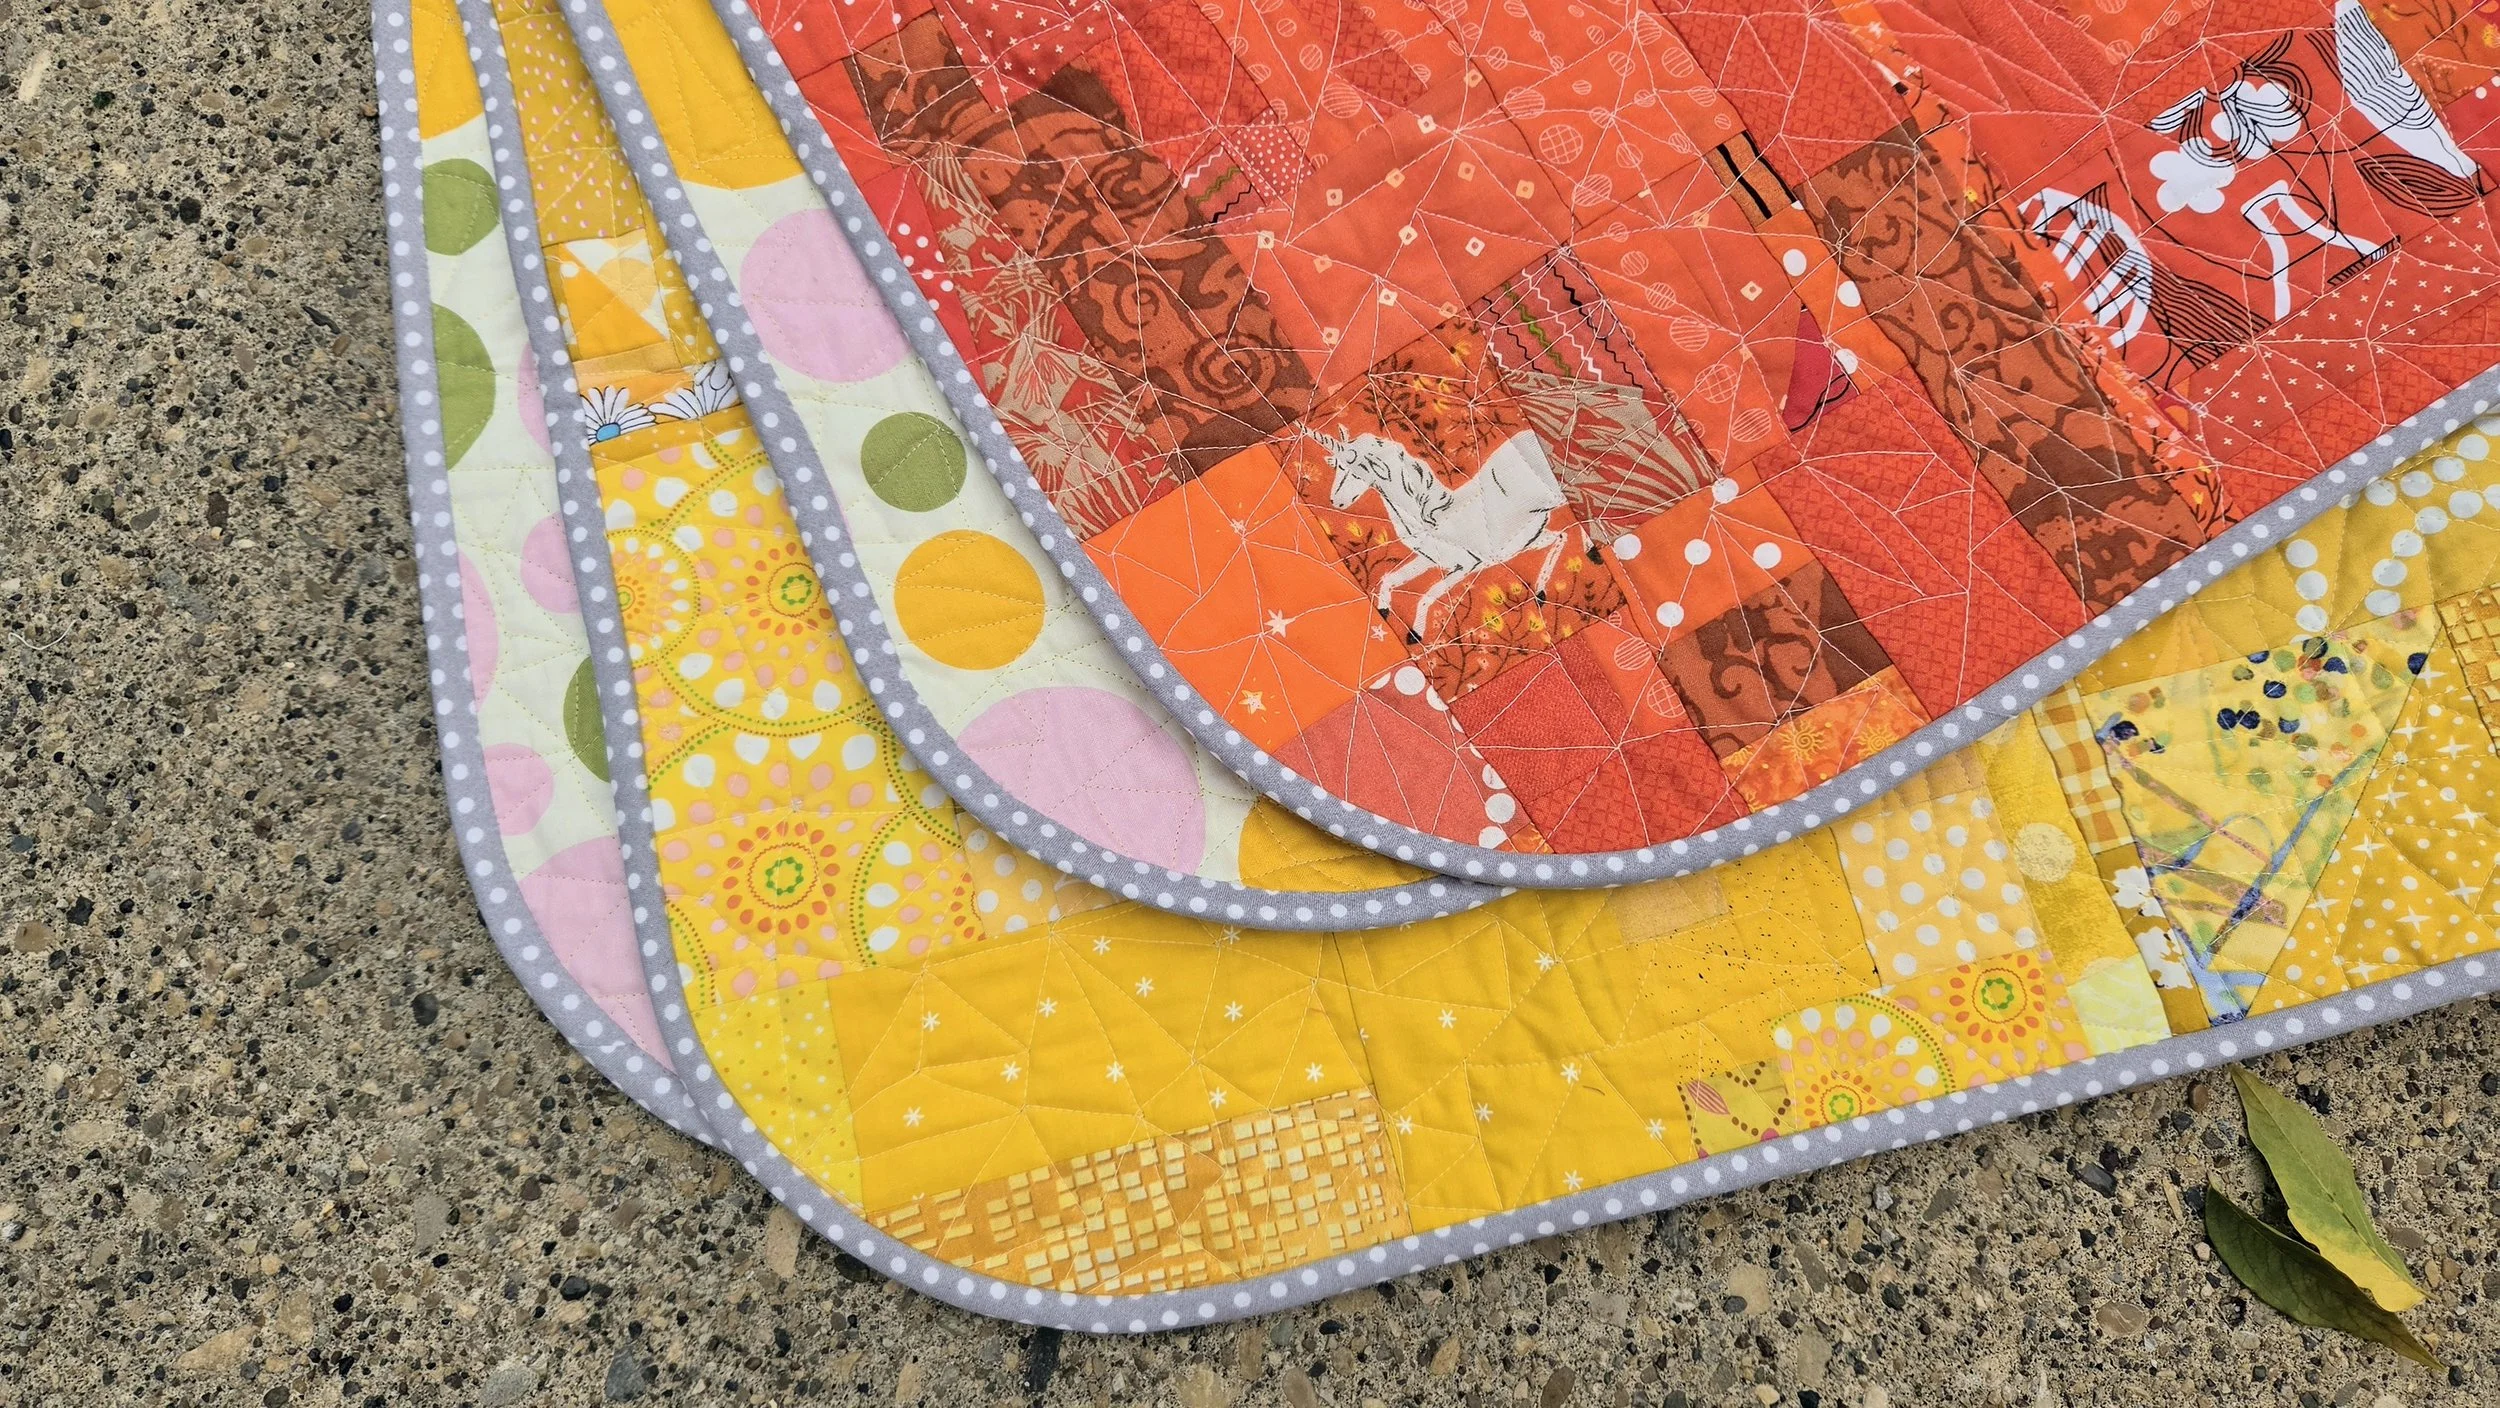
Piecing out of the way, I turned to quilting. After an afternoon flipping through both free motion and straight-line quilting books, I returned to a doodle I’ve done a few times. I don’t even have a good name for it, maybe a connected triangle meander? See? Not a good name. You can see it better below.

The real stars here, let’s be honest, are the corners. Look at those curves. So freakin’ adorable!! You do have to make a bias binding to do this well. Not hard, but definitely uses more fabric. I made the entire quilt from scraps and stash - including the backing and the batting - but had to go buy fabric for the binding. I don’t generally buy big pieces of fabric so I did not have enough of anything in an appropriate colour. Absolutely worth it, though. The binding went so smoothly around the corners.

(Yes, I may add rounded to corners to every single quilt from now on. The bias binding will be worth it.)

Now the quilt lives with my nephew and his wife as they await the baby this fall. I am grateful to them for indulging my creativity and being able to share my love.

Opal - More Adventures with Improv Applique

Opal

43” x 38”

A sweet soul, always there for others, full of love. Opal is a kind women, volunteering for her church, providing extra bandaids for the neighbourhood kids as they ride their bikes by her house, and always with a batch of cookie dough in her fridge. She loves a good cup of coffee and isn’t opposed to a little gossip on the side. Nothing mean hearted though! And you can always count on her for potato salad at the picnic.

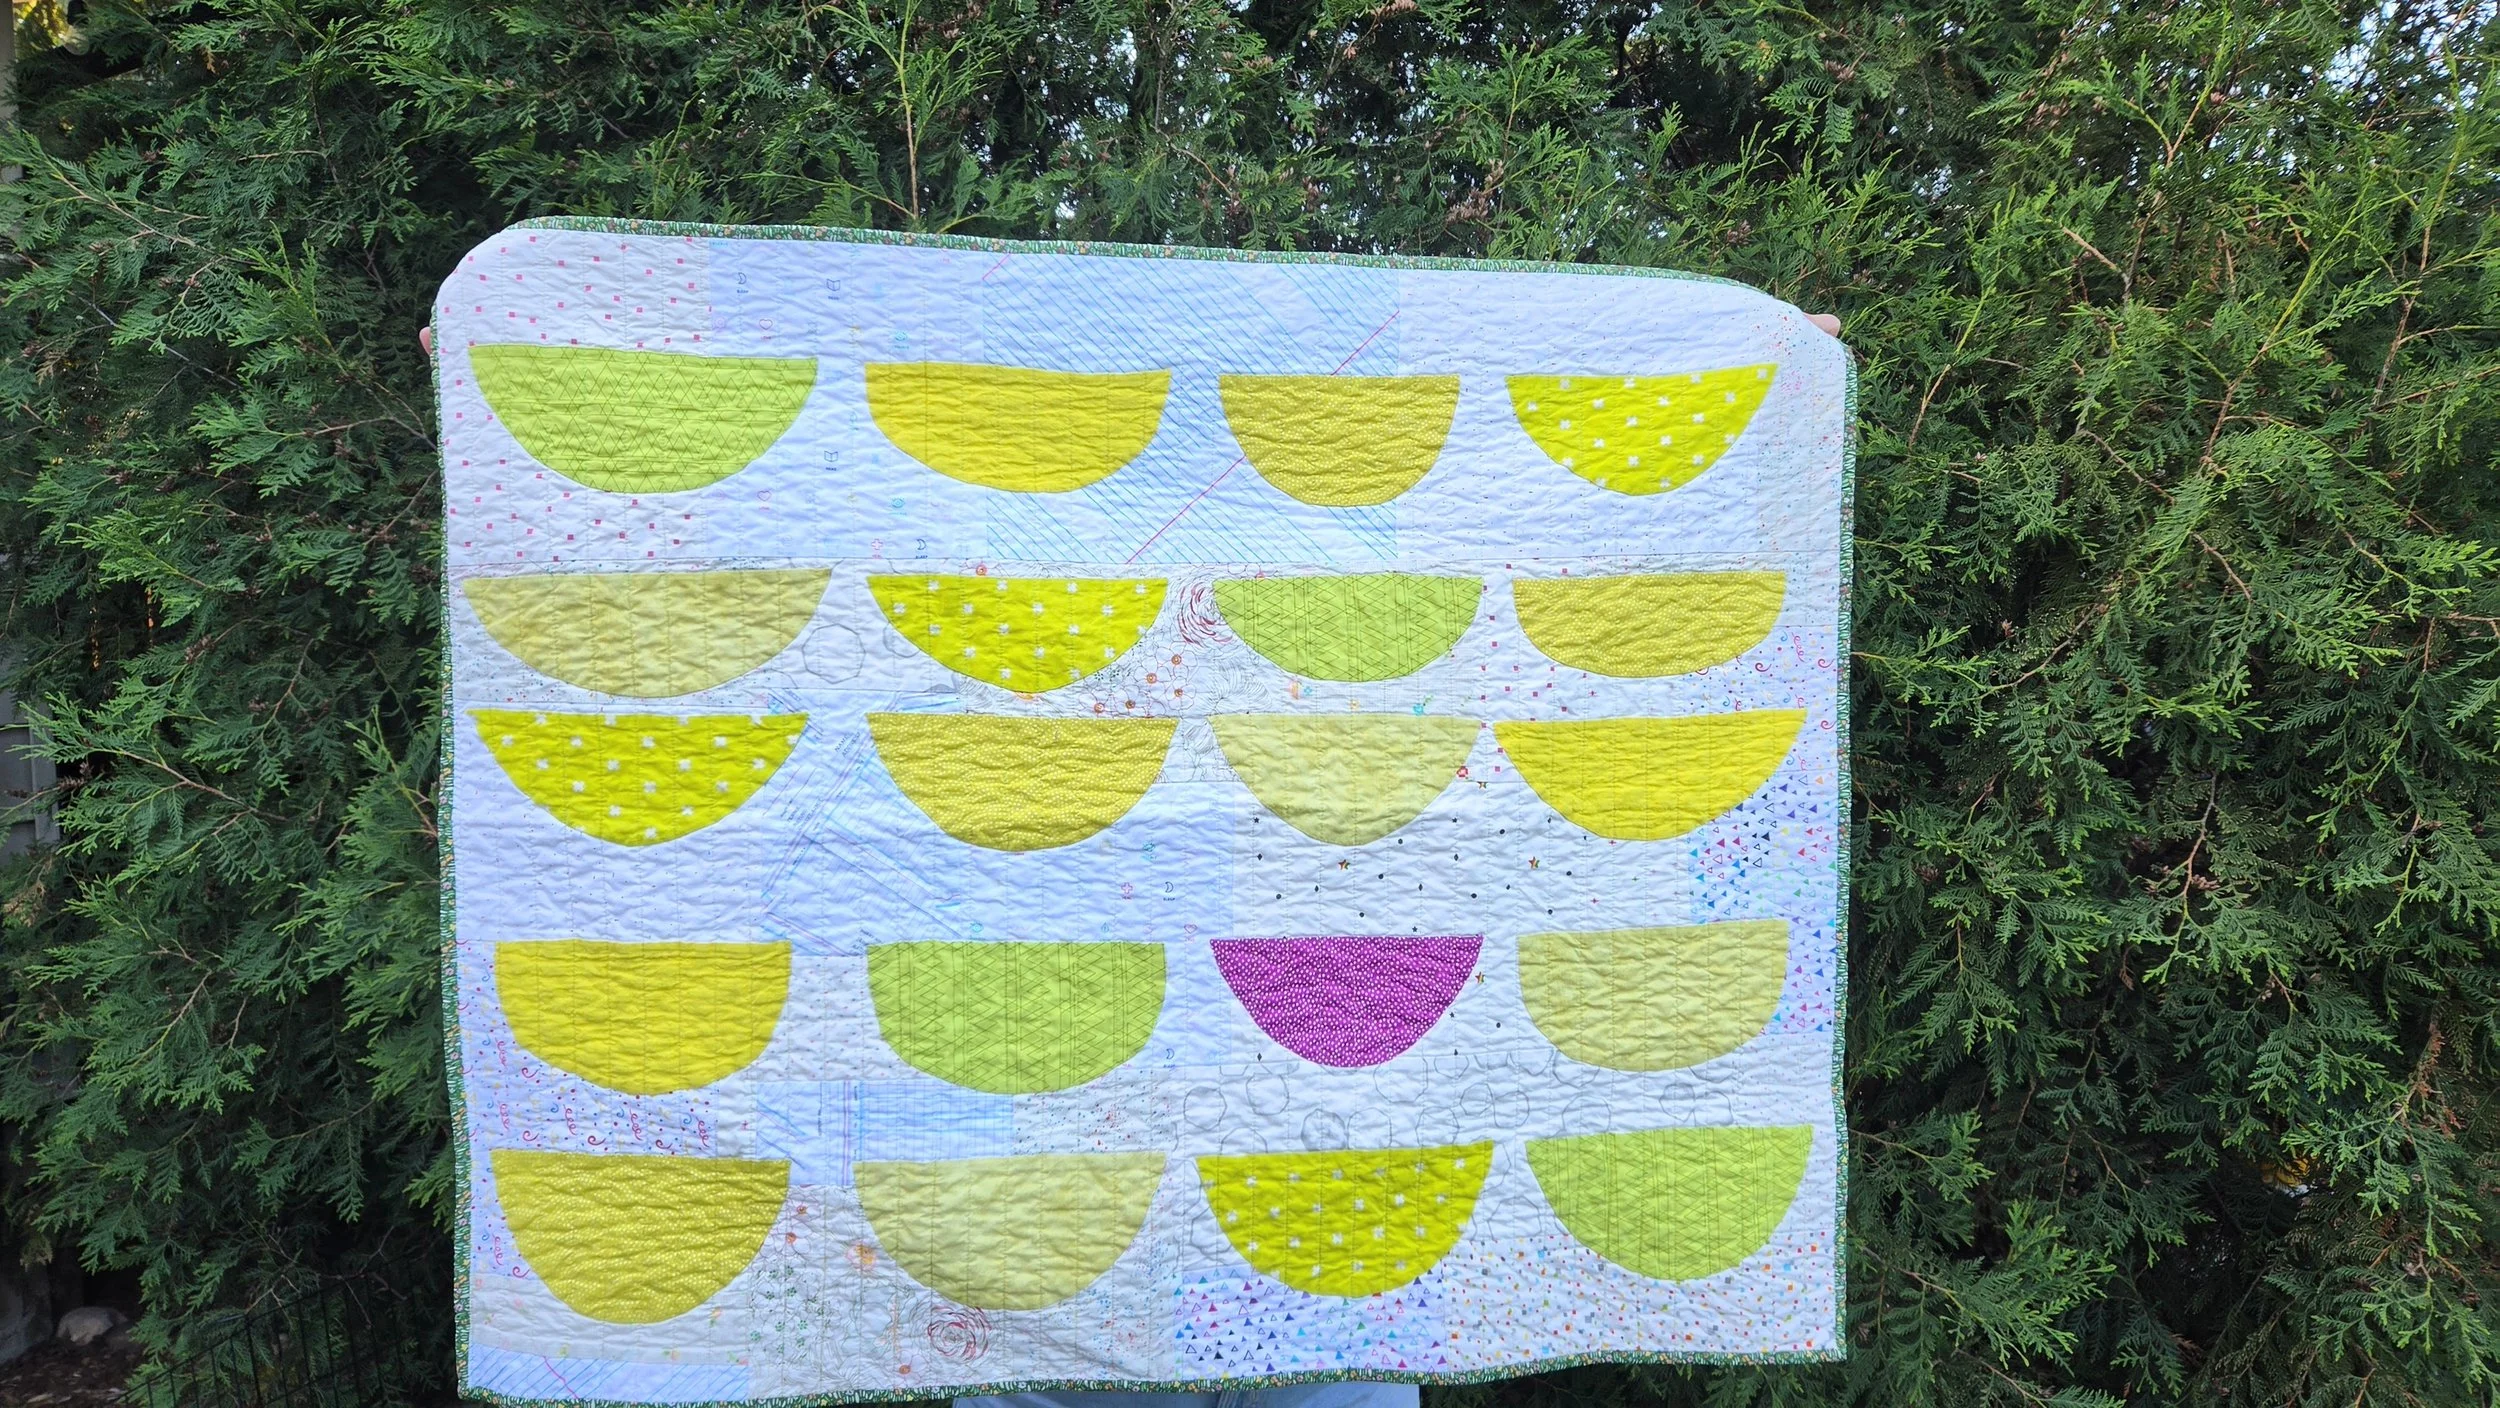
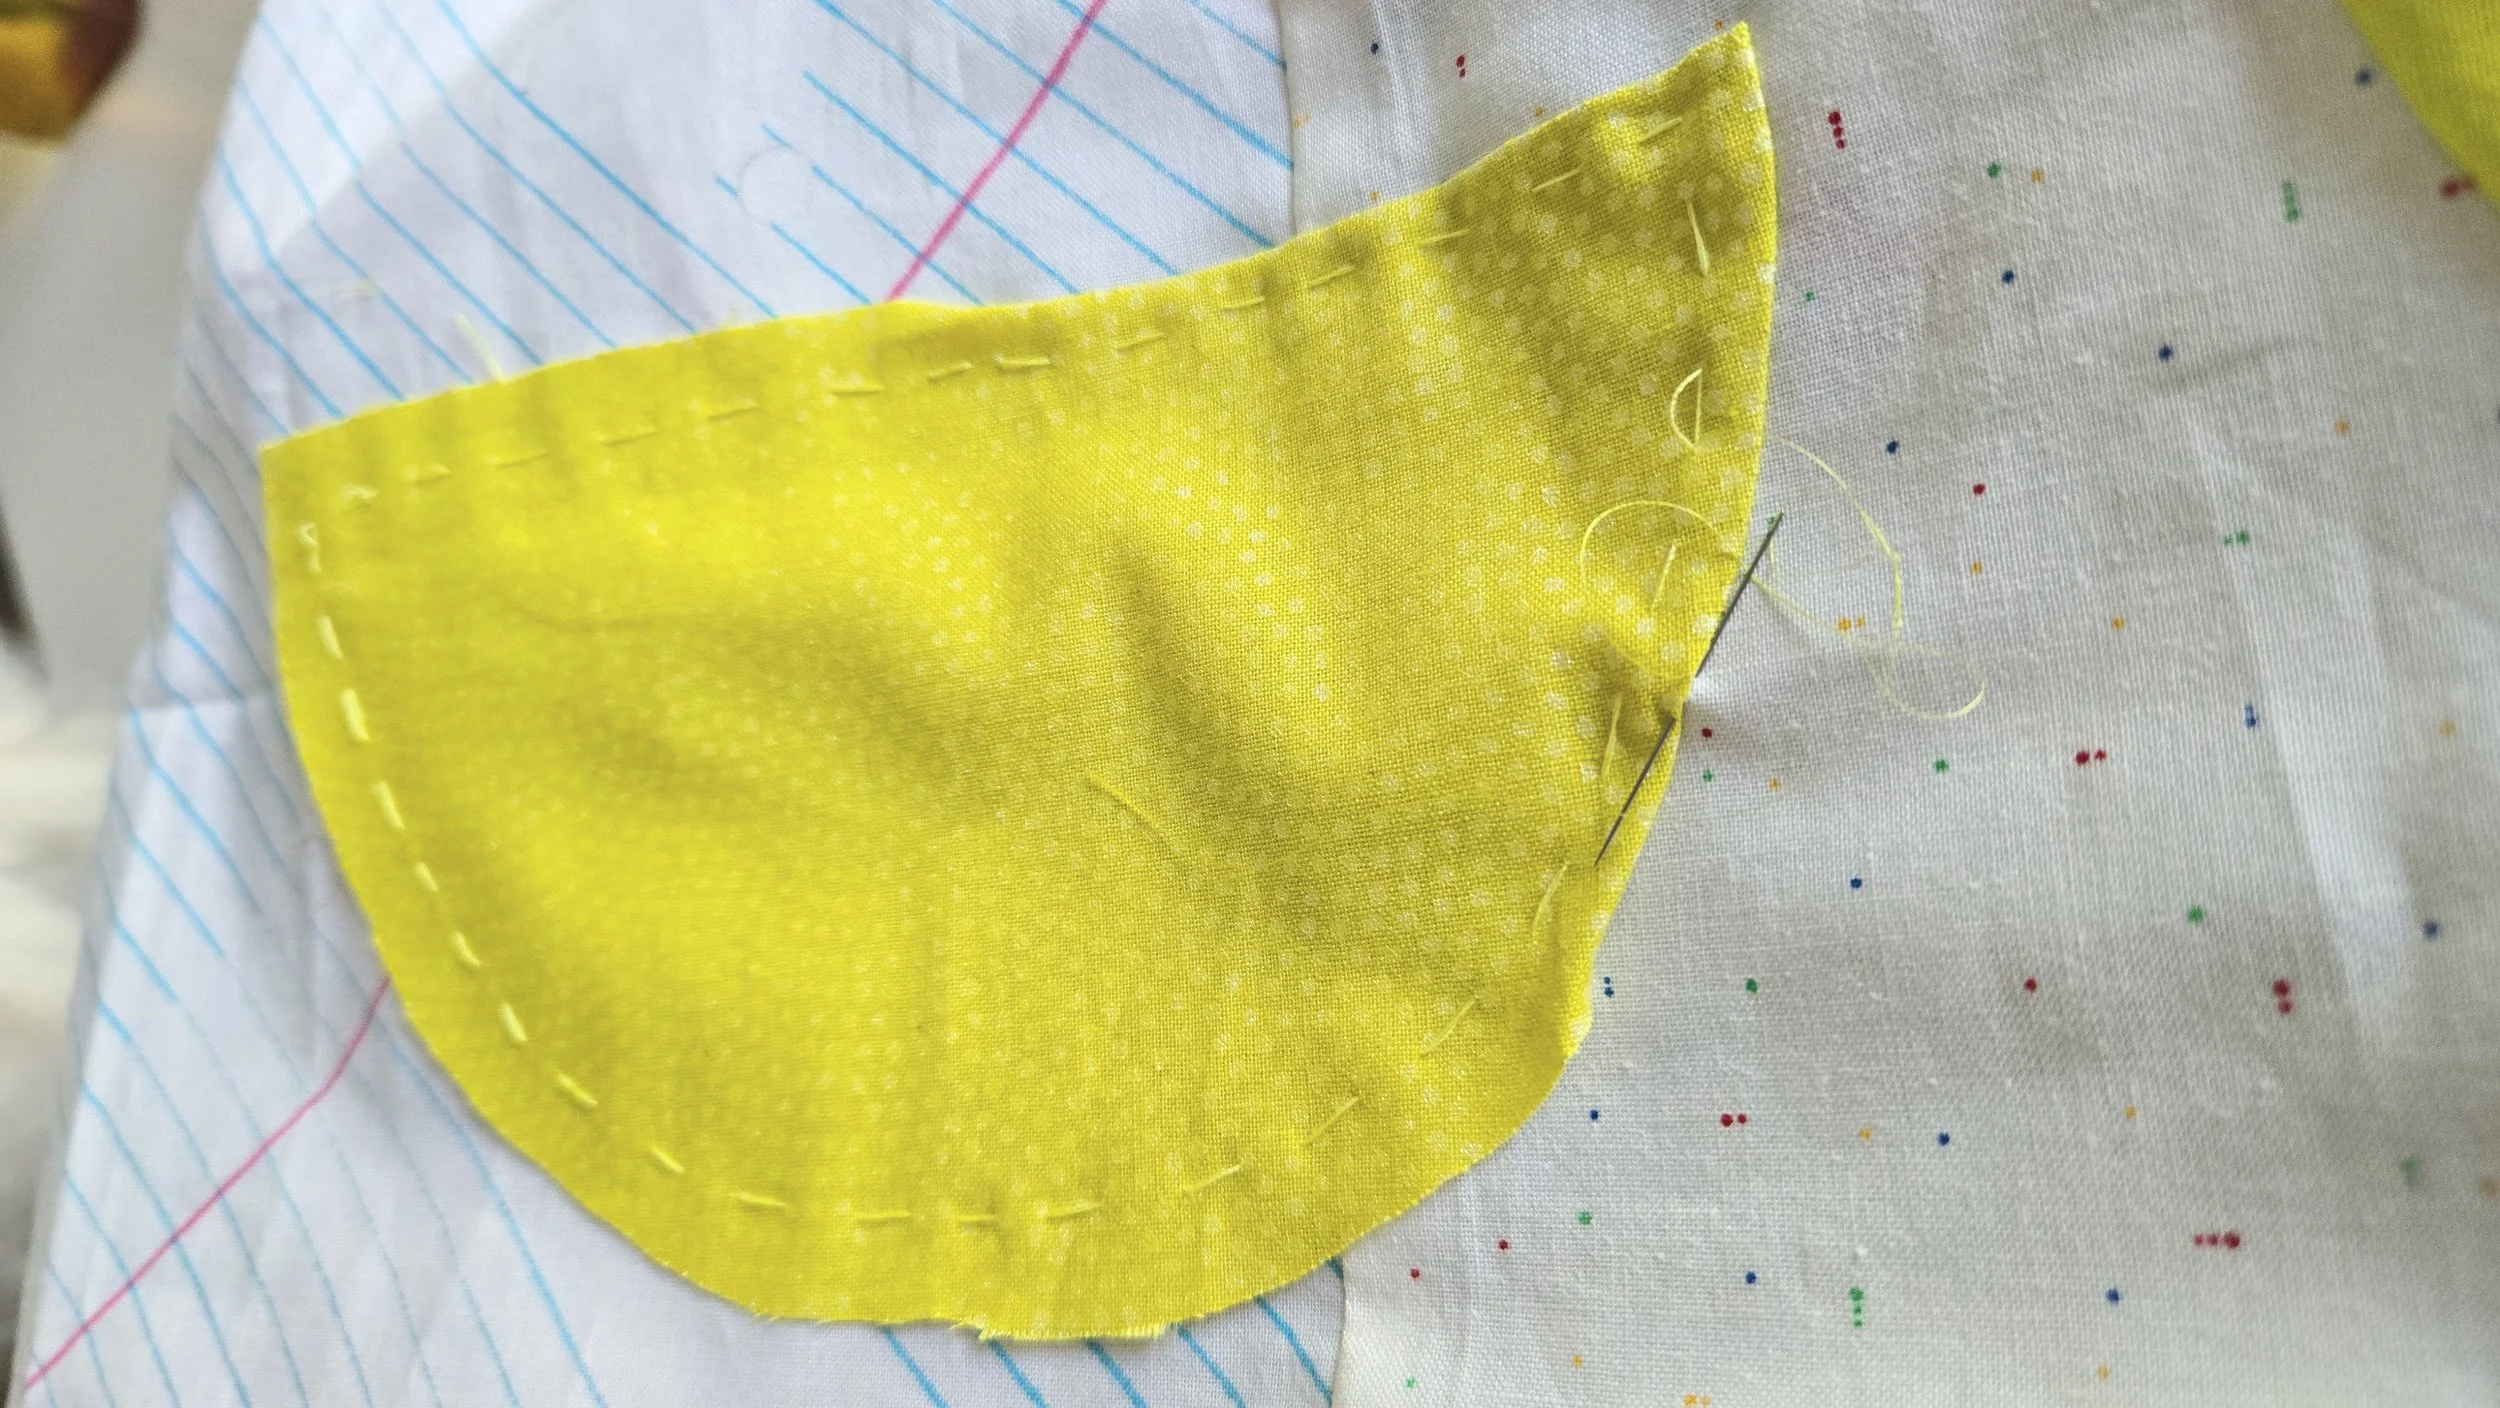
A year ago I was teaching Improv Applique at the Edmonton District Quilt Show. I made up a new sample for the show - piecing a background of low volume scraps. With the guidance of the participants I cut this bowl shape to demo the techniques I teach. It was a fun shape and the impact was strong. Come fall, I would add another bowl, as I called them, here and there. During the depths of winter I finished the top and it sat patiently, waiting its turn for quilting. It’s me, so it could be waiting a long time for that!

But then I realized I did make a baby quilt for a recent addition to the extended family. Like, I totally forgot. As I consulted my Quilts Under Construction list looking for something appropriate, this applique treasure came up. It’s absolutely perfect for the recipients! Maybe it was meant to be?

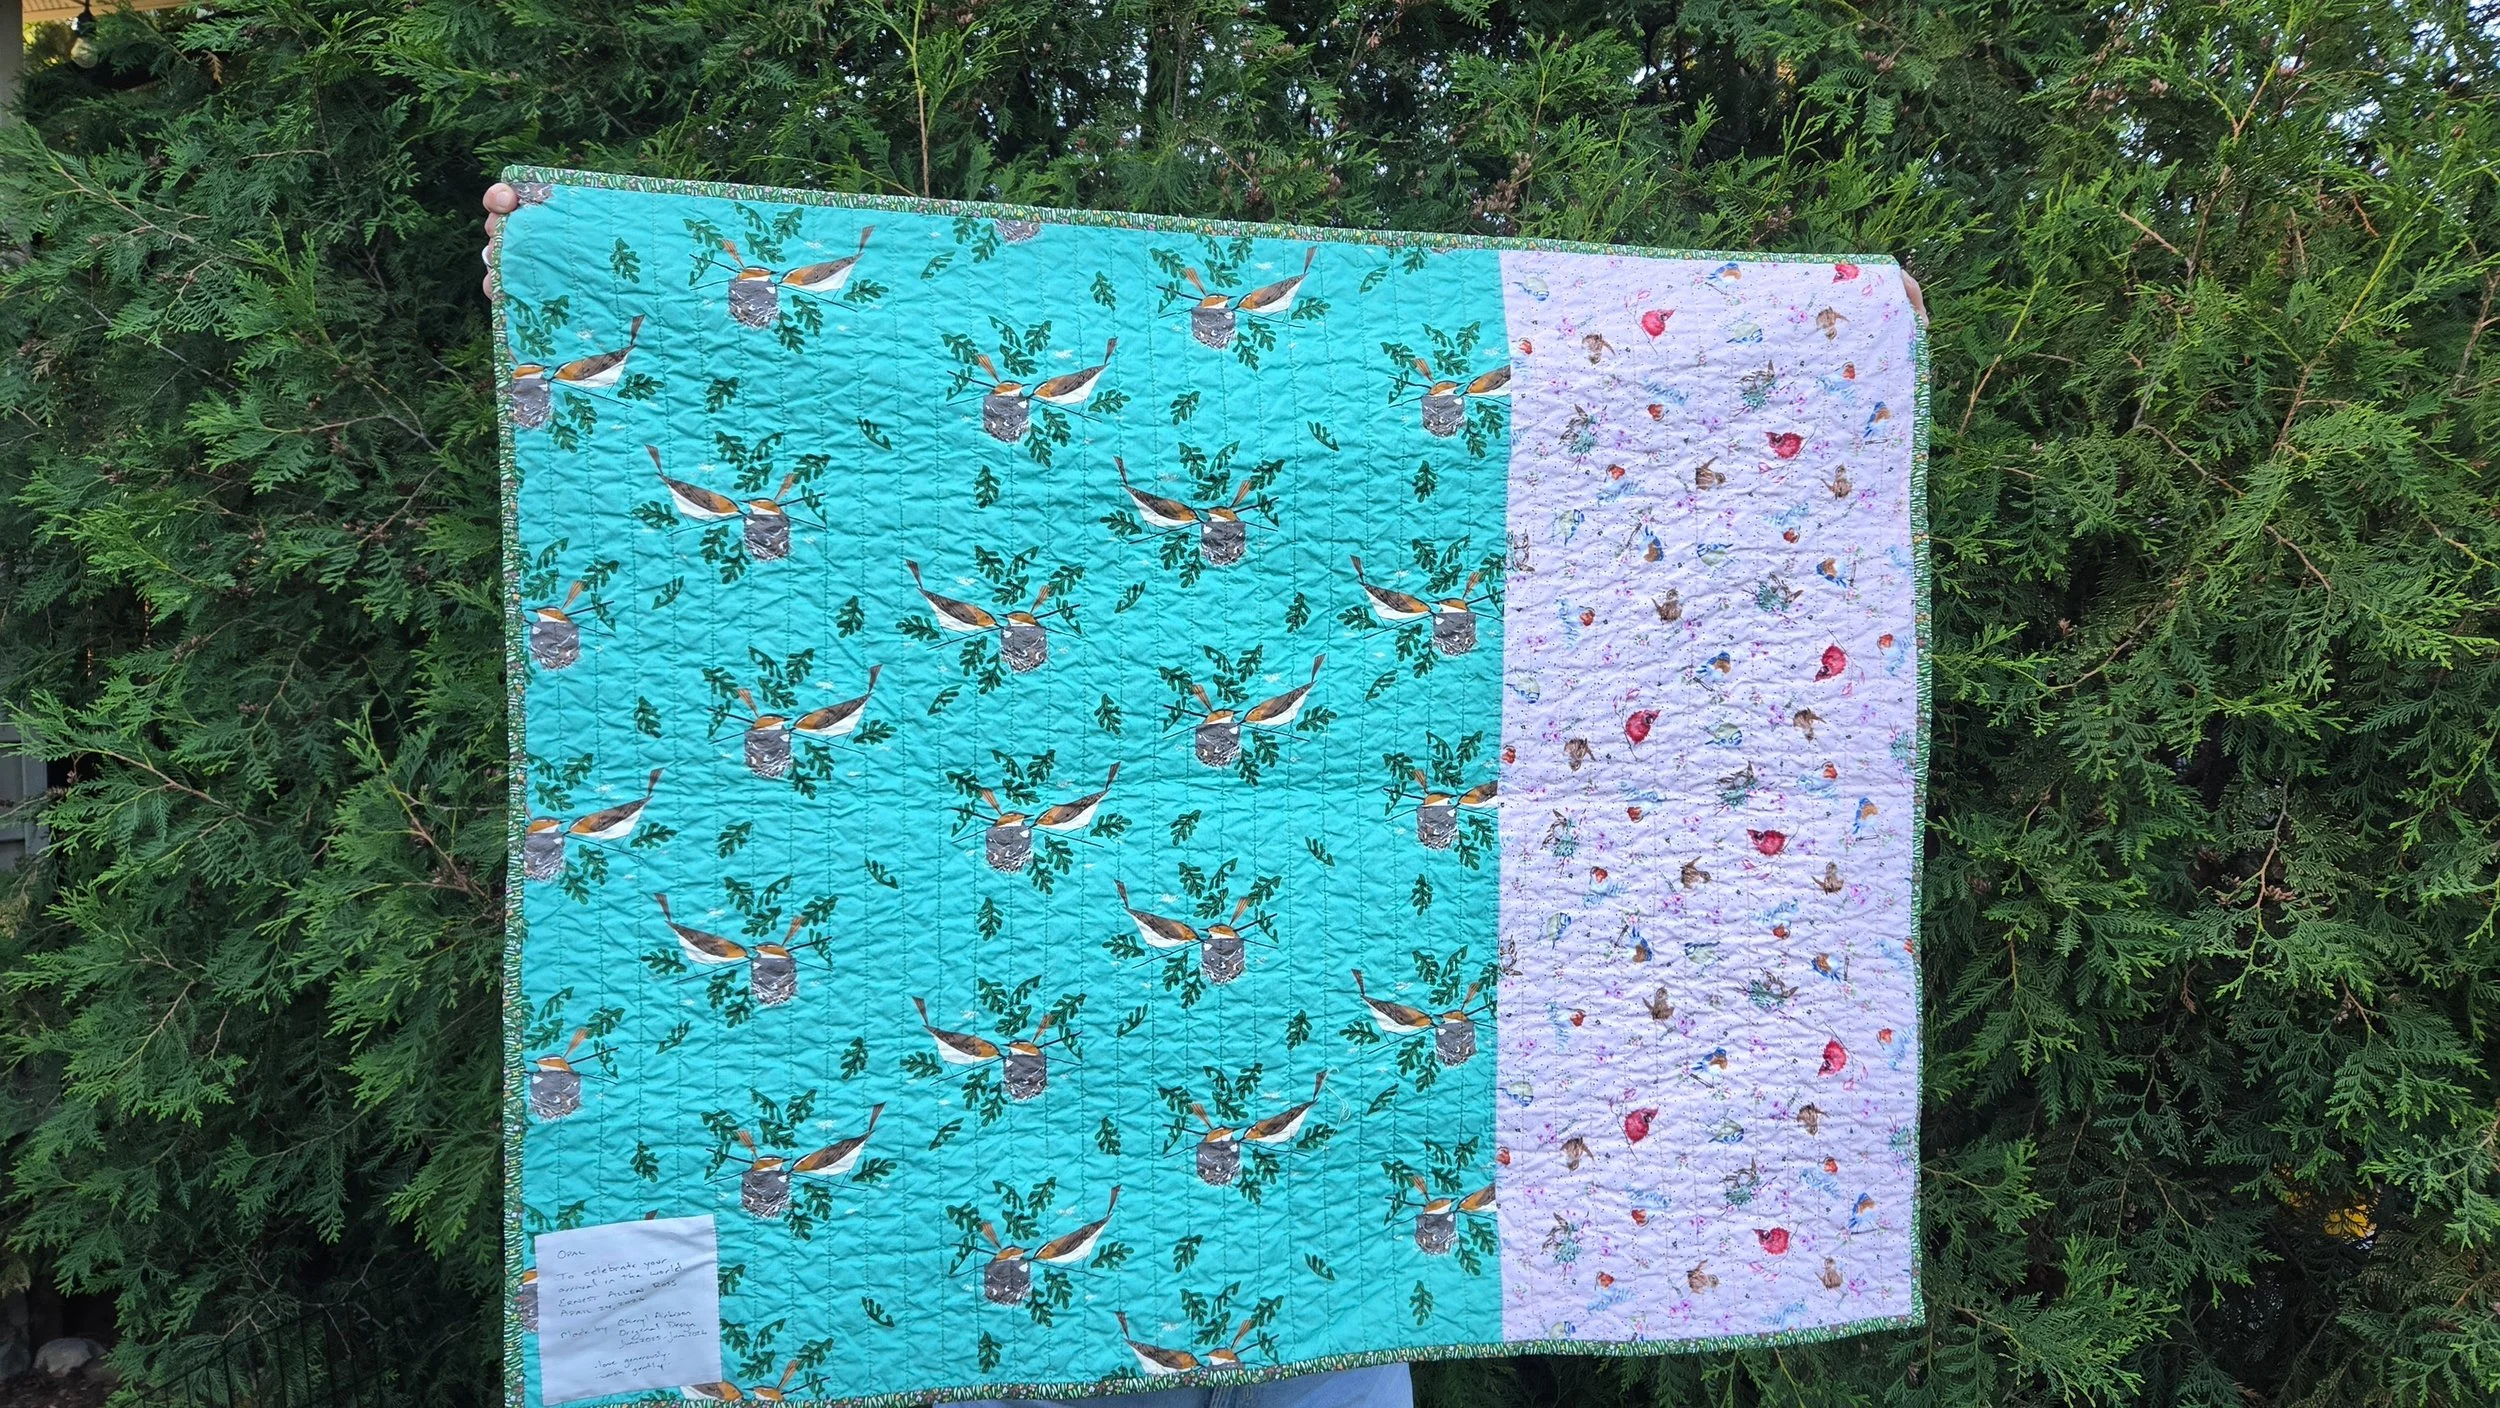
I quickly made a backing. Birds and more birds! I know that the baby’s Mamas love to watch the birds in their yard, so it was perfect. And I think I used the Charley Harper fabric on the back of a doll quilt I made for their first kiddo. With some simple straight line quilting it was a quick finish - once I decided to do it!

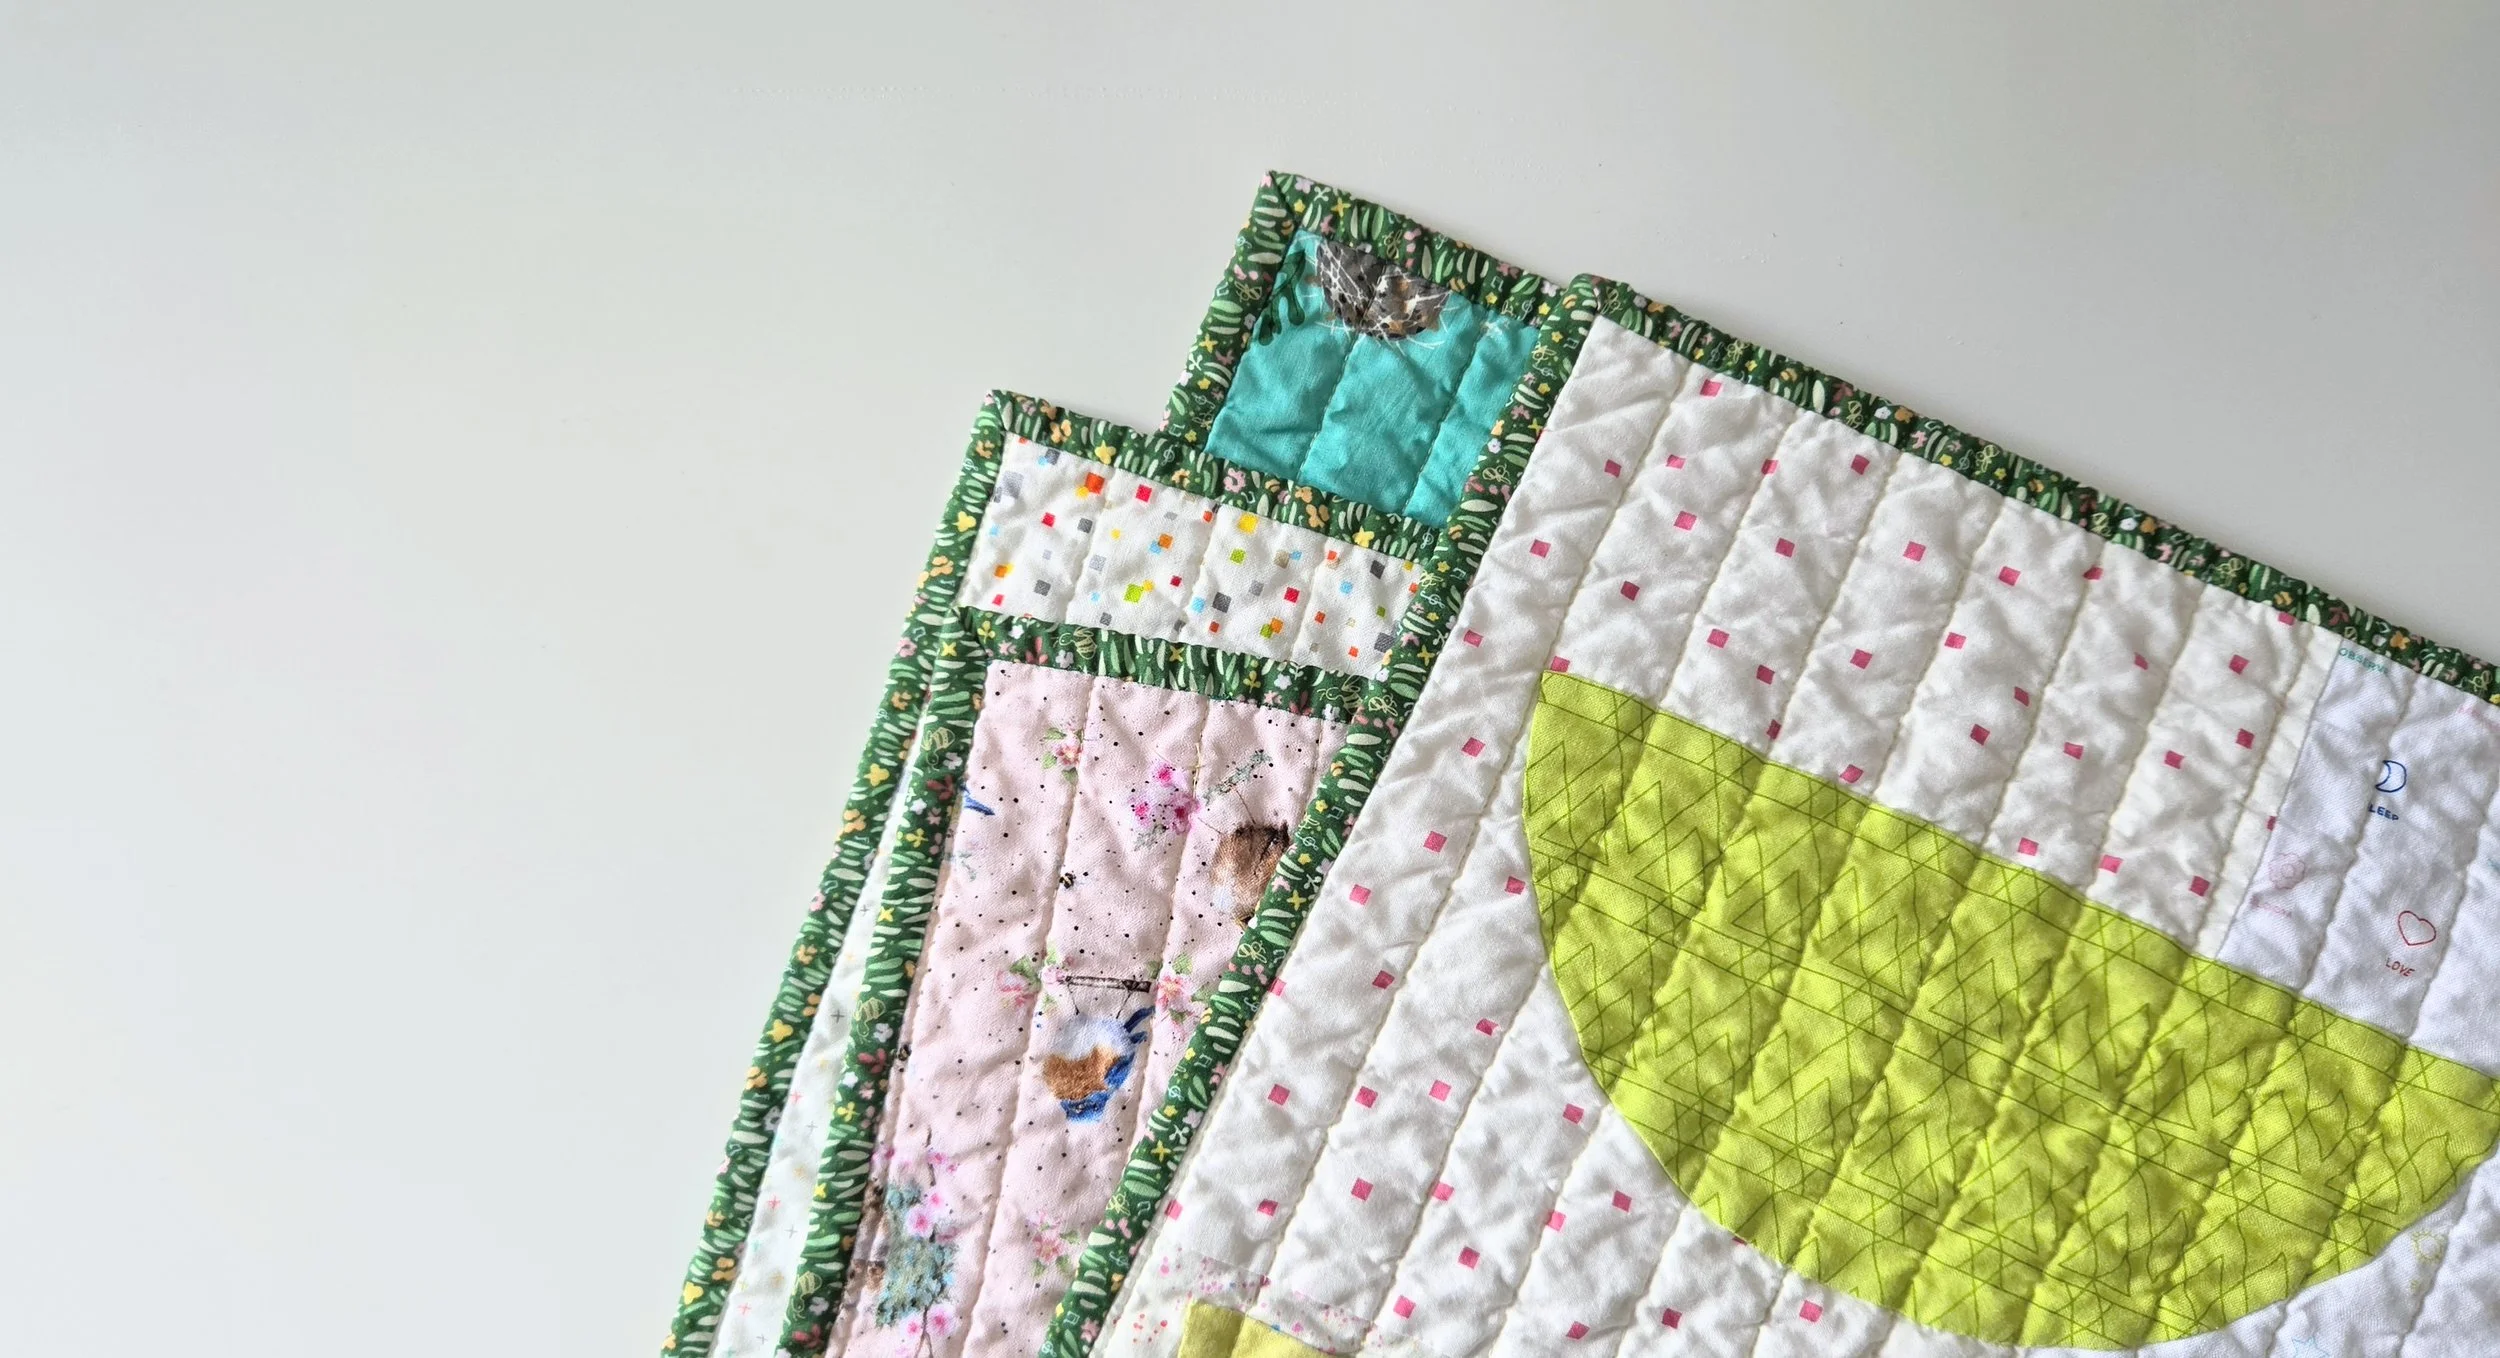
To bind the quilt I raided my green stash. I’ve used green in their wedding quilt, the first baby’s quilt, and a doll quilt. Plus, the dark green went well with the one darker purple bowl.

Ready for all the baby snuggles. Well, once summer is over! Unless I make a quilt out of a mosquito net or rubber boat, I doubt it’s getting used this summer.