morning make

Beginnings of a Portrait Quilt of my Baba

Meet Nettie Ciona, my Baba.

This photo is nearly 22 years old, my Baba is long gone from our physical lives. But it is a photo and a moment I can always remember. We’d taken her out of her tiny town nursing home to visit the old house and garden. She was feeding the dogs, laughing at my sister-in-law selvaging an old, rotten chair, found out she was going to be a great grandmother, and my whole family was together in the Saskatchewan sunshine. For years I’ve had this image spinning in my creative mind.

The self portraits of 2023 were leading to this project. I wanted to explore the different ways to make a portrait to see how I might translate this one. In the end, I’ve gone back to my original, over the top idea.

You can see that I’ve pixelated the picture. I used a random, free app I found online. Upload the picture and they pixelate it for you. That’s all it does, so the next step is on me. I need to translate those pixels into a piecing plan. Again, I know there are fancy programs out there that could probably help, but the way I am doing it makes sense to me.

After pixelating the picture I opened up Excel. One square for each pixel. I’m creating a colour map. As I go I am simplifying the colours a little bit. For example, using 4 whites, 4 pinks, 3 blues. I don’t want to have to buy a million new fabrics! I also want to simplify it for the making process as well. I’m going to have a lot of colours as it is. This level of planning is way out of my comfort zone!

My plan for sewing is the truly over the top part. Each square will finish at 1”. But I am not using straight squares. Instead, each square will be an improv X block. That’s right, I’ll be making all the blocks as little Xs. You see, my Baba was a phenomenal cross-stitcher. She sewed millions and millions of little Xs in Aida cloth and on linen over her lifetime. This quilt will truly be an homage to her.

So far in my planning I’ve determined I will make the quilt square. It will be 90” x 90” More than that and it will be a lot of extra sewing for nothing but background. The composition of the photo will still work so I’m sticking with it.

So this is my Morning Make until I finish. With breaks, of course. In the meantime, I need to go shopping and buy a bit of fabric. My stash is deep, but not that deep!

A Year of Stitched Self Portraits

A year of Morning Make.

Each day, before tea and clothes and the news and my phone, I make. In 2023 I spent all the time making and remaking myself. Mostly figuratively, but the process required a lot of self reflection. It can’t not when you spend a portion of your day staring at yourself, stitching and making. Truth be told, I’m kind of sick of myself at this point!

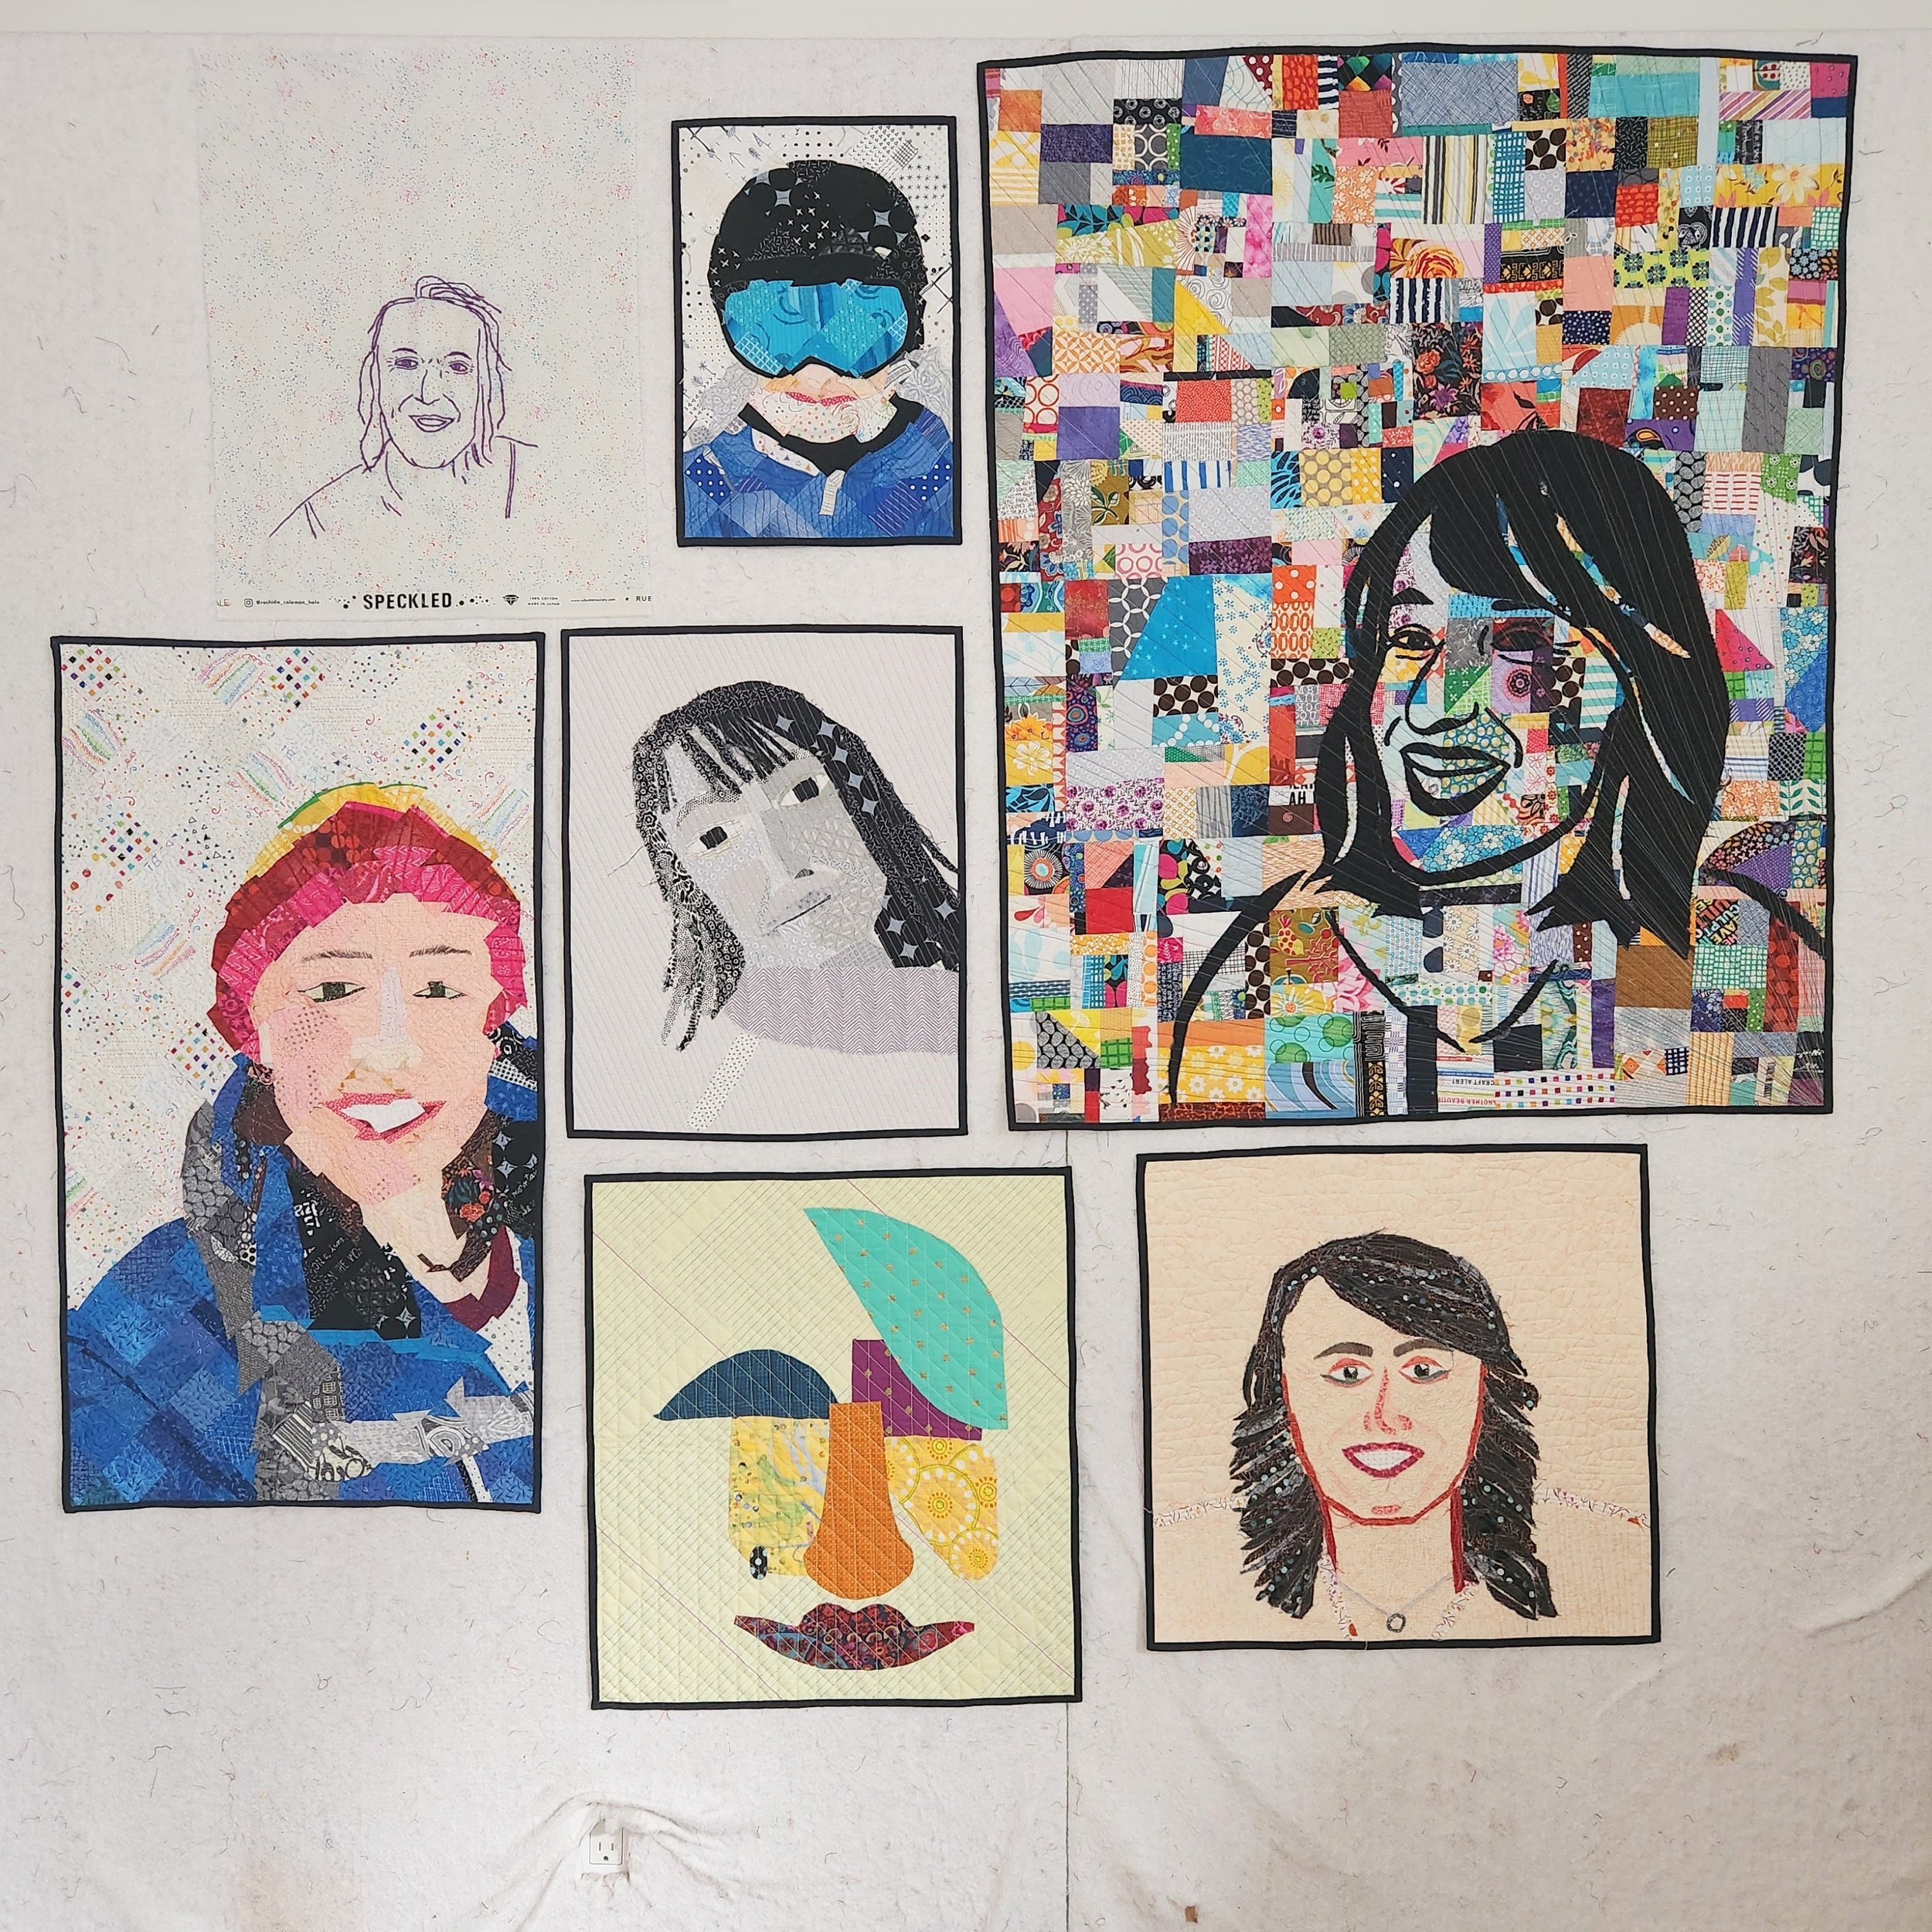
Clockwise from top left:

  • Embroidered line drawing, based off a painting I did of myself based off a pic from the beach in San Diego last March.

  • Skiing selfie done in Tina Tarr’s Stitched Mosaic technique.

  • Raw Edge Applique on a crumb background - this one feels the most me in terms of a quilt.

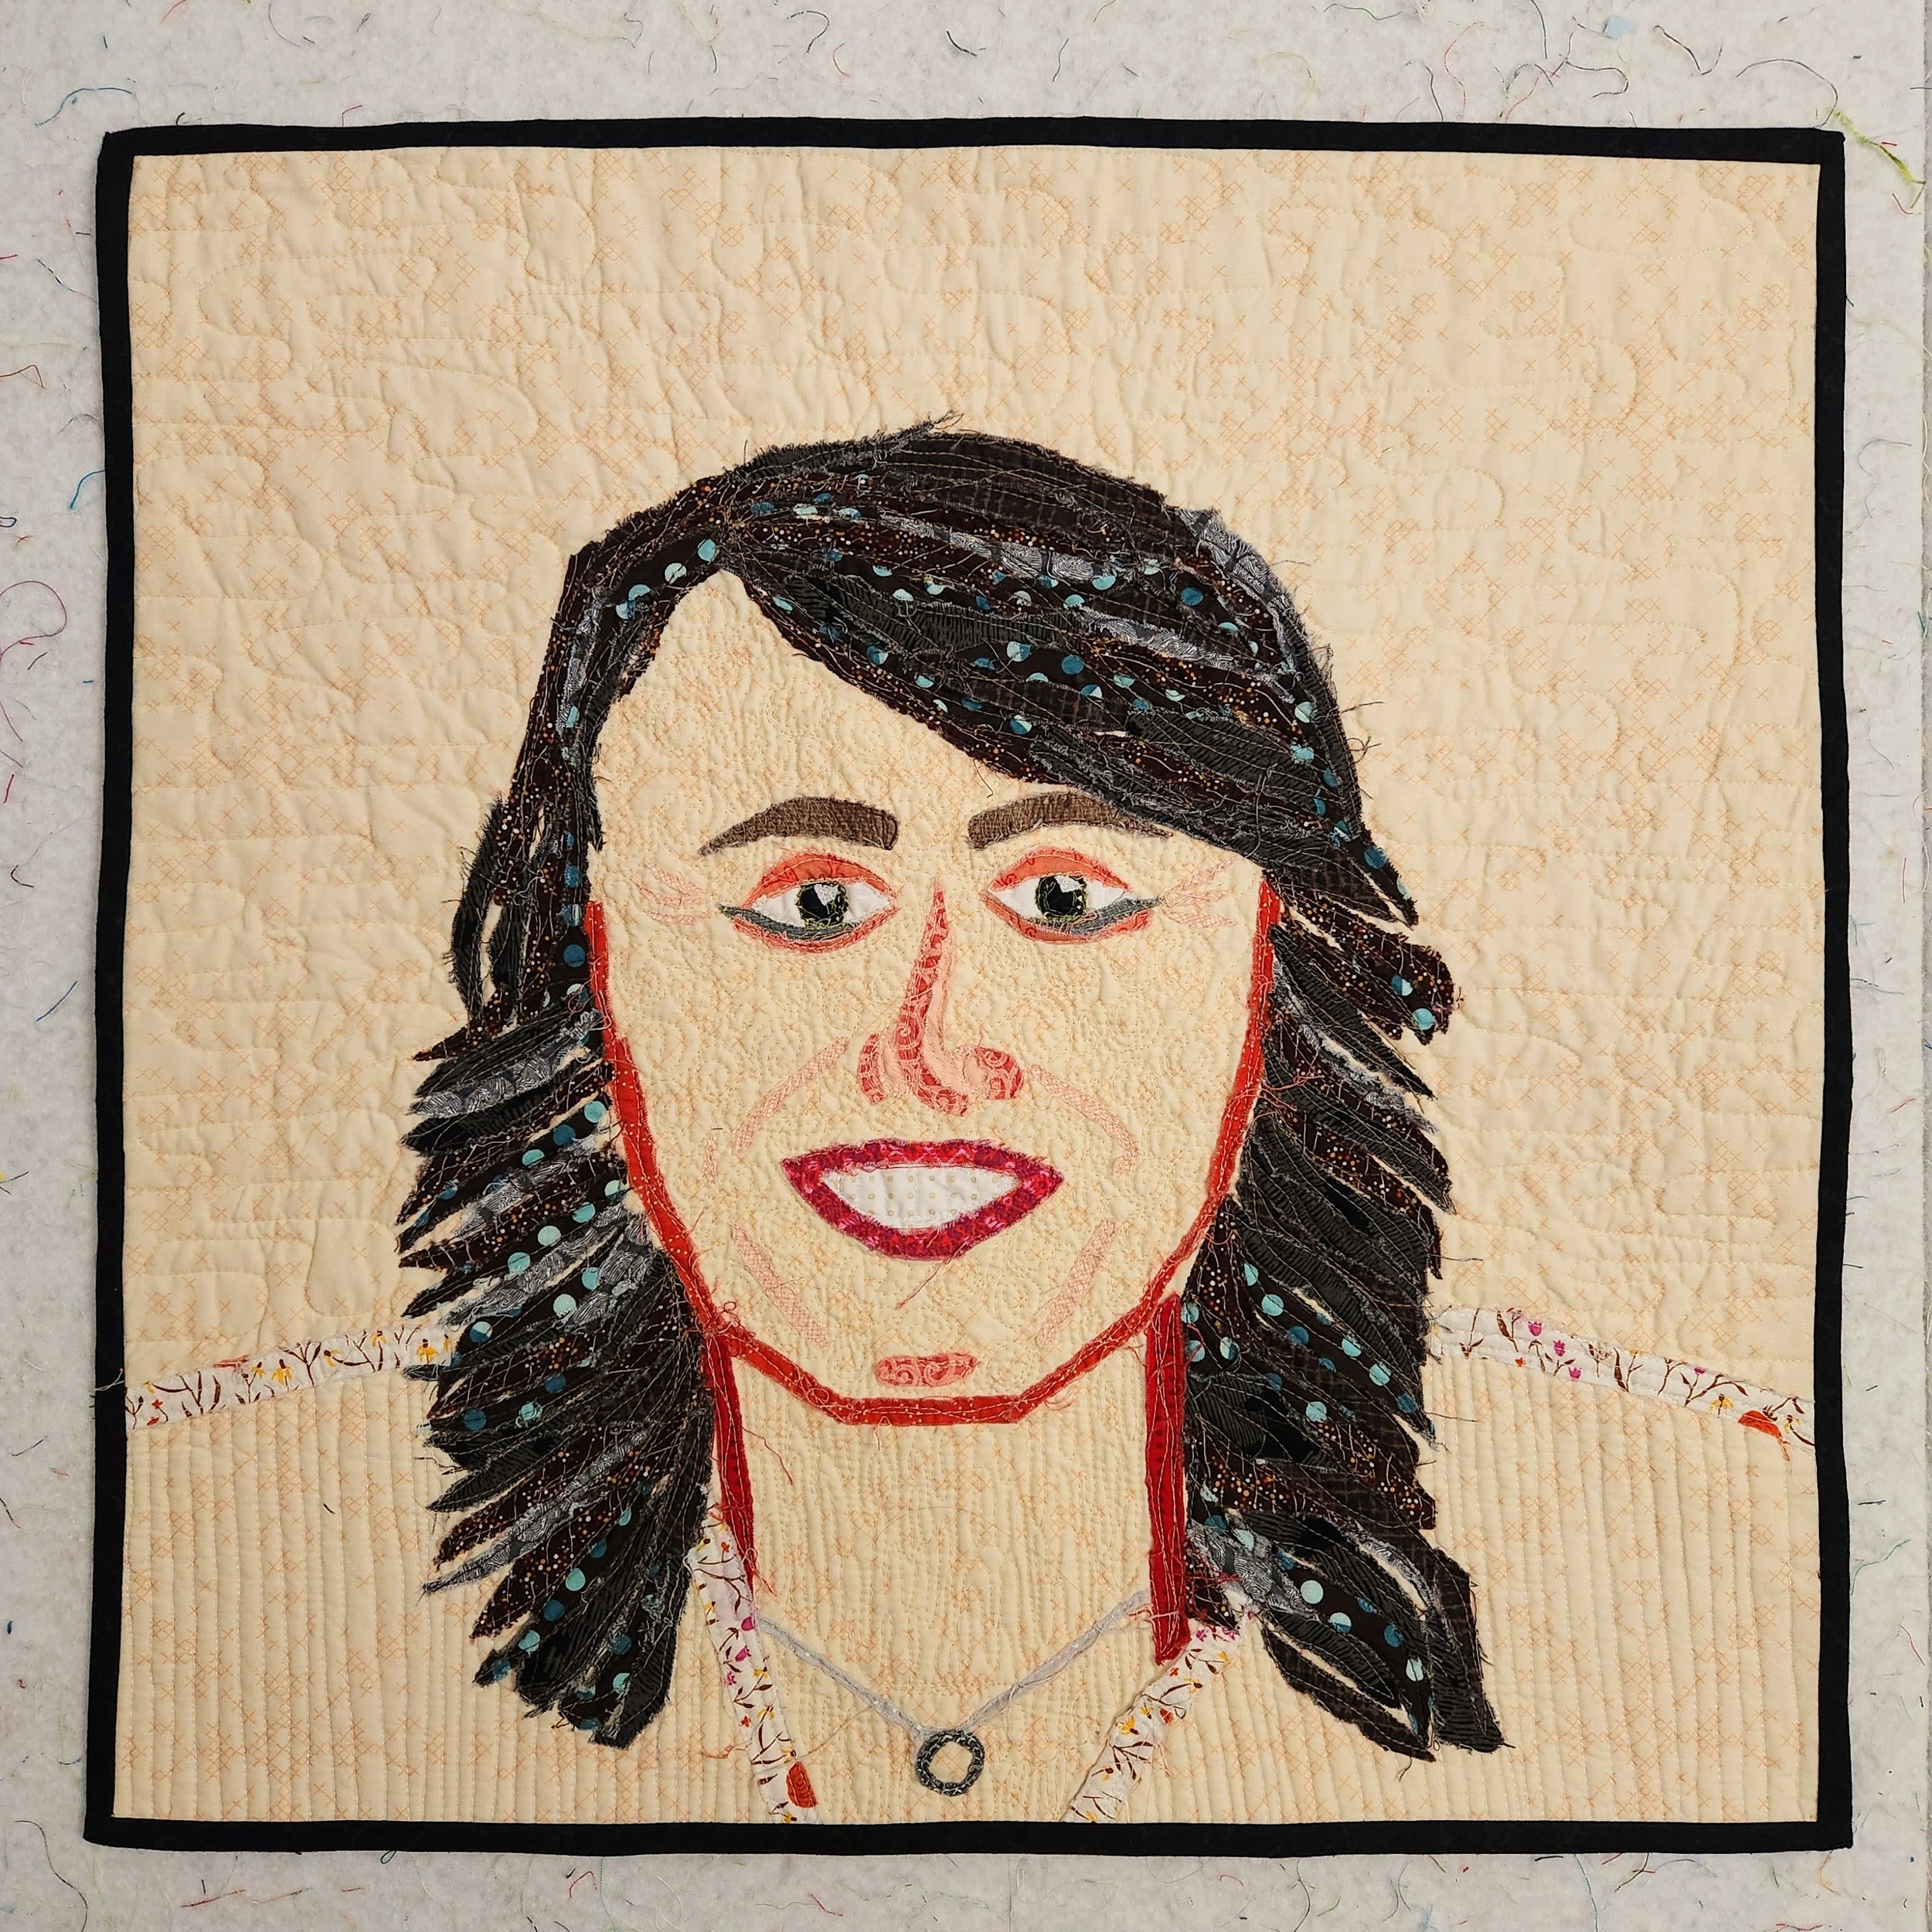
  • First one I did, based off of the headshot here on my blog using Melissa Averinos’ Making Faces in Fabric book and her process.

  • Cubist applique. Saw a video about a cubist artist and felt inspired. Just freehand cut shapes and stitched.

  • Based off a selfie I took on winter hike, this time I adapted Tina Tarr’s technique for improv piecing versus applique. Hand stitched the whole thing to quilt it.

  • Another one using the Melissa Averinos’ technique, but playing with a black and white photo. Nailed the values, but boy do I look dead!

Here and there over the year I would draw and paint too. Nothing to share there, just experimenting and exploring. Always self portraits.

It was a great exercise in self reflection. Not only did I fall in love with the dimple I never really noticed before, but I learned to look at myself without criticism. Not necessarily with love, but without criticism.

All of this was a personal exploration. I did nothing in the way of classes or lessons. Where it was someone else’s technique for the quilts I used a book or online class. What I did not do is actually learn how to draw or look at people. I also had a number of ideas for different kind of quilt techniques for portraits. That’s why I am continuing this portrait exploration this year as well. There is a still so much to do!

Only now, I feel somewhat strong enough to at least sketch some other people. Let’s see where 2024 takes me.

Morning Make 2023 - Raw Edge Appliqué Portrait

This portrait feels a little more me. I don’t mean the likeness, although I think that is there. Rather, as a quilt it feels more me. To complete the portrait I made up the process. Enough years of play and exploration gave the confidence to just go for it. Well, that and a willingness to try a few things in the hopes of success. Also, very me.

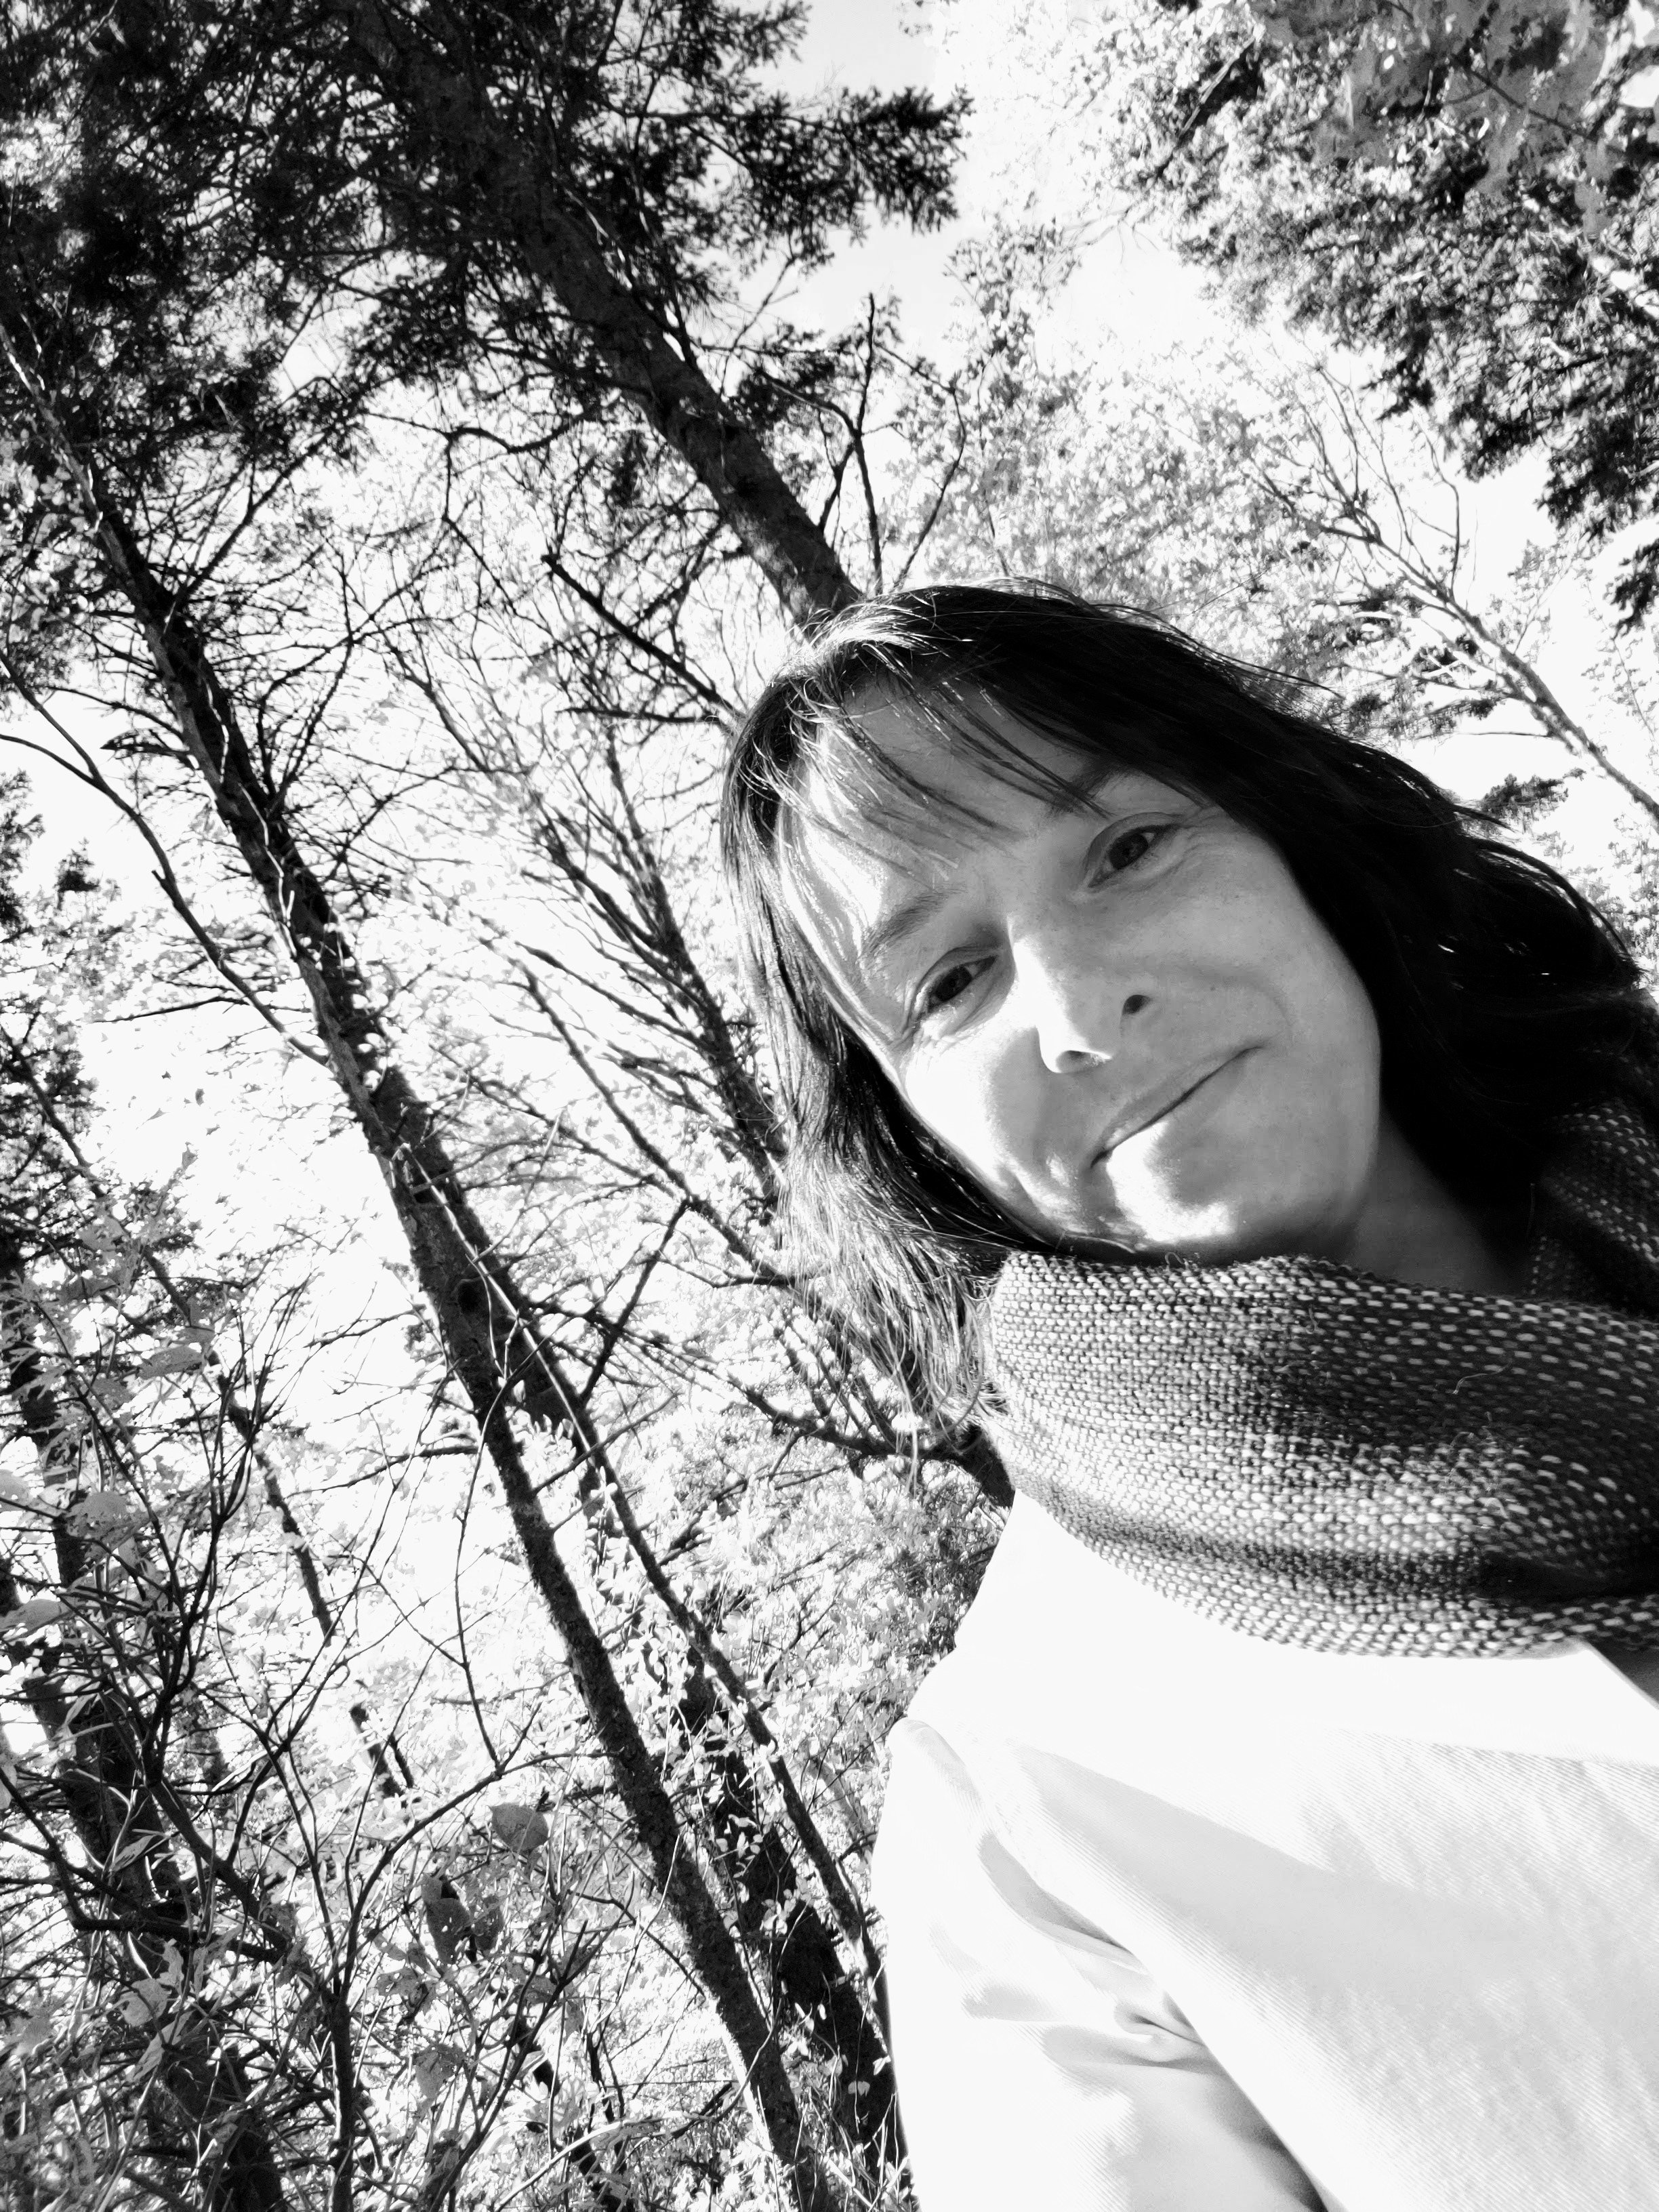
Since my drawing skills are lacking, albeit improving, I took a different tact to create my actual portrait. I printed out a photo of myself and traced it. I reduced the lines to those necessary to get a likeness and some interest, with a hope that it wasn’t too much of a cartoon. I just printed the photo off at the office, on the regular inkjet printer. After tracing my lines I scanned the new drawing to create a digital image. This I sent to my local print shop to have printed at a much larger scale. I think we used their 18” x 24” printer.

Once I had the drawing I reversed it and traced it on to some double sided fusible. In this case, Wonder Under. I’ve had good luck with it in the past so was confident using it here. More on that shortly. I debated a glittery purple for the appliqué but ended up with a tone on tone black from my own fabric collection.

With the lines traced I pressed the fusible and fabric together. I cut out the appliqué from the fabric. In hindsight I would have made less cuts, like where the jaw line and hair meet, but I was a bit unsure of how it would come together at the beginning.

For the background I decided I wanted something that felt more me. The previous portraits were great, but I wanted a bit more of my kind of quilting in there. Instead of making something new, I dug out all the crumb blocks I’ve made over the years and put together a handful to create the background. Knowing I was using black for the appliqué I tried to use pieces with as few black or dark pieces in it, so that there was always contrast with the appliqué. Without a purpose built selection of crumb blocks this is mostly, but not all the way successful. I’m still happy with it. And one dark scrap ends up mimicking the scar on my neck from last year’s thyroid surgery.

After playing with the positioning I removed the backing from the fusible and pressed the appliqué into place. And pressed it into place, and pressed it into place. It would stick for a while then come undone. Rather frustrating. I’ve never had trouble with Wonder Under before. I even bought new stuff in case what I had was too old. If I do this again I will be choosing a different fusible.

The drama with the fusing led to my quilting plan. I didn’t want to zig zag stitch around every piece. I just don’t like that look. But with the appliqué misbehaving I needed a dense quilting plan to keep everything in place. Matchstick quilting was the obvious choice, but I don’t like to be too predictable. I marked a few lines and decided to do rays from one corner. A lot of rays.

WIth a strong multicolour background I knew that thread colour wasn’t super important. With dense enough quilting it would also hold the appliqué down and provide varying contrast on the black fabric. Embracing my inner and outer scrap quilter I pulled out all the partially filled bobbins that I had. Finding their coordinating spools I went nuts with multicolour rays. And I cleaned out 6 bobbins to open them up for new thread choices without wasting any thread!

All of my self portrait quilts are bound with the same tone on tone black fabric using the single fold technique. It creates a sharp edge on these smaller quilts.

Since finishing these quilts I’ve been practicing my drawing and painting some more. I recently started an embroidered portrait too. Perfect for on the go. I’ve got my next quilted portrait planned out too. I want to continue to explore how I can make these more me.

Morning Make 2023 - Collage Portraits

Up first in my portrait making, aside from learning how to draw, was something I was just a bit familiar with. Back in 2017 I took a class with Melissa Averinos on making faces in fabric. I made one face, loved the process, developed some grand ideas, then promptly did nothing about them. Needless to say, that’s why I chose to start with this technique. Also, I was using her book to learn the drawing basics so it was a natural extension.

In the book Melissa walks us through the basics of anatomy and shape. She outlines many ways your can interpret this with fabric, then encourages you to go for it. It’s all so very approachable. She also has tonnes of examples. You can see the myriad ways people, her students, took to the portraits. You also get to see a big selection of her own work. It is all inspiring.

The first photo I took to interpret in fabric was my headshot, the main photo on the homepage here. I found it an interesting challenge because it is hard for me to convey depth in the collage. It’s obvious in the photo but in the collage the shoulders look a little off. But can we take a moment to celebrate my hair?! She is quilted with a million thread colours and stops and starts, providing texture and depth.

The second collage portrait I did was in black and white. I took a colour photo from when I was visiting Lucy Maud Montgomery’s house in PEI. I was just to happy on that entire trip and it shows in the original photo. I think the collage does not quite show that. In fact, it feels a bit skeletal to me. That being said, I still really like it. I played with being a bit more abstract in shapes and with value. To soften the whole thing I used a pale pink thread for quilting.

To finish both quilts I did give them a quick soak and blocked them. They are small (less that 20” on any side) but had got a bit misshapen in handling. This roughed up the fabric and I discovered places I hadn’t quilted as well. A few repairs with both glue and the sewing machine were needed. Then the mini quilts are bound with a single fold binding in a black on black print. I decided to be consistent among all my self portraits with binding and treated it like a picture frame.

These quilts were an excellent first start to this Morning Make adventure. Fundamentally, I am a quilter so fabric portraits are the way to go for me. Will I make more fabric collages? I’m not sure. the technique is freeing and effective, yes, but I don’t love the roughness of the raw edges. You do get ultimate freedom in cutting your collage though. I think this is a great technique for play and it may instead stay in the repertoire for that reason, even if I don’t make another full portrait quilt with it.