morning make

Linda - September Morning Make 2022

Linda

79” x 72”

Linda is a force to be reckoned with. A retired educator she may be seen as not much to society now but she still brings joy to people and holds the world together for her family. The matters. She matters. She knows pain and joy, she struggled and fought but is coming out better for it. And now, as a grandmother she gets to see her children blossom more and those babies bring light to all.

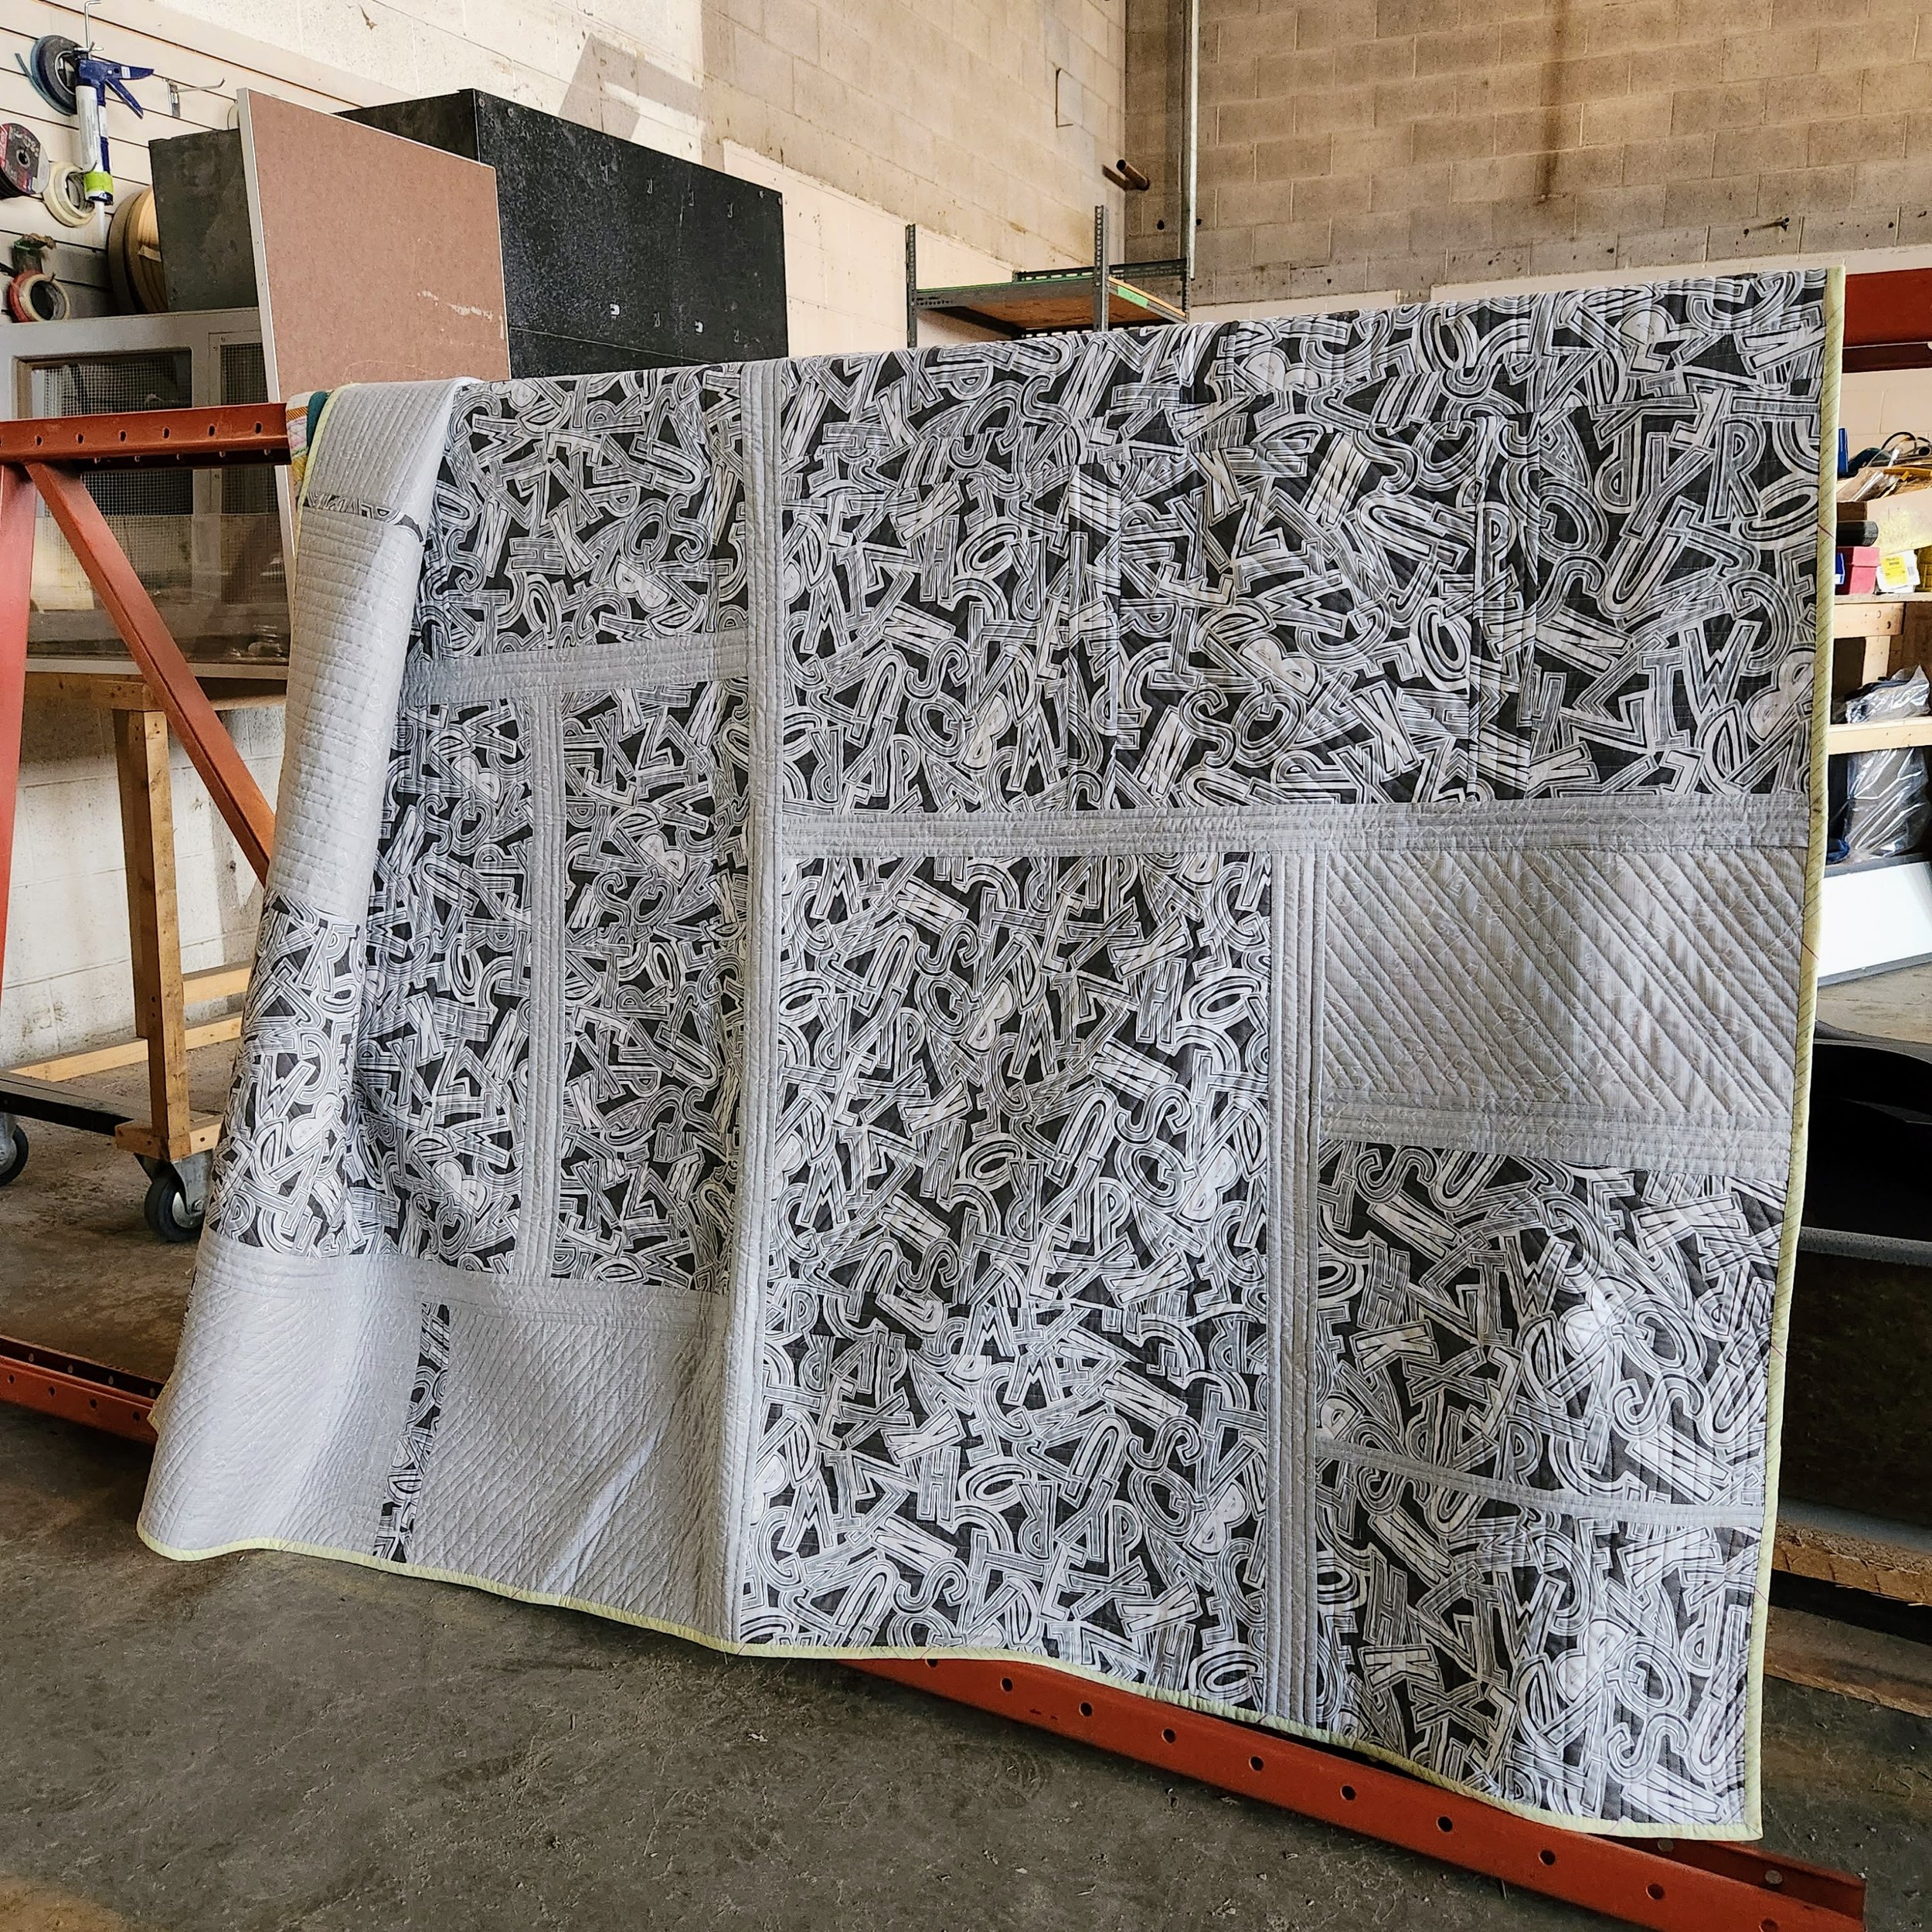
This quilt came together in the month of September. Each day started with a scrap of batting and a handful of scrap strips. Trying to avoid a log cabin I sewed the strips to the batting one at a time. When the batting was covered I added a backing piece and quilted lines over it all. Sometimes straight, sometimes curved, sometimes on the diagonal. Then I trimmed it square. Repeat the next day. Essentially, I was making mini quilts, without the binding.

The technique is known as quilt as you go. There are actually a few different ways to approach the technique and, more importantly, how to approach attaching each piece to the others. Before I started I did some research and landed on the way that Marianne Haak teaches. I liked hers because I could quilt to the edge, rather than have to stop, and the joining method would use more strips. For my particular intentions this was perfect. I joined pieces every few days so it would keep me on track for a totally finished quilt at the end of the month.

Back of a quilt as you go quilt showing the various grey fabric squares joint together by strips.

You can see the back of the quilt here. Initially, I used the large scale print fabric. It is one from my 2017 collection with Connecting Threads called Tag. Unfortunately, I ran out of what I had left partway through the quilt so I had to back half the blocks with something else. With a busy fabric you wouldn't likely see the joining strips. In the end, I rather like the effect of the two fabrics on the back.

Close up of the straight-line quilting and pale yellow binding on a scrappy quilt

One of the great things about this technique is no basting! You quilt each block as you finish piecing and none were big enough to even need a more than a few pins. Then, at the end of it you have a finished quilt and it didn’t take much longer than the regular piecing. Brilliant! So all I had to do was pick the right binding and stitch it on. In the end, I chose this great pale yellow print from Heather Givens from Crimson Tate.

I used all scrap strips to make this quilt. I deliberately chose not to use blacks, dark greys, dark blues, or any muddy colours. As a result, the quilt is bright and sunny. It certainly made a dent in the strip bin, but I could easily make more quilts this same way. Indeed, I have a few more ideas for playing with this quilt as you go technique. It’s a win win situation too because I have a whole pile of scrap batting!

pastel scrappy quilt hanging off a forklift in a mostly empty workshop

All the photos taken in the space that will become both our family business’ new workshop and my new quilting studio.

August Morning Make 2022

Whenever people tell me that can’t sketch out quilts because they can’t draw I like to pull out my own sketchbook. Chicken scratch, random lines, and quite often things that only make sense in my head. You don’t NEED to draw to quilt. As long as you can think about where your seam lines go you are good. That being said, I always want to draw better.

I’ve done drawing for Morning Make before. Quick little still life sketches of things around me. It was a good exercise but building a skill isn’t a one and done thing. So in August I decided to set myself a drawing challenge again. This time, however, I explored a technique called contour drawing.

In contour drawing - at least the way I did it - your pen isn’t supposed to leave the paper. You are doing one continuous long line. Some people do it blind, as in they look at their subject and never the paper. I was not ready for that. But in slowing down to look at my starting image and translating it through a single line I was able to focus on shape and composition. You can’t draw everything in the picture. Well, you probably could, but I didn’t. Depending on the source image (pictures from my phone) I narrowed the focus to only certain elements. Sometimes background were completely eliminated, sometimes just enough to give context. It was an exercise in looking just as much as drawing.

I’ll be honest, I think some, if not all, are quite bad. That is, if you compare to people for whom drawing is a livelihood or serious endeavour. There was improvement, for sure. Some are even better than I would have expected. All were, at least, recognizable. Regardless of the results it was an enjoyable exercise.

July Morning Make 2022

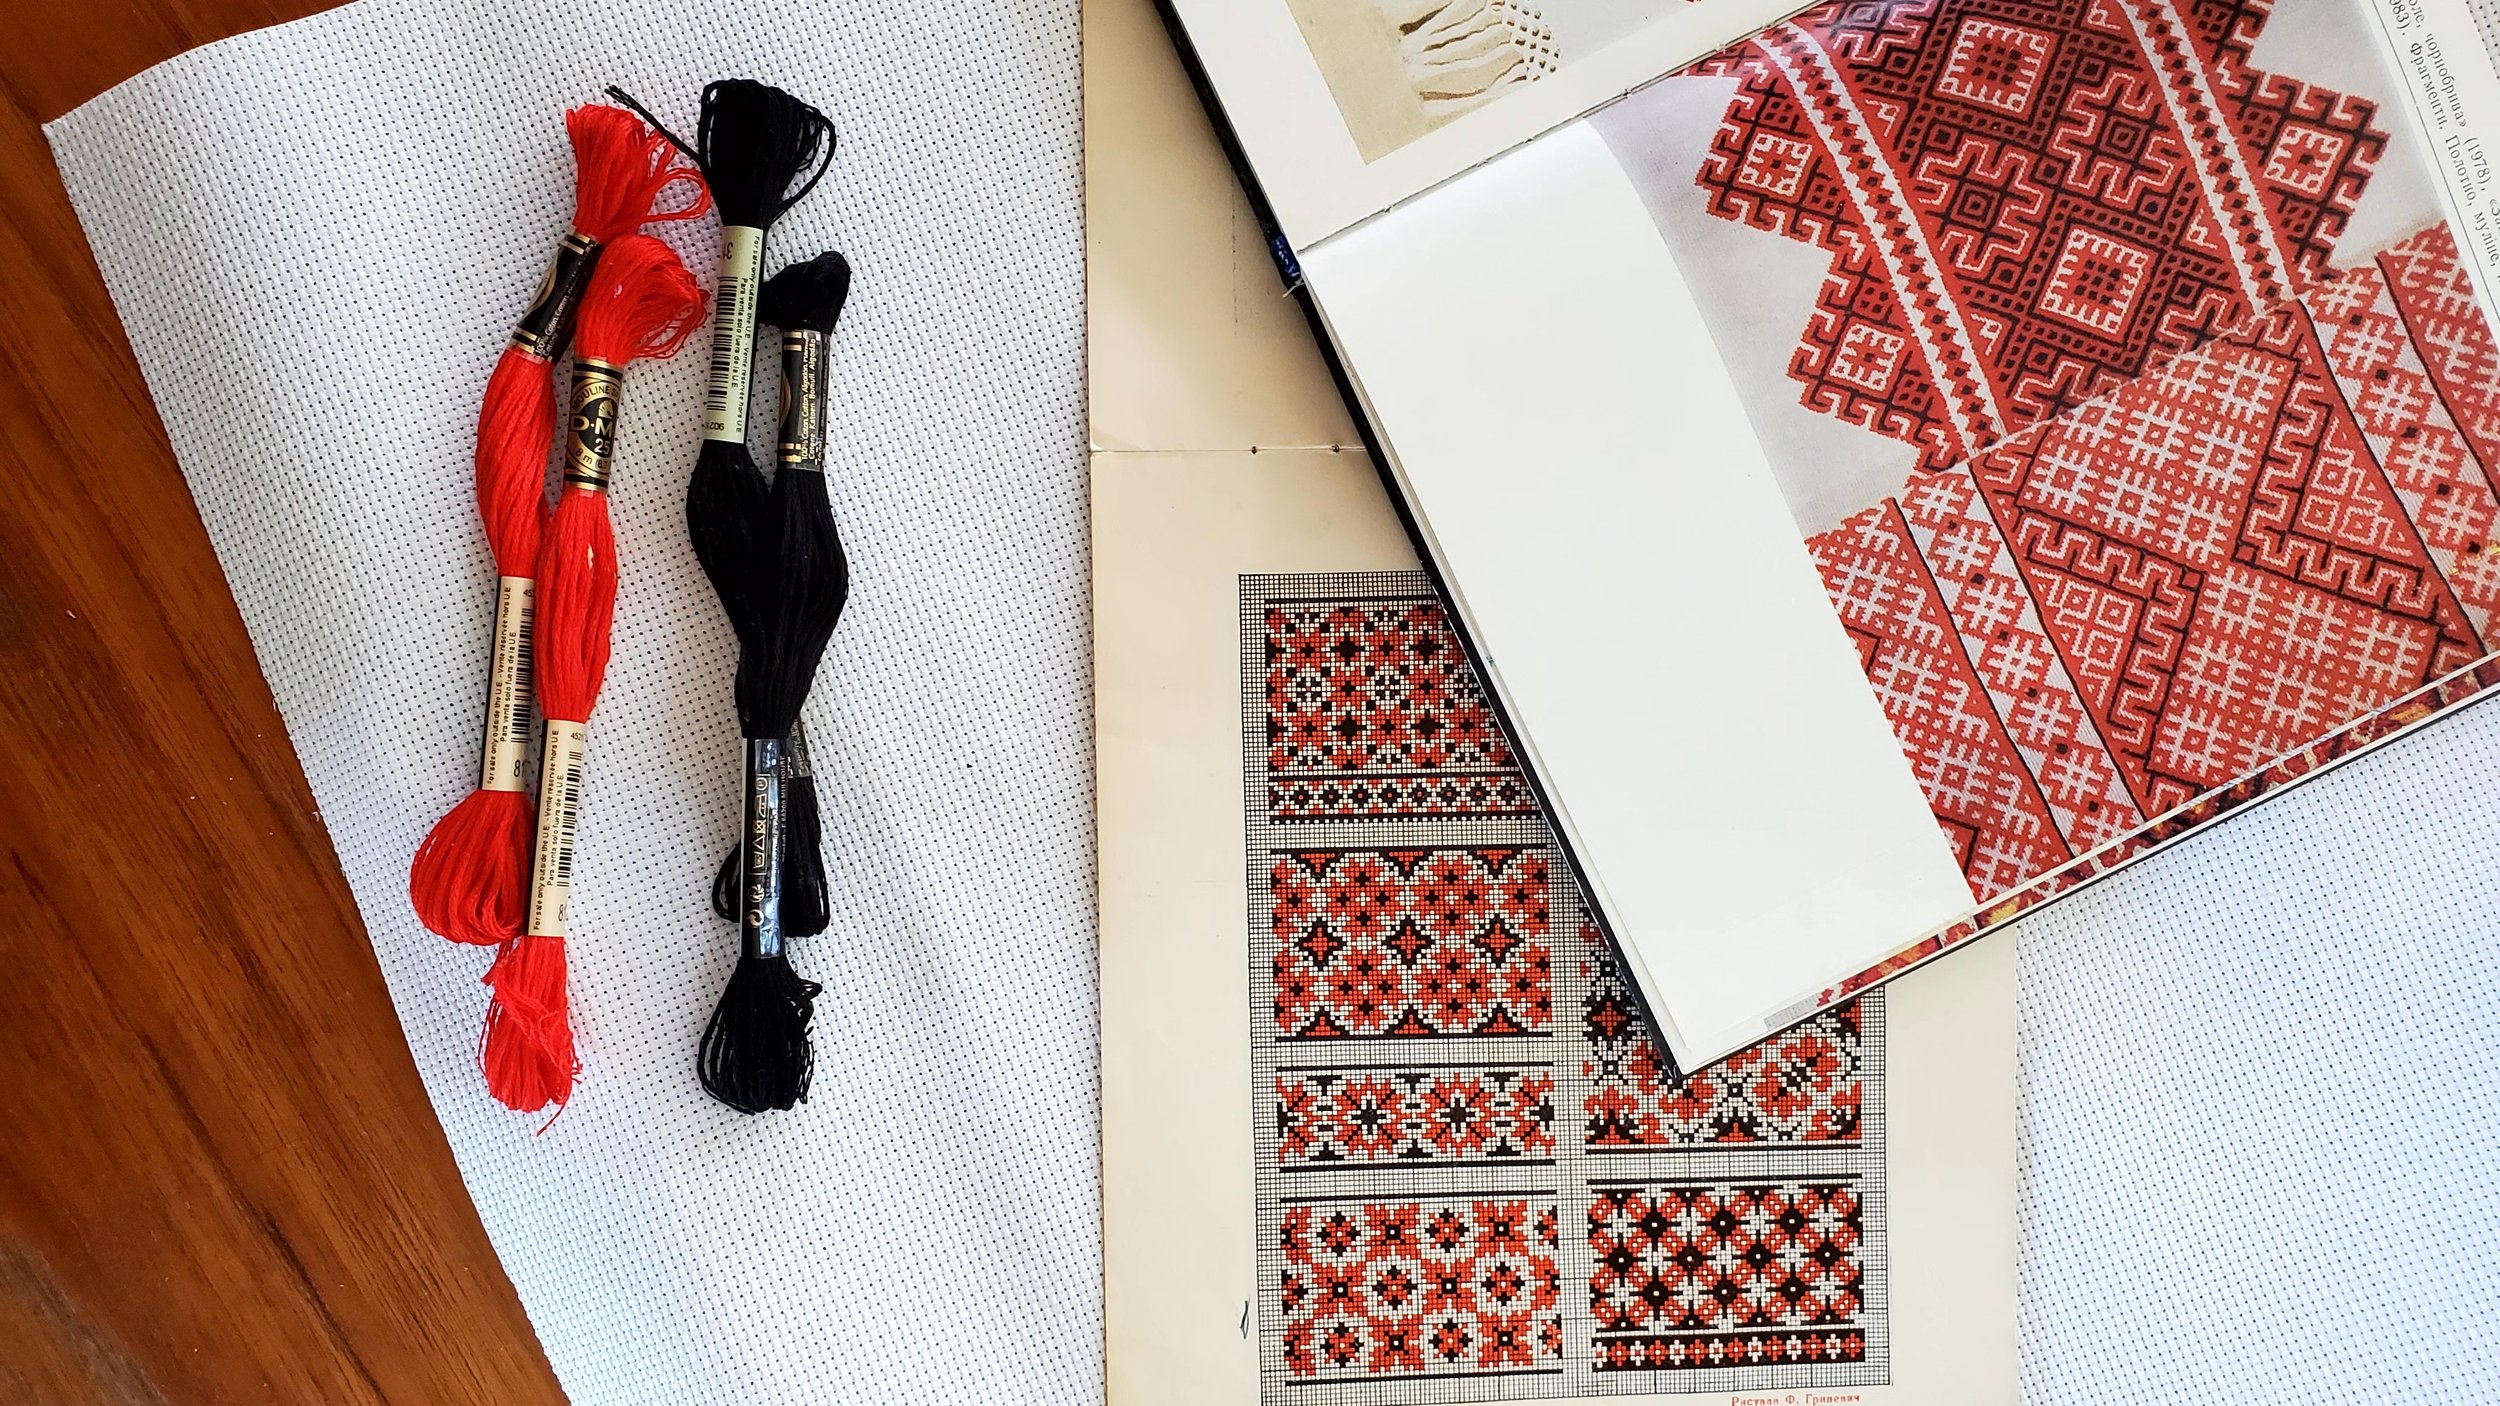
Red and Black embroidery floss, white Aida cloth, and books about Ukrainian embroidery

Frankly, I can’t believe it’s taken me this long to try my hand at the classic red and black Ukrainian embroidery. A first generation Canadian on my Dad’s side with a Baba (grandmother) who never spoke English and spent her summers gardening and winters with a needle, I honestly never felt the need. I mean, we have oodles and oodles of her stitching in our homes. And that doesn't count the suitcase full an aunt stole and the probably hundreds of pieces she gave away to churches, family, and friends. (Much like it will be with my quilts when I die.) With the war in Ukraine and some pride in my heritage, plus a desire for some hand stitched over the summer, I decided to pick up the floss.

For patterns I dug into my stash of supplies I have from my Baba - books, papers, and patterns. I recognized pieces and fondly recalled the decoration she would make for our blouses in Ukrainian dance. All patterns, no instructions. Without her here to guide me I turned to the modern teacher: You Tube.

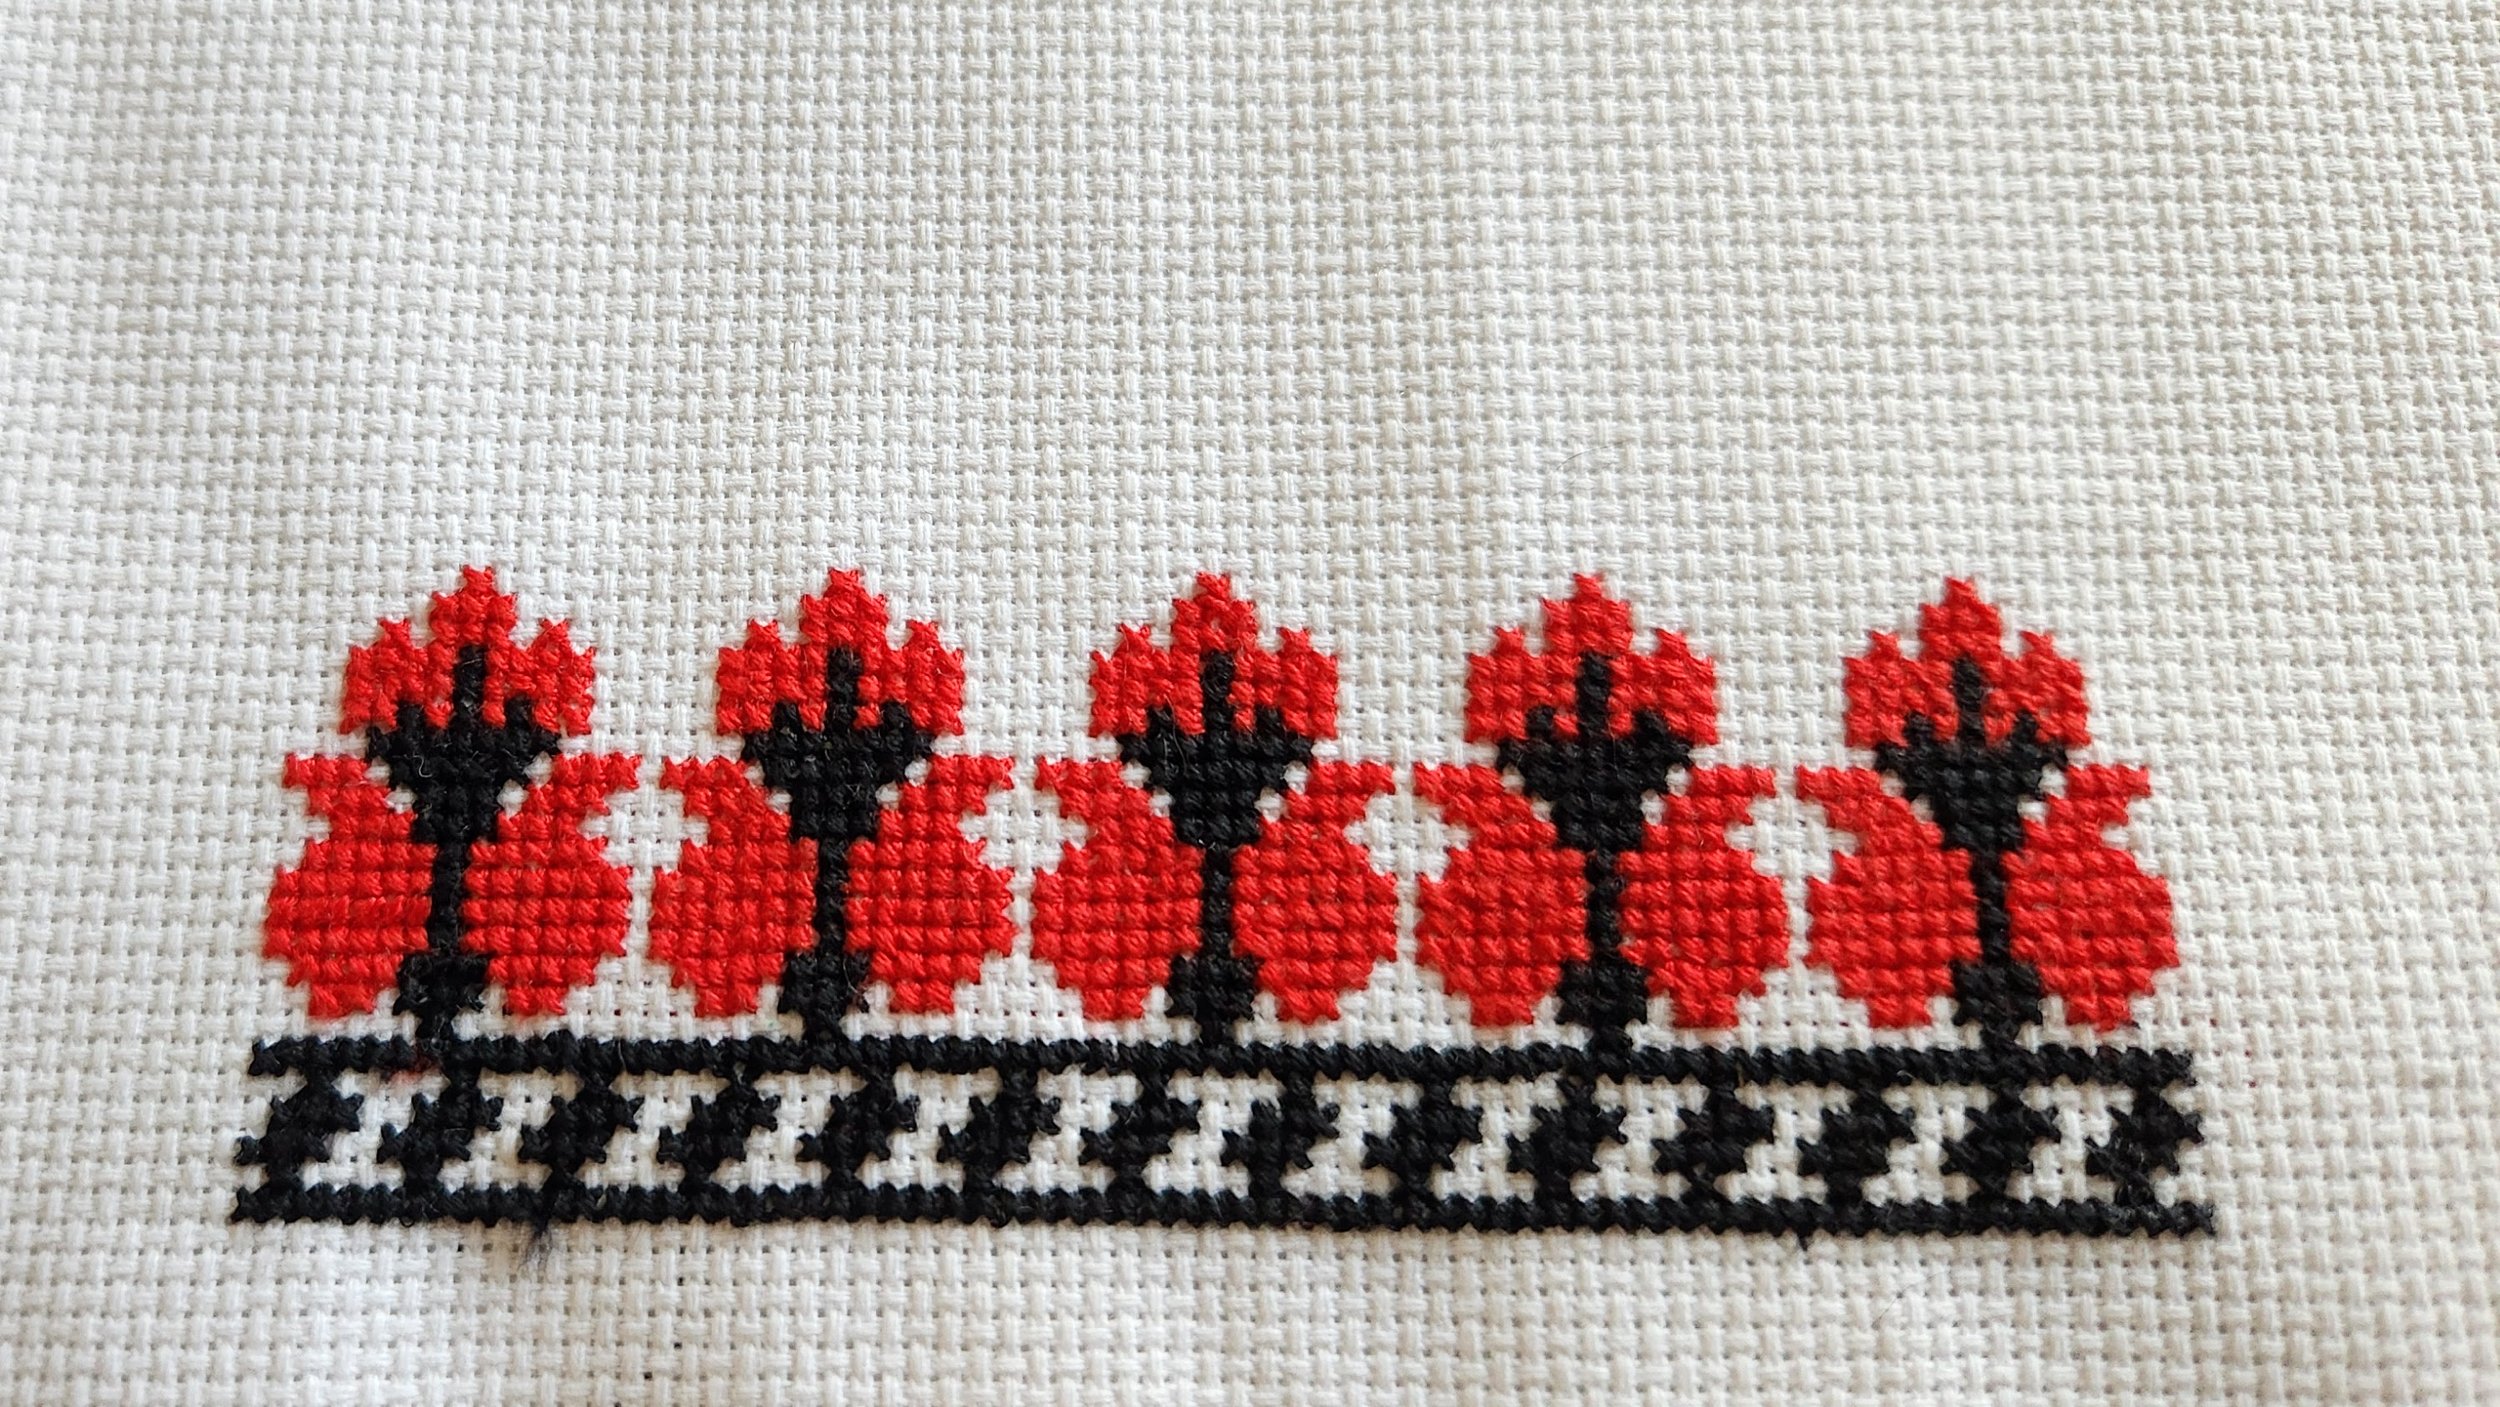
Red and black Ukrainian embroidery
Red and Black Ukrainian embroidery
Red and black central design Ukrainian embroidery

In the end I finished 4 small bits of embroidery. I didn’t set out to ‘make’ anything. For one, I had no idea how long it would take. Two, I figured it would get tedious to do the same repeating pattern for an entire month. And three, I don’t really need more pieces of embroidery in the house. All four pieces could, if I wanted to, be turned into bookmarks.

I found the whole process quite relaxing. Challenging at first, just because of the counting and need to follow patterns. Once you got into a rhythm, though, it became very soothing. I don’t know that I will do it again, but it was special to go back to my heritage this month.

May Morning Make 2022

Seven mediocre watercolour paintings of traditional quilts

While May was a busy month for a family it was a relaxing month for Morning Make. Indeed, starting my day with Morning Make meant that I was in a good frame of mind for the rest of a chaos.

These watercolour sketches of quilts are not a new to me effort. I’ve made a few in the past. For me, it’s a great, relaxing activity. Plus, I get to explore traditional quilts without having to sew them. All that precision piecing!

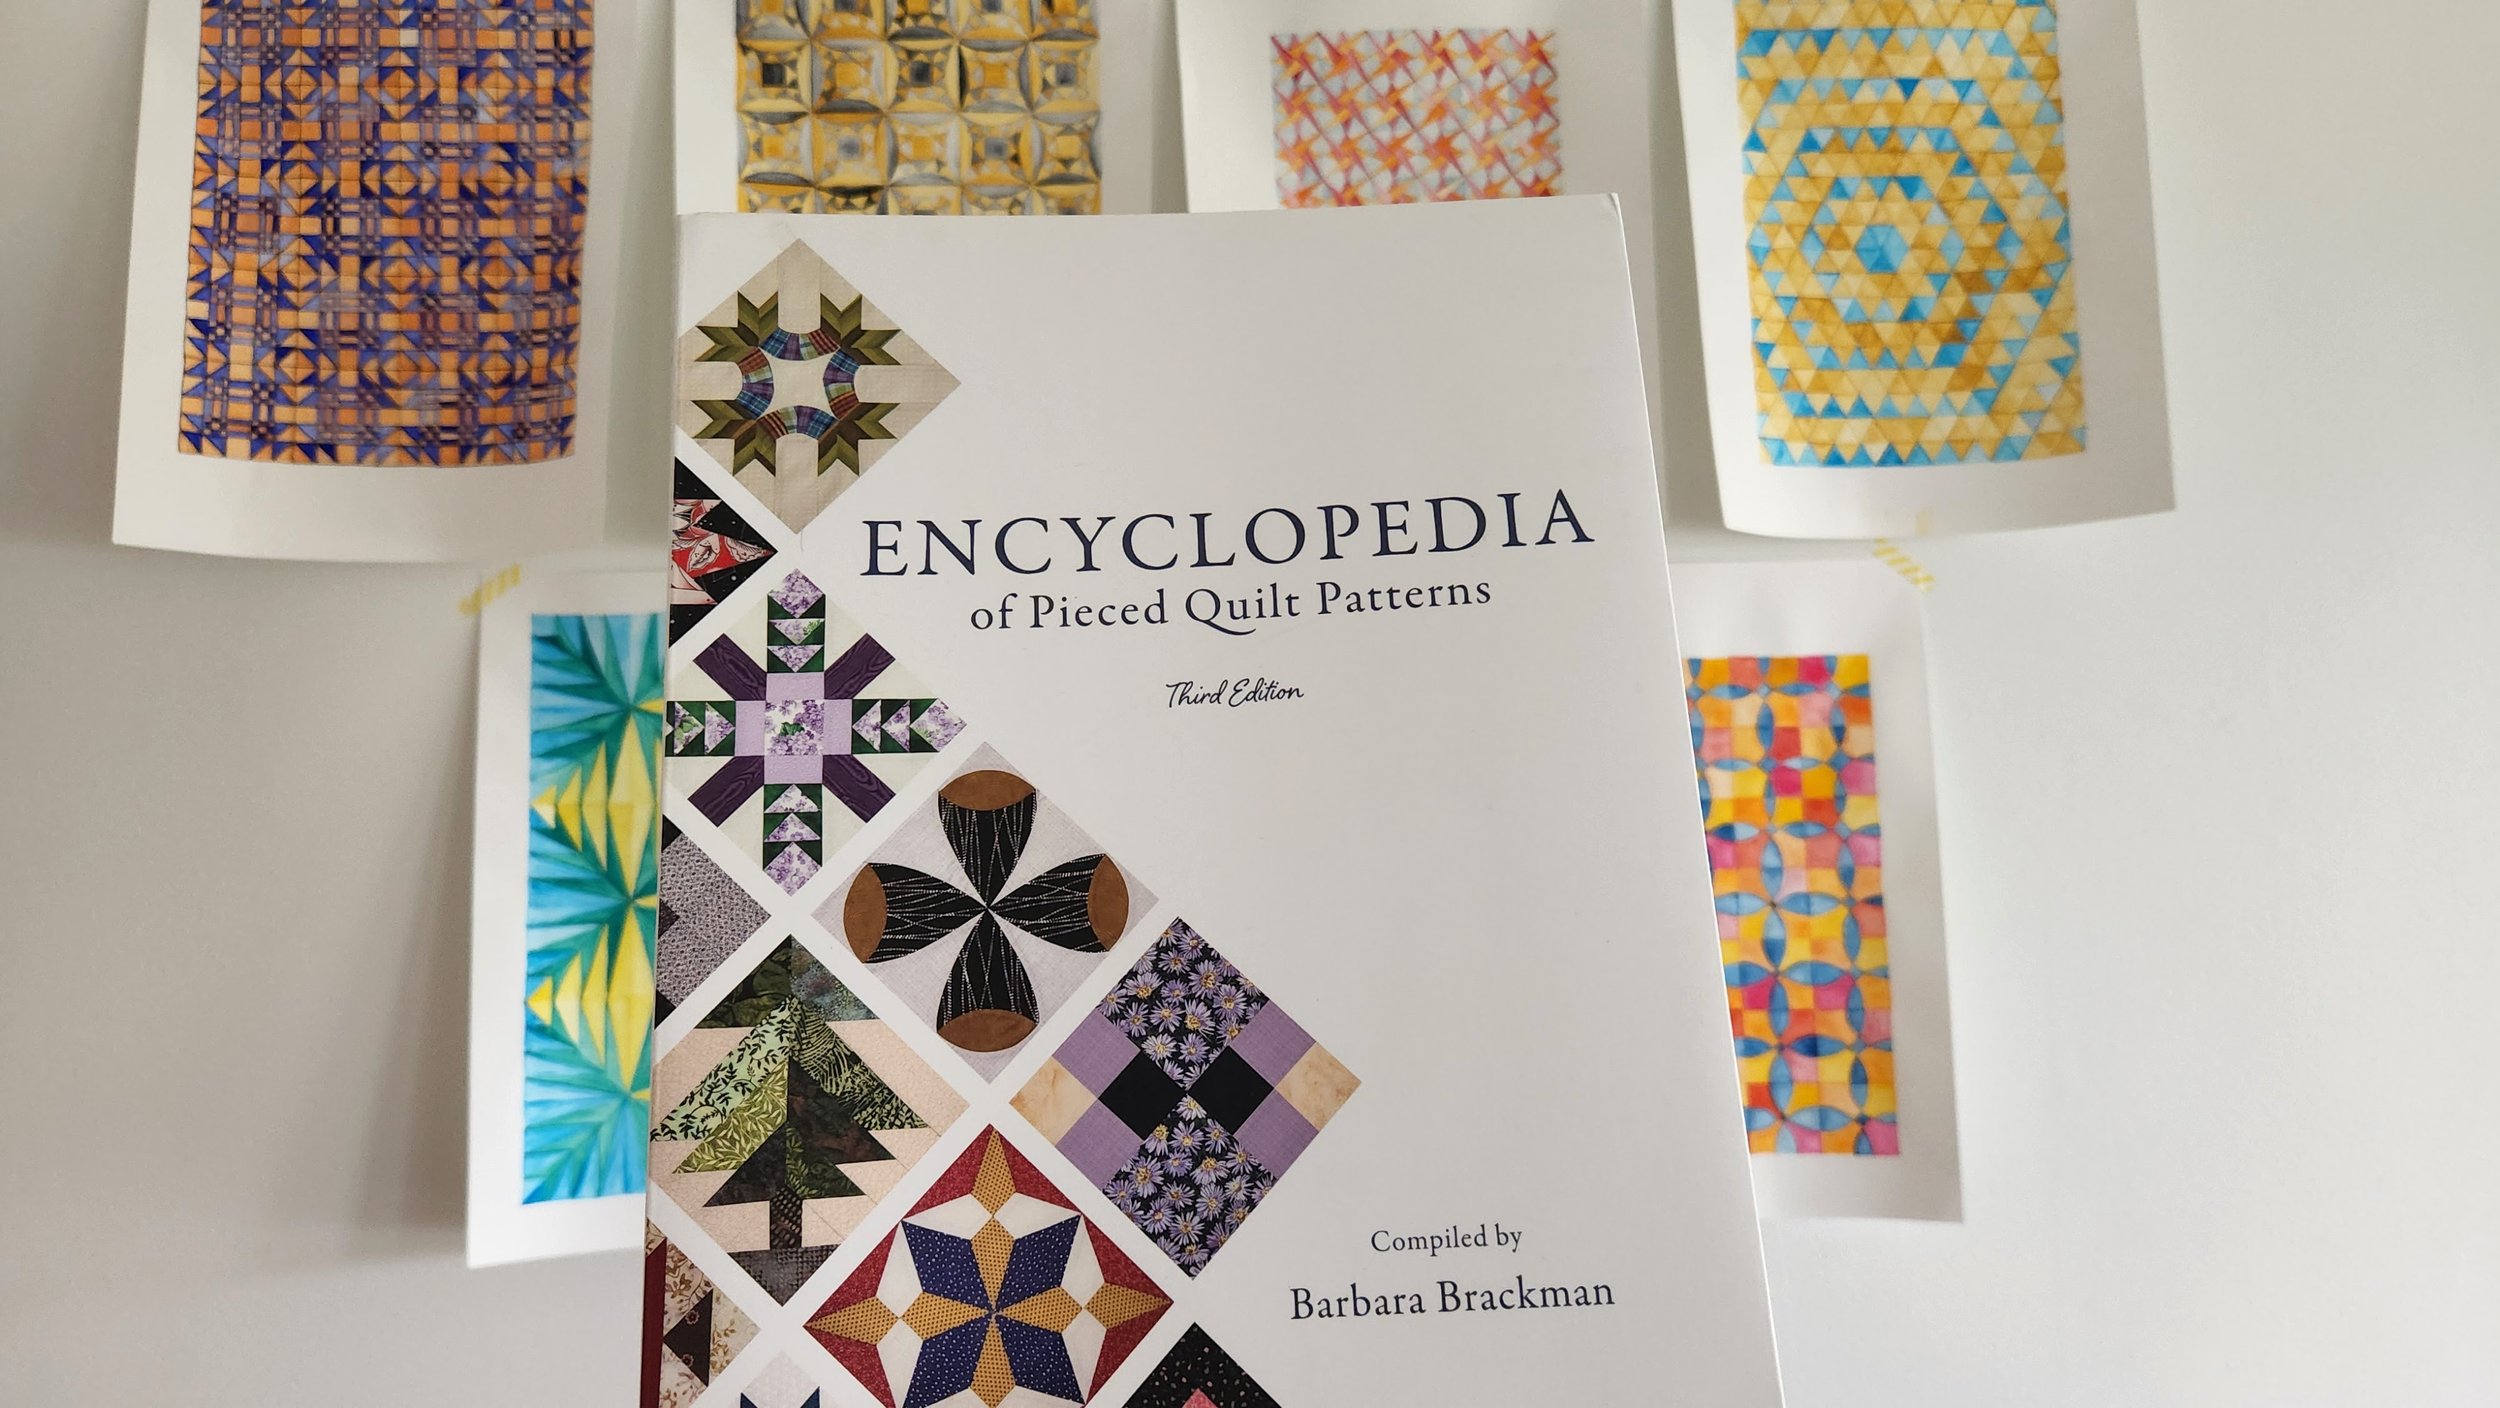
The Encyclopedia of Pieced Quilt Patterns by Barbara Brackman

While there are a million resources for quilt blocks in both print and online I turned to this beauty of a book for picking out my patterns: The Encyclopedia of Pieced Quilt Patterns by Barbara Brackman. It’s an absolute classic and was recently reprinted. It pairs, if you like, with the Electric Quilt products, but you can buy the stand alone book. I picked mine up through Quilt Folk, but check your local quilt stores (or ask them to order it for you) or through the big A. Note, the book only contains drawings of the patterns, there are no measurements, piecing instructions, or templates. You need the Block Base software for that.

It was an absolute treat to flip through the book. As you can imagine, it was hard to narrow down a block choice each time! I ended up picking blocks I either always wanted to try or love but will likely never piece myself.

Pencil sketch of a quilt, ready for painting.

Each painting started with a pencil sketch. Using a good old ruler, a sharp pencil, and with an eraser nearby I translated the single block drawing into a quilt sketch. Sometimes I played with layout, sometimes it was straight grid.

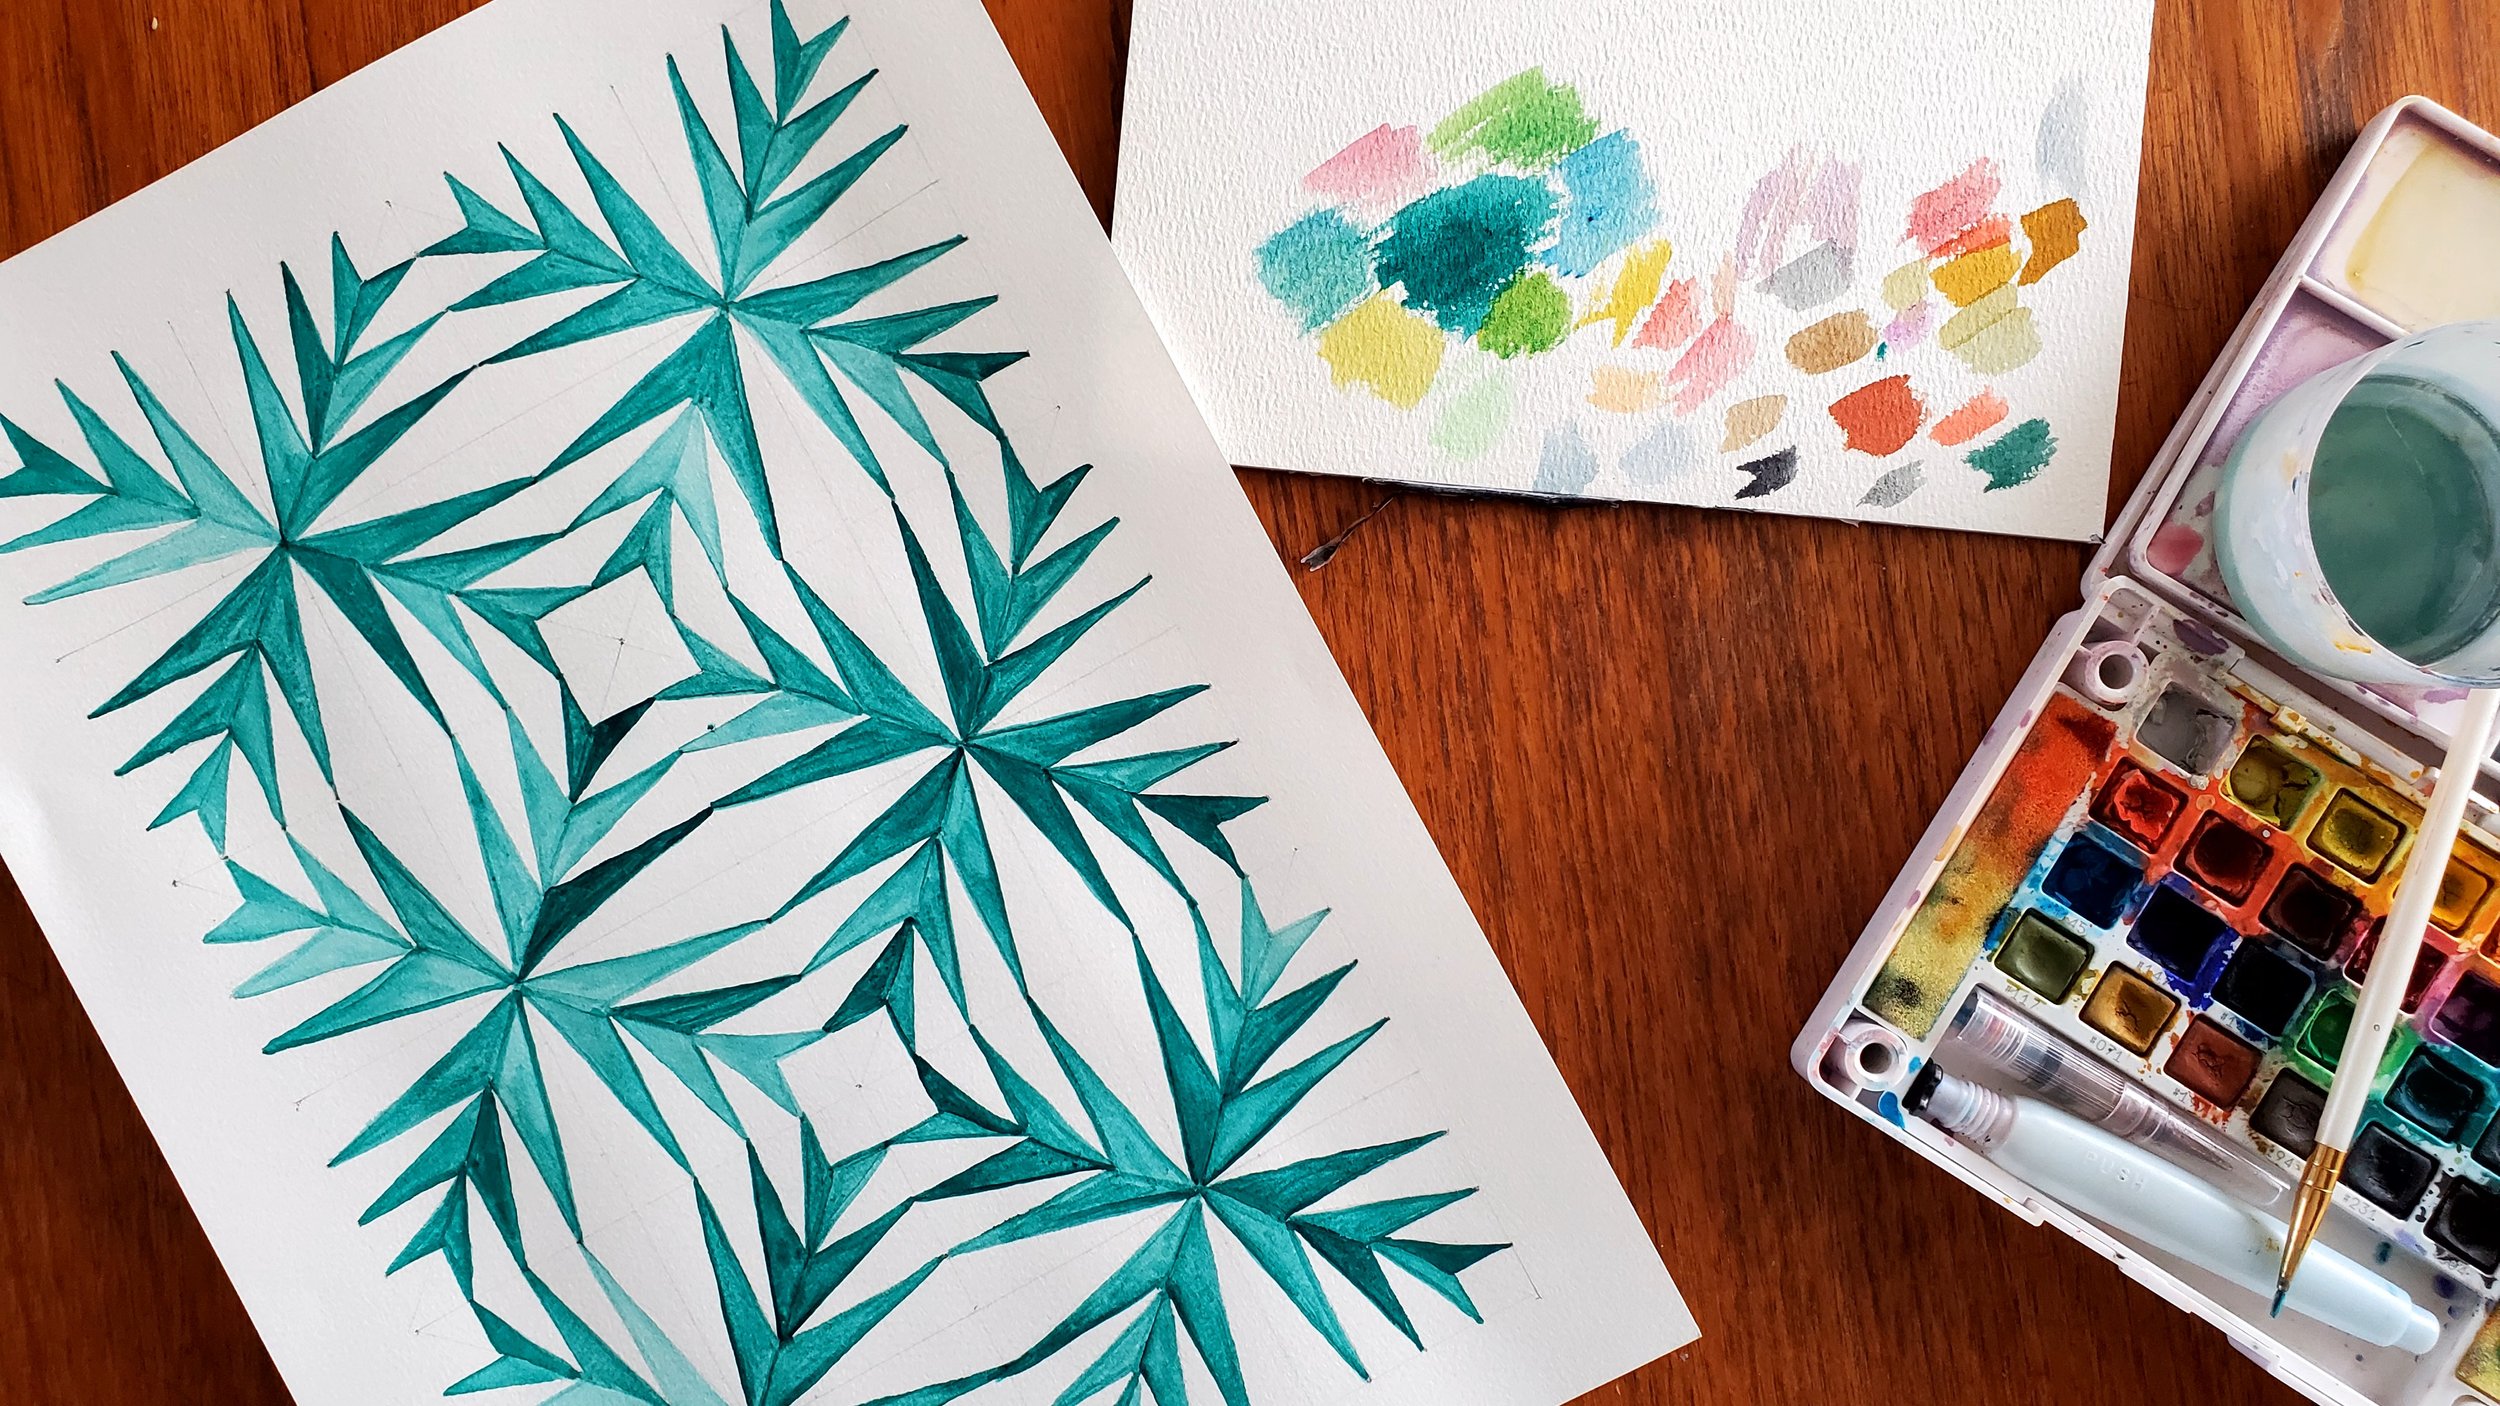
Green paint, looking like palm fronds, at the beginning of a watercolour quilt painting.

Once the pencil sketch was done I started painting. These are the basic watercolour sets I bought just before the pandemic started. I tried to stick with the colours of the palette itself, so that I wasn’t trying to match colours day over day. I also stuck with 2-3 colours only. This was to force myself to concentrate on the design of the block, not try to create a watercolour quilt like I would sew one. Simplicity is sometimes a challenge for me so this was good practice.

Orange and blue watercolour painting of a traditional quilt made from squares and triangles.

On the first painting of the month I outlined the ‘seam lines’ of the quilt with a black pen. I really thought I would do this to all of them, but ended up not liking the look. I’d done it previously but something about it didn’t feel right this time. I suppose I just wanted a softer look.

Gold and grey watercolour painting of a quilt made from curves and triangles.

It might be a little less ‘finished’? I’m not sure, but I still prefer it with the outline.

My watercolour skills are still very basic - this is essentially just colouring. But there is something about the movement of watercolour that is different than anything else. I am still smitten after my first forays into it over 2 years ago now. Loads to explore!