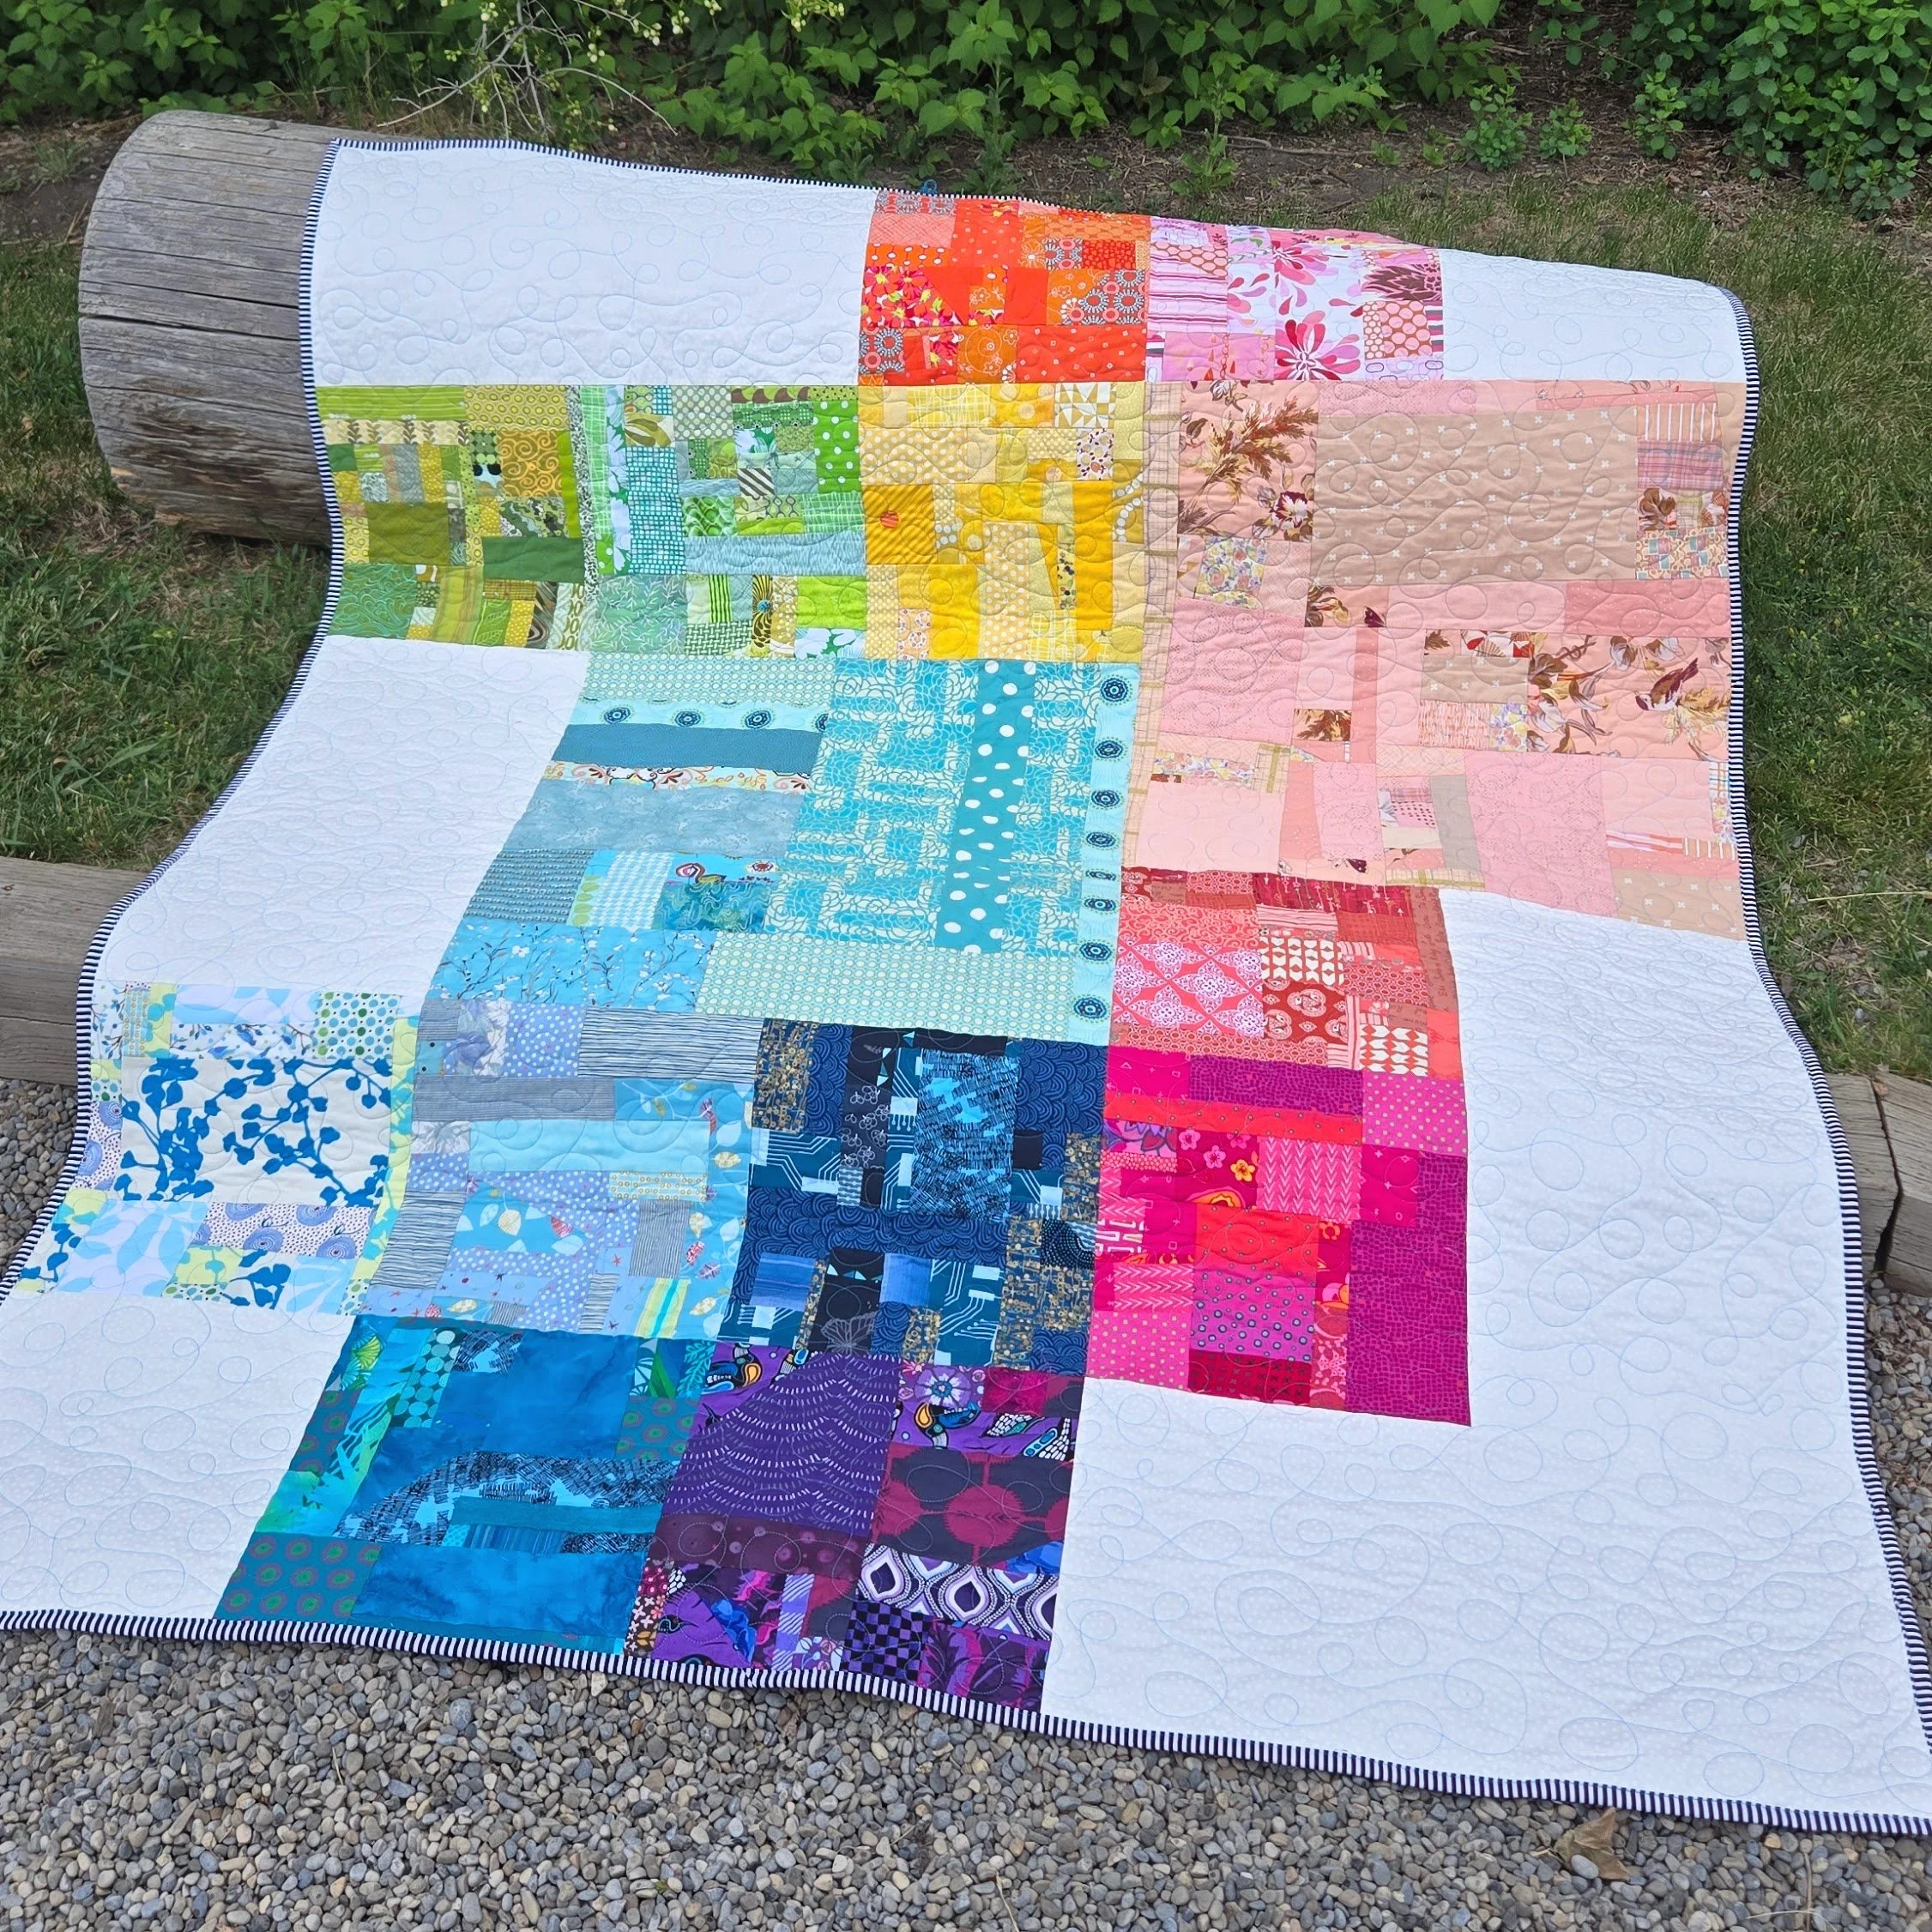
"scraps"

Gaia - Slabs from Scraps for Donation

Gaia

60” x 72”

She lives up to her namesake. Forever picking up bits of things - pretty stones, a fallen leaf, even the trash. Forever finding beauty in all of it.

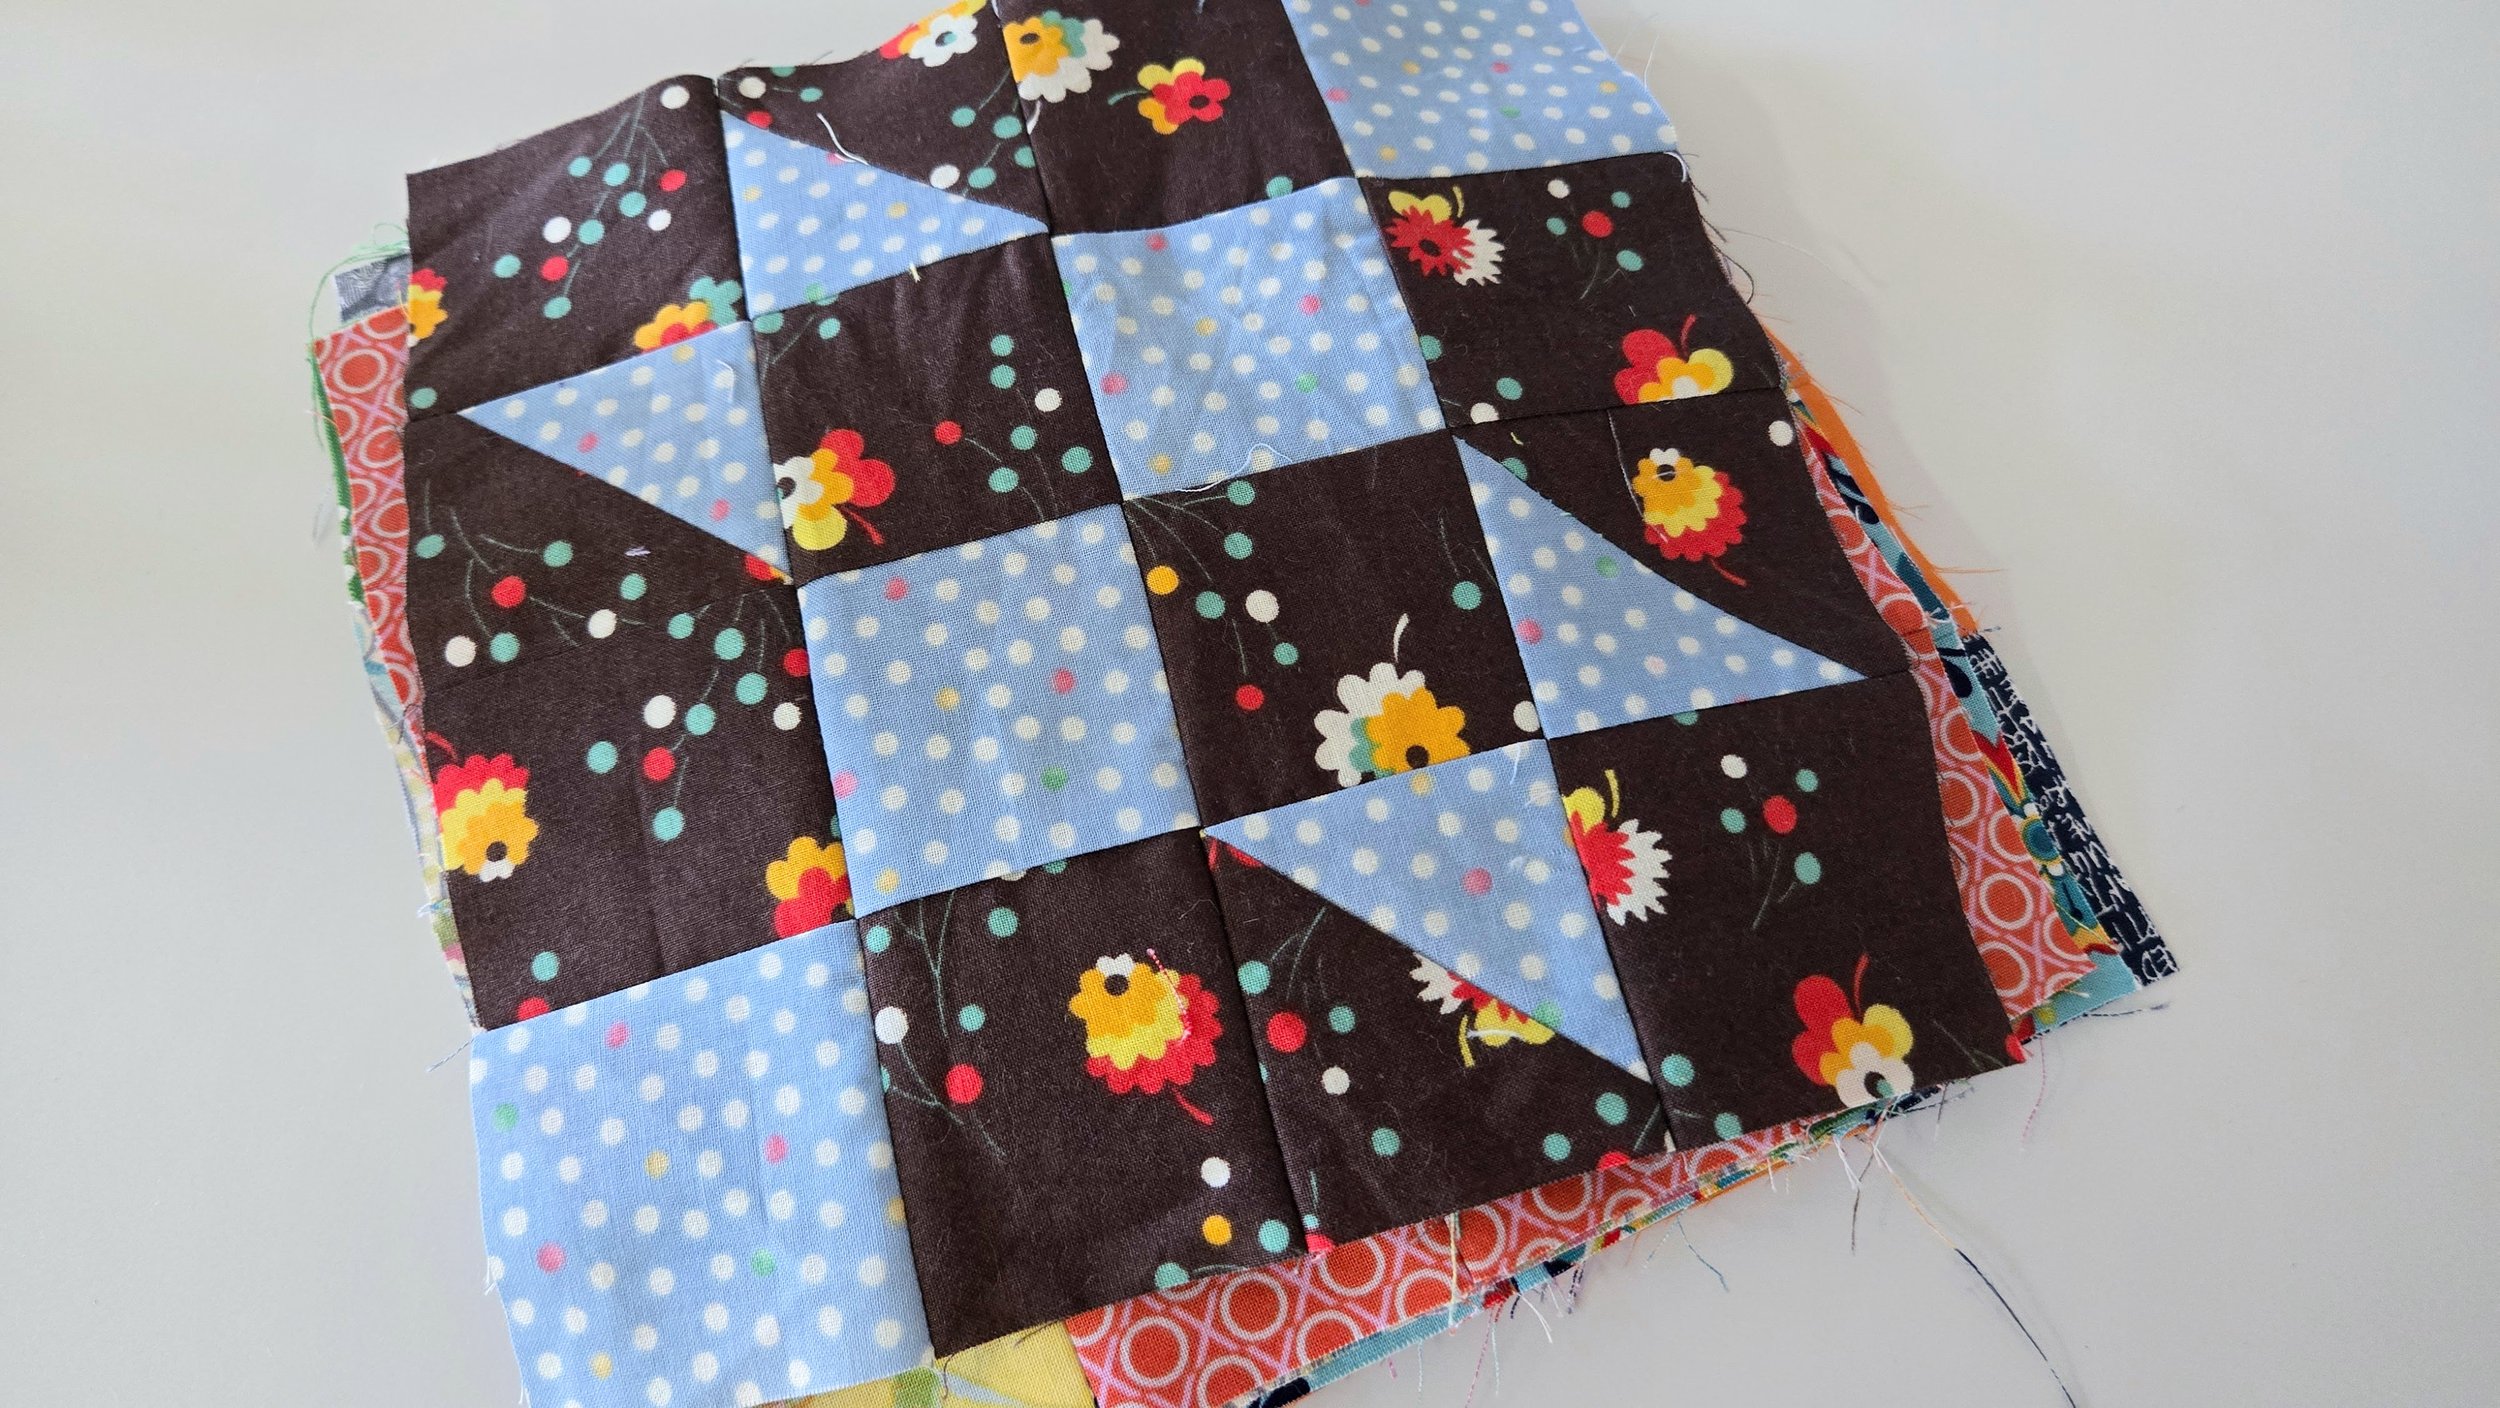
In need of a new finish in a short timeline, I turned to some class samples. You see, I always have my class samples ready to go. In this case, the samples were piling up. In each Scraptastic class or each Slabs only class I make a slab. It’s a great introduction in to organizing your scraps, then seeing both colour and value as you go to use them with some improvisational piecing. I usually make my class samples so that they can eventually be put into a quilt, should I so desire. Well, I desired.

Combined with a simple white on white print sitting in the stash I took the slabs from 14 separate classes (with a few still left for teaching) and put them together in a generously sized lap quilt. She is destined for a specific donation opportunity so I needed to make her big enough for adult snuggles.

Quilting was pretty straightforward. A simple loopy free motion pattern on the rented long arm. I chose a turquoise thread because it looked good with the backing fabrics. With white and all the colours on the front I could have picked anything.

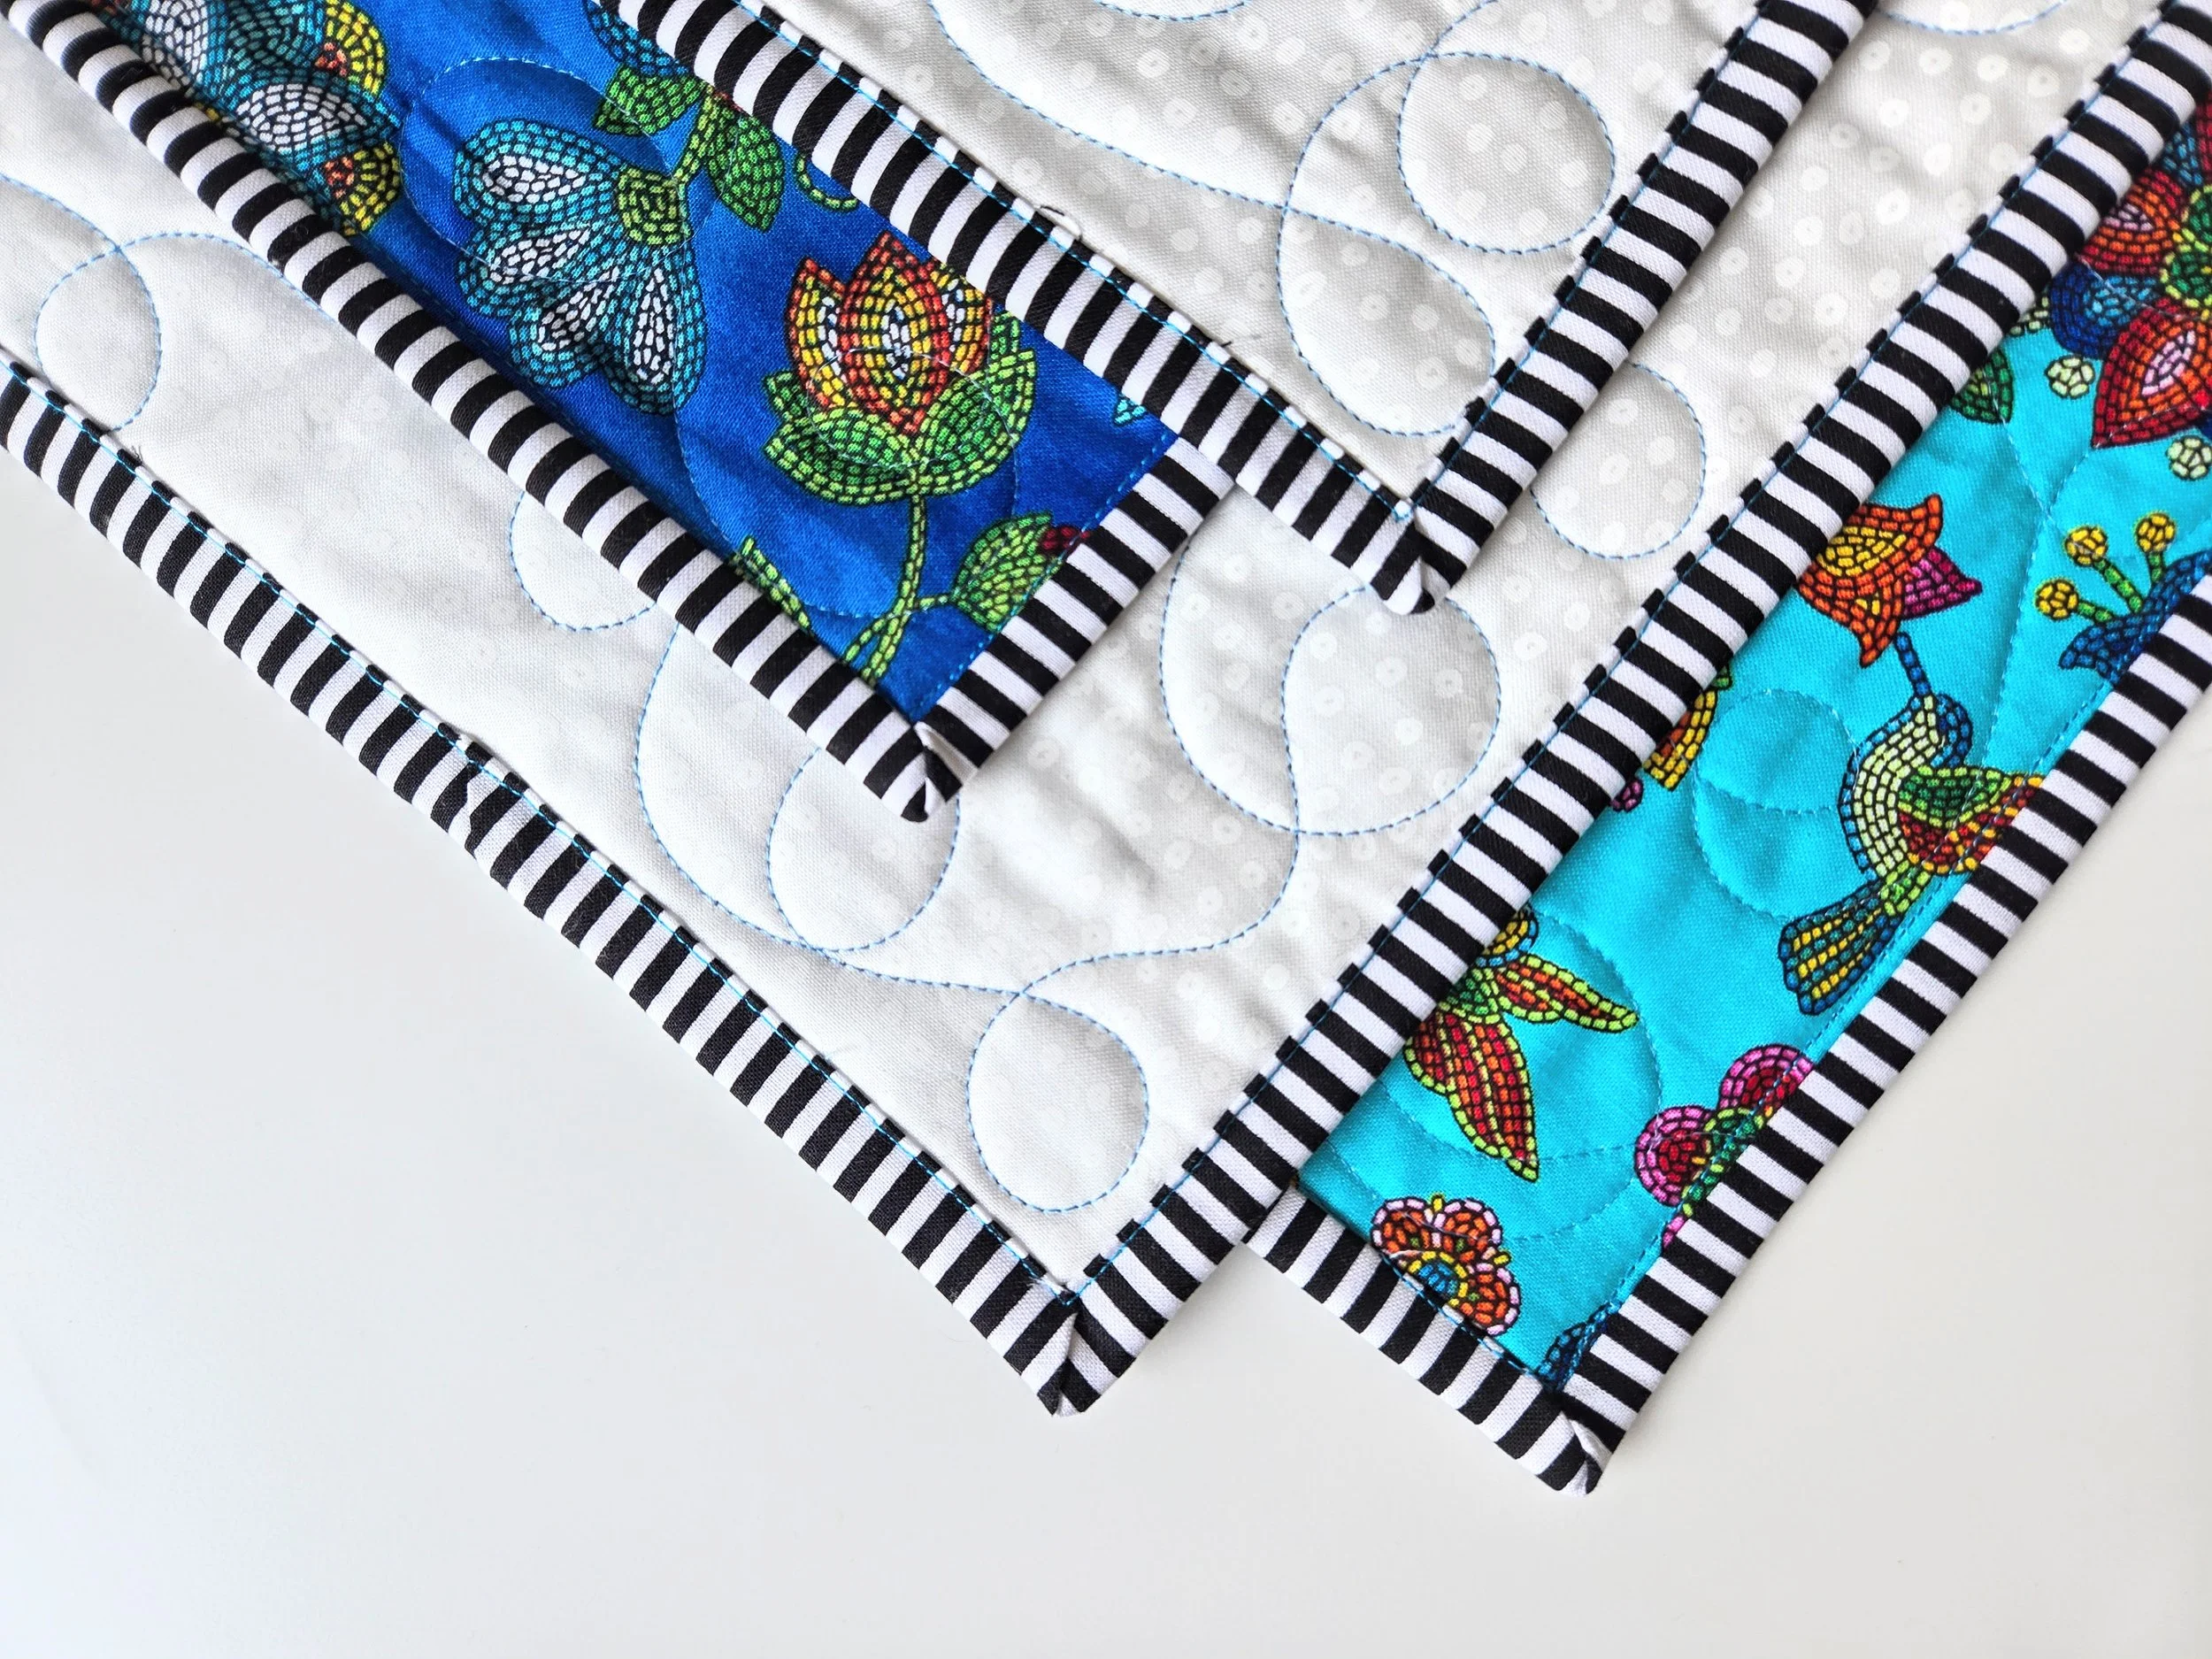
I have meters and meters of this black and white stripe in my stash because, well, it’s a rather perfect binding. You can’t go wrong with it when you have a multi-coloured quilt. My machine binding skills are finally in a place where I am happy with them (after many, many, many mediocre efforts over the years - you get better each time) so it was nice to finish this off quickly this way. I used a turquoise thread in my machine again to stitch the binding down, this tying it all together.

She was ready for a special giveaway. More to come on that soon…

My Scrap Dreams Coming True

Collection of colourful quilt blocks

I’m not sure what is going on lately, but I have been having some very vivid dreams. It’s happened to me before, but medication was the cause. This time, I have no clue what is happening, but I’m leaning in to it. So when I had a dream about a quilt, I had to make the quilt.

Seriously, I had a dream about a very colourful quilt made from traditional blocks. The block itself wasn’t distinct, but the colour was. That day, when I arrived at the studio I immediately went searching for a potential block. I grabbed a favourite book - Barbara Brackman’s Encyclopedia of Pieced Quilt Patterns - to browse for ideas. Rather, to search for what I might have dreamt about. In the end, I settled on one specific block, which she calls the Crocket Cabin Quilt.

A hand holding a book called Encyclopedia of Pieced Quilt Patterns
Close up sketch of a Crocket Cabin quilt block

Sadly, my dream wasn’t super specific on the block in question. Or maybe that was a good thing? I mean, what if I didn’t like the block? Regardless, I chose block 1123a, the Crocket Cabin Quilt block. Why? Mostly because it was simple, graphic, and just felt right. The math was pretty easy to figure out as well, considering the block only has half square triangles and plain patchwork.

The first experiments were straight out of the scrap bin. That is, I dug in to the colourful bins on my cutting table and picked two contrasting fabrics. Block 1 was a success so I tried another one, and another. I played around with values, making the dark the bowtie, then making the light fabric the bowtie. I couldn’t decide which I liked better, so I went with both. After only a few blocks it was apparent that I was indeed starting a new quilt.

When I made that decision I also put some limits on my fabric selection. This is primarily to satisfy the vision I had in my dream.

  • No low volume fabrics

  • No black backgrounds either

  • Value is only relative within the block (it doesn’t matter if what is light in one block would be a dark in another)

  • No repeating fabrics, each one is only used once

There is no special reason for these limits, it’s only just what feels right for me, for this project, for right now. I am shopping for the fabrics from my scrap bins first. I’ve found some classic gems doing this! Of course I have loads of scraps, but they aren’t always big enough. Then I go to my stash and pull out fabrics that might need to be trimmed a little or not. It will not be hard to get enough fabrics without spending a penny.

How big will I make the quilt? My default size is usually 80” x 80”. I made the blocks to finish at 8” square, so that means I will need 100 blocks (and 200 unique fabrics). I’m currently sitting at 43 made, with a few more cut out and ready to sew. I’ve been making 1-4 each day that I am in the studio. No great rush, but it is a nice way to round out my days before returning home.

Dreams really can come true.

Braided Rug Quilt Block Alternative - Colour Focused Scraps

So I think I started a new quilt. I didn’t mean to, honest! It was just an experiment that I fell in love with!

There I was, teaching a Scraptastic class with a guild out of the Whistler Valley. We got to the part where we play with strips. At this moment I always give students a choice on what technique they want to explore. The Braided Rug blocks won out that day. While demonstrating the technique I decided to explore a square block. A change from my original. One pile of pink scraps and some sewing later, an idea was born.

It’s a been a few weeks and that idea has already evolved. I thought rows of blocks first, then placed four together like this. Okay, that works. let’s try another colour and maybe do a round robin, like the original again. I really liked that shape formed by the four together though so placed another colour that way. Yup, that’s the winner! I’ve already picked my next colour - green, for hope - and will make another set of 4. I’m thinking, only thinking, of making 9 sets of 4 blocks. We’ll see how the motivation lasts. That being said, moving to the new studio uncovered A LOT more scraps than I thought I had so there is no shortage of fabric options!

Nine small piles of coloured fabric

Just playing around with potential colours. This is a more random colour scheme, maybe I will edit it down, maybe not? For now, one block at a time.

Wren - A Scrap Quilt of Happiness

Wren

78” x 80”

She’s the joyous girl of sunshine. She grew up in a hippie community on an island. It’s easy to be easy going when you grow up surrounded by peace and love. Sure, there is always an underbelly to that and life is always far from perfect. She chooses to move forward with love, however, no matter what happens. As a result, she spreads that calm and joyous nature to the people around her. At night, she retreats and regroups, a little bit alone in her personal sorrow. But without pain you can’t feel joy, right?

This quilt was a wonderful bit of therapy. I mean that both in the making and the end result. She started from a literal pile of scraps that my son threw on the floor as a toddler. Rather than put them away I started sewing them together right from the floor! Fast forward a decade and I pulled it out to make it bigger through some play.

You see, a few eyers ago I faced a rather deep hole of depression. No specific trigger or anything, but life was hard and I turtled. It happens and I am grateful for the support of family and friends and therapy and medication that helped me through. But there I was laying in bed one day, the quilt over me reflected in the light fixture above. The pinks in the chrome with the spots of crystal struck something in me. At that moment I decided to pull out some pink fabrics and play. Why pink? It’s simply a happy colour to me. I made one quilt top, then I decided to play with another. The first one I am in the midst of hand quilting, the second took a trip to the long arm rental with me. She’s done now.

That light fixture has seen some things! It was such a splurge for a light that we don’t actually turn on much (I am one of those people who doesn’t like to be in a room with overhead lights on.) Despite that, she brings me joy every day, reflecting the room around her and the light itself.

After making the initial quilt top a functional size, I set out to make a back that gave me as much joy as the front. I used some precious, favourite fabric from Denise Schmidt I’d been holding on to plus a few others from the stash. Life’s too short for an ugly quilt back!

Yellow and pink quilt on a yellow floor

This was not the quilt for fancy quilting. It is essentially one giant slab quilt with a riotous mix of fabrics. Quilting is for texture here more than anything. That being said, I ended up getting a bit fancy! I started with wavy lines across the quilt in pink, peach, and yellow. Sometimes they overlap, mostly they don’t. It wasn’t until I was off the long arm that I decided on some additions. My first thought was the odd line of hand quilting in waves, just for fun. Then I decided on some words. If this was the quilt that helped me through my depression, then I wanted some reminders to keep my mental health in a good state. So I started stitching words right in to the quilt. Both embroidery and quilting in one.

Relax stitched into a peach quilt square
Laugh hand stitched into a quilt square
Walk hand stitched into a grey square
Make Love stitched into a grey quilt square

Connect

Relax

Laugh

Walk

Make Love

These are the actions I need to remember moving forward. As I healed, I learned that I need these things (plus creating, but that is a given) to help me on a regular basis. If I do these things, I can make it through anything. Stitching them through the quilt was a good moment of reflection, and their subtlety in the quilt is like a little message for me - or anyone else - using the quilt.

Of course I wasn’t quite done with the hand stitching. After finding the perfect pink binding (an old favourite from Emma Jean Jansen) in my stash, I went with the big stitch for closing the binding. Yes, this works well and holds up to washing, in case you were wondering. It’s a rather nice way to put a finishing touch on a quilt full of love and joy.

Pink, grey, yellow, and orange scrappy quilt