"tips and tutorials"

March On - Free Improv Quilt Block Tutorial

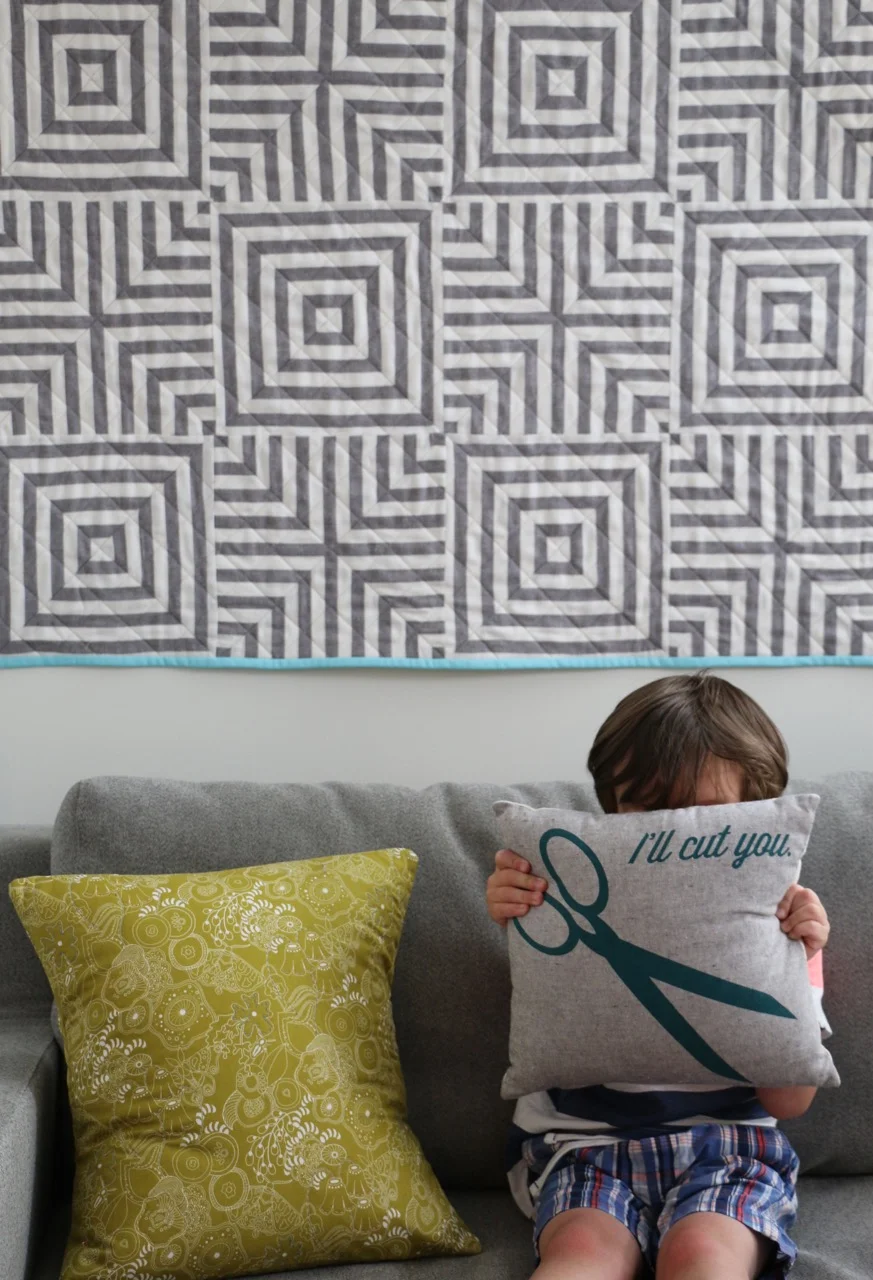
In the wake of the US election I, like many others, felt compelled to make. I needed the comfort of sewing more than anything else. The familiarity, the creation, the time alone with my thoughts. Rather than start something new I decided to pull out some very meaningful blocks. After sharing them on Instagram I had a few requests for a block tutorial. With my compulsion to create in overdrive I decided to make a video tutorial.

Feel free to make your own March On blocks. Any shape, any size. These instructions are for roughly a 9 1/2'' square block, but they will vary.  If you want smaller, start smaller. If you want bigger, start bigger. They go together quickly so without any trouble you will have yourself your own solidarity march in no time. 

Mighty Lucky Quilt Club Challenge Announced

Single Fabric Quilt from Mighty Lucky

The July Mighty Lucky Quilt Club is out and I am so excited to share it with you. This month I am sharing a fun and pretty easy challenge. Dive into your stash for a favourite fabric and see if you can use it to make a single block, even a single quilt with just that fabric. You'd be surprised how fun and very doable that challenge is to do.

Have you heard about the Mighty Lucky Club? It is a monthly challenge for quilters. it's all about pushing ourselves creatively and with technique. You can sign up for one month or the whole year. It is a great collection of designers working hard to inspire you. For only US$5 you get a delivery of a PDF to your inbox with all the challenge details. It is $50 for the year's worth of challenges.

The quilt above is from my July challenge, available now. In the challenge I give you tips and tricks for using a single fabric in a quilt, share different examples, and even provide a block pattern for playing. Actually, the pillow is another example from the challenge. Want to learn more? Check out the Mighty Lucky Quilt Challenge!

Cheryl Arkison Crafty Planner

You can also learn more about the challenge and hear me chat about a bunch of topics on the new Crafty Planner podcast with Sandi Hazelwood. I was really excited to formally chat with Sandi. Her interviews are always so thoughtful and she asks great questions.  Obviously, I'm biased, but I think it was a great interview.

A Year of Garment Sewing - 13 Things I've Learned.

This represents a year of garment sewing. (Minus one sweatshirt and two skirts hanging in other people's closets.) I am suitably impressed with myself.

A year ago I tried making a Linden sweatshirt, then another, and another. I made one more a few months ago. Two years ago I still would have said that I will never sew clothes. Now I have a collection of patterns in the To Make pile and I stash garment fabric. I hardly know myself!

Yet, I am so drawn to garment sewing. I know why, too. This has become my hobby. In order to avoid complete burnout with quilting being my career I needed another outlet. I'm not so keen on other crafts with a small house and limited time. Plus, I really, really like my sewing room. Sure, I could, and do, read in there. But sewing is what I really want to do. If quilting is just too much that day I pull out my tracing paper and already prewashed garment fabric. They are relatively quick finishes compared to quilts, another bonus. Finally, making a garment is a palette cleanser for me. A reward when I finish a quilt, a quick project between big quilts, something to take advantage of a clean cutting table before I mess it up again.

In this past year I've learned a few things about garment sewing.

  • When you are told to use a rayon or poly thread, use it. I had the quilting mindset and was all cotton all the way. But cotton thread has little give and ripped seams in my knits are the results. I've remade one sweatshirt and rehemmed a few others.
  • Make a muslin or test piece. It helps with fit and to work out any confusion that might come with construction. I've been making mine out of solid cottons when the pattern calls for a woven - they are generally cheaper and I can resuse them back for quilt scraps. I make wearables with the knits, knowing I can donate it if it doesn't work out for me.
  • Yet, there are times when you make something and it looks great, but it just isn't you. 
  • Adjusting a pattern isn't that big of a deal.
  • Spend the money on tracing paper. I always trace my patterns instead of cutting the original. It is easier to make changes and then make multiple sizes, if necessary. Like if your best friend asks really nicely for a sweatshirt.
  • Storing the patterns after tracing is a pain. So too when you print a PDF pattern. I've taken to saving paper towel and gift wrap tubes and storing patterns in those.
  • A serger would make my life so much easier, but I really don't know where I would put it. I might have to figure out that detail though.
  • Just because the pattern is popular doesn't mean it will be right for you, for your body. And that's totally okay. If you aren't sure, hit the mall and try on something in a similar style. Then determine if the style works and/or if you could adjust the pattern for yourself.
  • Voile, once washed and sewn in a garment does not drape as I expected.
  • It will almost always take longer than you thought it would.
  • Unless you have the most basic of sewing machines, there are a lot of stitches on your machine that are your friend. Discovering the blind hem stitch and how to use it was a game changer for me, for example.
  • Nearly every independent pattern I've used has extensive resources online. Maybe not from the designer themselves, but a google search will pull up blogs, reviews, and tutorials that can help you with your sewing.
  • Garment sewing is not nearly as scary as I remembered from my Home Ec days.

Here is what I have made this past year. When I hung them all together like this I was shocked. I didn't realize I had made this much!

There is a stack of fabric and patterns waiting for more of my time. I wish I could tackle the pants I want to make for the kids, the linen pants for me, a skirt out of Liberty, find the right pattern for the silk/cotton I recently picked up... The list goes on. And I'm pretty excited about that.

Sewing Room Injuries


No, things have not been that stressful in life that I felt the need for drastic action. It sure looks like it though. I just accidentally touched my arm on the iron last week. This latest burn is healing nicely. It criss crosses a previous burn. And goes nicely with the other two scars on my arm from the same type of injury. Quilting is a dangerous activity!

It is dangerous indeed. We use sharp tools all the time. Hot tools too. All while creating something soft, cuddly, and beautiful. Here are some of my quilting injuries:

... Burns, as described above.
... Dropped a ruler and caught it with the top of my hand, where it landed on the corner and dented my hand nicely.
... Sewn my fingertip to appliqué (just a flesh wound, but a dramatic look).
... Sliced off the tip of pointer finger with the rotary cutter. Pay attention when cutting and don't look away because someone called your name from the top of the stairs. Or else you might almost require a skin graft, if it wasn't for having a brother who is a doctor who can bandage you up properly. And it is nice to be able to keep cutting and do simple things like flick on a light switch with that finger.

What about you? What are your sewing room injuries?