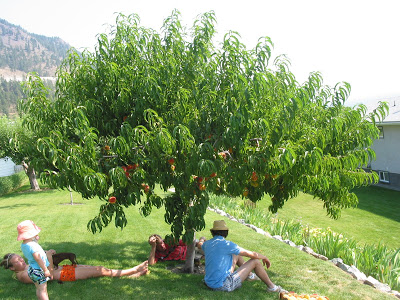
Some days diets and nutrition are just thrown out the window. When you are young, single, and childless it is pretty damn easy to make a dinner of nachos and beer, or perhaps some chips and dip in front of wrestling on TV (been there). Having kids, though, makes nights like those so much more difficult, yet so necessary.
Gone are the days of pizza on the couch or a bowl of cereal for dinner. I would like to blame an irrational desire to promote nutrition and proper dinner etiquette, but I have to blame The Monster. We tried, more than once, to make it a big treat to have dinner at the coffee table in front of a hockey game or Le Tour de France. No dice, that kid insists on eating dinner together at the dining room table. We're lucky she doesn't know anything about white tablecloths and candles. Sure, it is our fault for a general insistence on table manners and enforcement of dinnertime rules. But seriously, can't we relax the rules, just a little?
I did discover a good way to do that - don't even mention it's dinner. Just sit down on the floor at the coffee table, food in hand. Let them come to you, begging to try your treat. Then, don't feed them dinner.
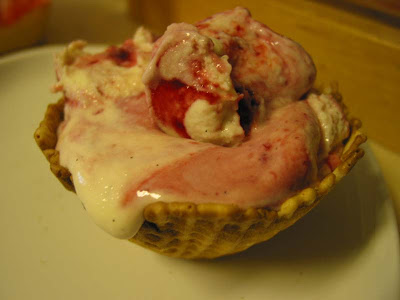
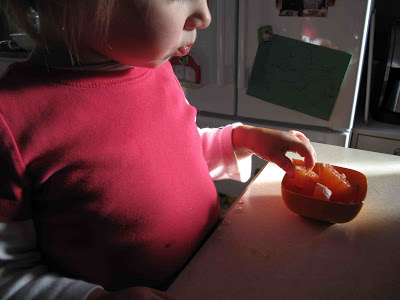
That is how we came to have ice cream for dinner the other night. Hubby was out of town so it was just me and the girls. I'd had a day, just a long, draining day. And I wanted to try and get a decent picture of this ice cream before 9 pm. Since the ice cream was all soft (too soft) and I didn't want to freeze it again, I scooped it all in one bowl, parked in front of Le Tour, and we ate ice cream for dinner. And damn, it felt good.
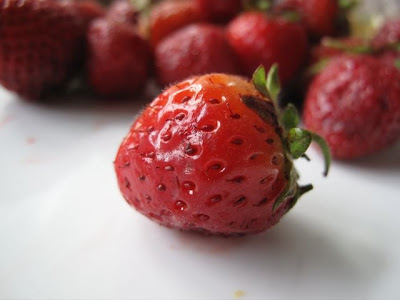
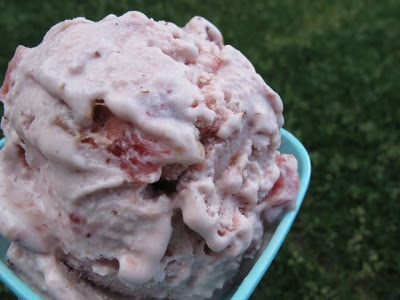
Strawberry ice cream with a rhubarb swirl. If one felt so inclined a sprinkling of granola on top would make it the ice cream interpretation of a strawberry rhubarb crisp. But I wanted smooth, creamy, tangy, and sweet. And this delivered.
The ice cream was made with the custard base I've developed and quite like - creamy and thick without being eggy. I macerated, then pureed strawberries. Then added a swirl of stewed rhubarb before it was placed in the freezer.
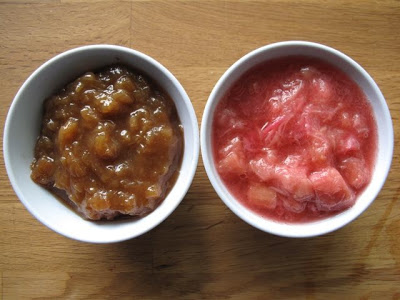
Just a note on the rhubarb. The picture below shows two different versions of stewed rhubarb, made exactly the same way. One was with pretty much green stalks, one with very red stalks. There was pretty much no difference in taste. The only difference is cosmetic. I saved the brown stuff for a topping for oatmeal and yogurt, and used the pink stuff in the ice cream.
Strawberry Ice Cream with a Rhubarb Swirl
Makes about 5-6 cups
2 cups half and half cream
1 cup heavy (whipping) cream
1 cup milk
1/2 a vanilla bean, split
3 egg yolks
2 cups cleaned, hulled strawberries
1 cup sugar, divided
1 cup chopped rhubarb
2 tablespoons brown sugar
1 tablespoon water
Splash of vodka
1. Combine creams, milk, vanilla bean, and 1/2 cup sugar in a heavy saucepan. Heat while stirring, but do not scald or boil. Whip egg yolks in small bowl. Slowly pour 1/2 cup of warm cream/milk mixture into eggs, whisking constantly. Pour eggs/cream/milk mixture back into the remaining cream/milk mixture. Heat, stirring constantly until custard is thick enough to coat the back of a spoon (5-10 minutes). Remove from heat, pour through a sieve into a clean bowl, cover with plastic wrap directly on the surface of the custard, and refrigerate for 4 hours or overnight.
2. While custard is cooling slice the strawberries and macerate in the remaining 1/2 cup of sugar. Just before you want to make the ice cream blitz the strawberries with a food processor of mash well with a fork.
3. Make your stewed rhubarb. Combine rhubarb, brown sugar, and water in a small saucepan. Set on medium heat to cook. Stir occasionally while the mixture cooks down. After a few minutes the rhubarb will be almost broken down and the sauce will be thick. Remove from heat and cool completely. Add a splash of vodka just before adding to the ice cream.
4. Stir the strawberries into the cooled custard and make ice cream according to your ice cream maker's instructions.
5. When your ice cream is done, place half in a container for the freezer. Dollop half of the cooled rhubarb over the ice cream. Scoop over the remaining ice cream, top with dollops of the remaining rhubarb. Quickly run a knife through the ice cream to swirl the rhubarb. Place some plastic wrap directly on the surface of the ice cream and freeze until firm.

 It isn't too hot. There is no family crisis. And we aren't being pulled in ten million directions.
 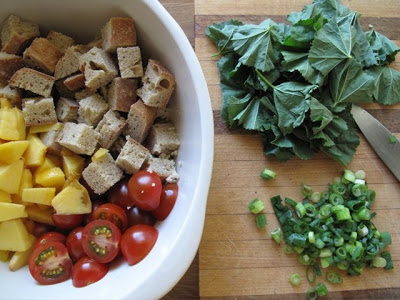 Yup, when you are too lazy to cook you can still have a damn tasty meal. Just 10 minutes of chopping and a quick drizzle of oil and vinegar and you've got panzanella. For us non-italians, that means bread salad.
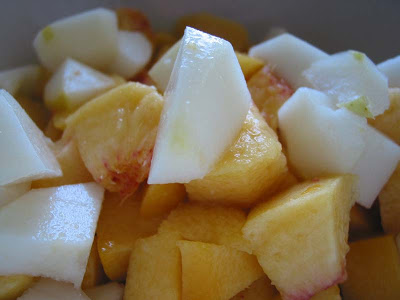
 This is a technique more so than a recipe. I've never made this without tomatoes, but the rest of it depends on what herbs and other veggies I have around. Sometimes cucumber and red onions. Sometimes coriander and roast peppers. And today, peaches, mallow, and green onions.
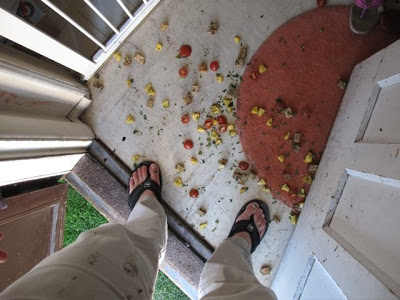 Oh, and in case you thought that even this dinner was immune to the daily frustrations of life these days this was half of dinner, before we even started. I was coming inside after taking a few pictures and the dog jumped up, knocking the bowl from my hand. Sigh.


 To give you an idea of the size of a sour cherry here it is next to an organic Rainier. The organic ones are smaller than the regular ones and that sour cherry seemed positively tiny in comparison to a regular Bing. They were easy to pit, simply coming apart between my thumbs.
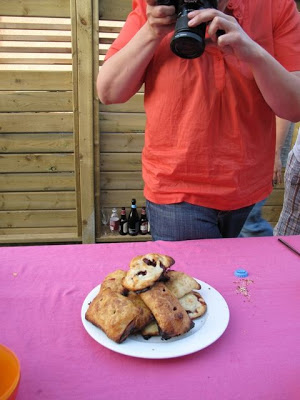


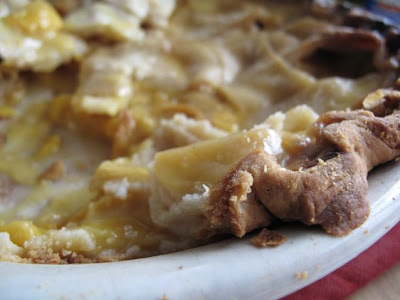
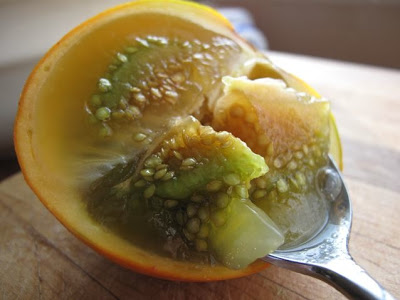

 Huge success! The fro-yo was rich and sweet and oh so creamy. Did it taste like figs? Not the gross ones we had, but it definitely tasted like more than plain fro-yo. The Monster happily ate hers with a glass of pear nectar for a post-dogwalk snack. For me, it was the perfect accompaniment to the last of the apple pie my mom made for us on the weekend.
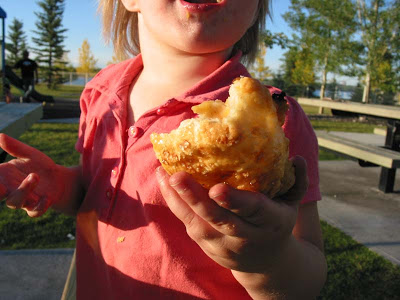
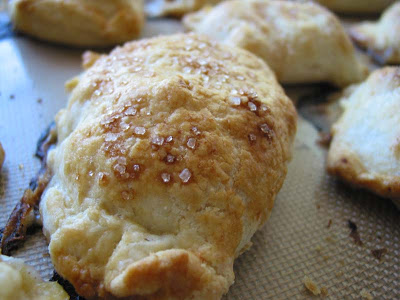
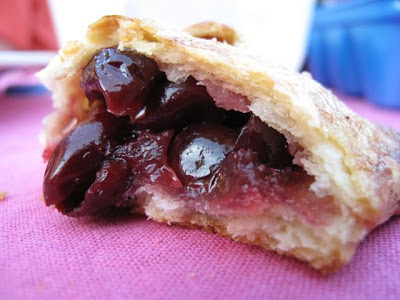
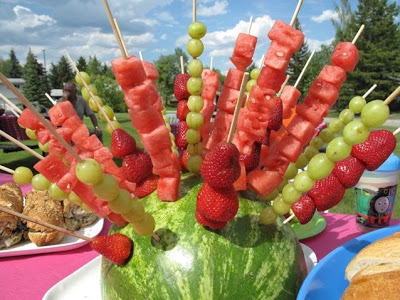
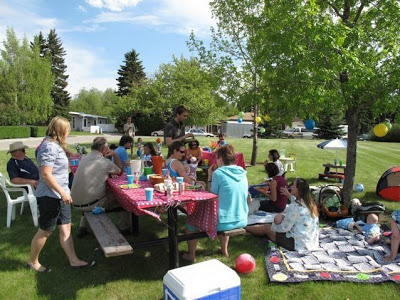
 After another week as a single parent I was rather excited for our picnic. The Monster was not. But I was smart, I went to the playground. Of course, that meant she spent most of the time playing and very little eating. Half an apple and half a pie. She hasn't been eating much of anything lately, perhaps she is getting some molars? How could I worry when she tore around the park, happy as could be? I even managed to nurse the baby while she climbed and slid. Oh, and I ate about 4 pies... Talk about emotional eating, or they were just that good.