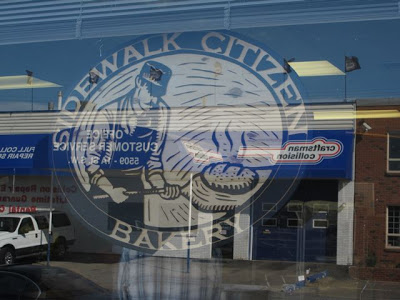
Down a street lined with offices, carpet stores, and body shops you can find, arguably, the best bakery in Calgary. It isn't so large that the smell of fresh bread comes through your air conditioning. But the line of cars and bikes outside the nondescript entrance on a Saturday morning, opposite the line of smashed up cars, is your giveaway that you've arrived.
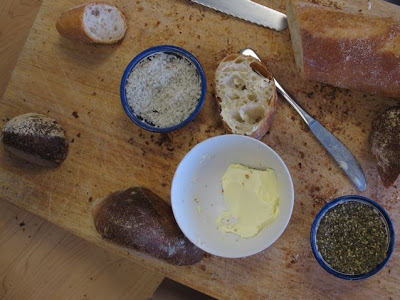
Then you step in the door. It all seems so sterile and clinical because you walk right into the kitchen. There are bags of flour, sometimes loaves being kneaded, large ovens, and racks of trays. Then you see Aviv and his partner. The warmth emanates from them before they've even smiled a greeting. Before you've finished saying hello a hunk of bread, buttered and salted, is placed in your hand. And before you've finished that bread you're already calculating just how much of the other goodies you can fit in the paltry one shopping bag you brought.
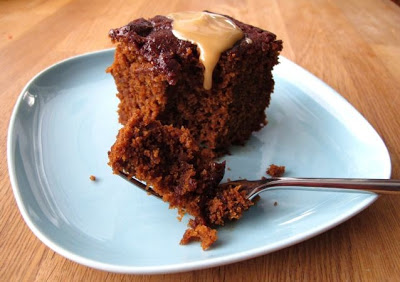
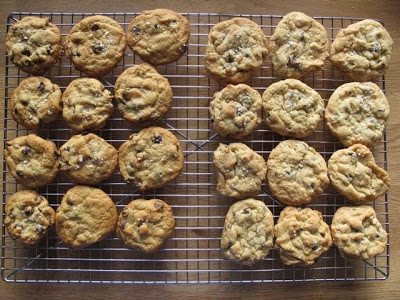
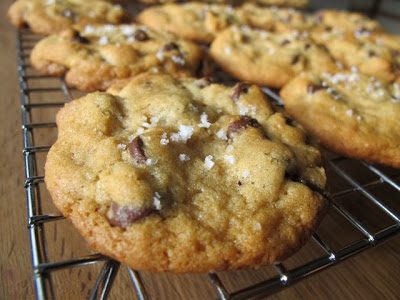
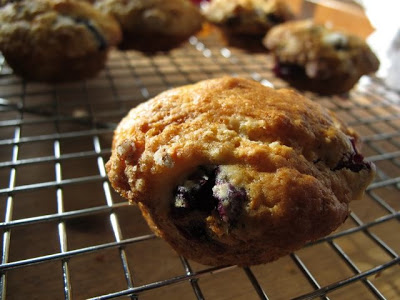
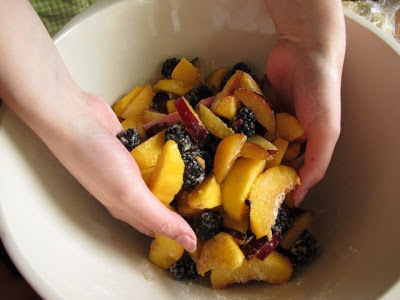
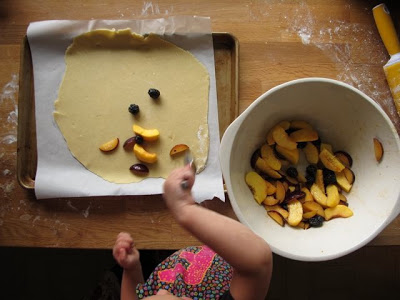
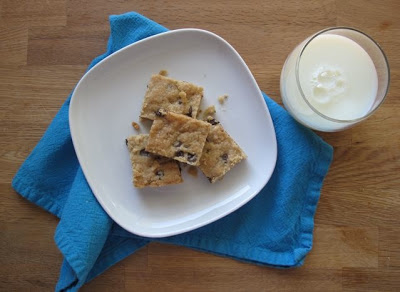
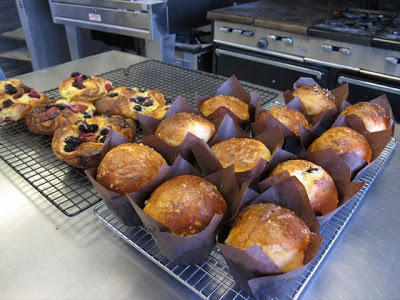
If you're lucky you arrived at the bakery location early enough to grab a danish, cinnamon bun, and a cheese stick. Or maybe a scone is more your speed. Or, if you are my family, all of the above, plus a brioche, some bread, and a macaron from M for Macarons (They share the commercial kitchen space).
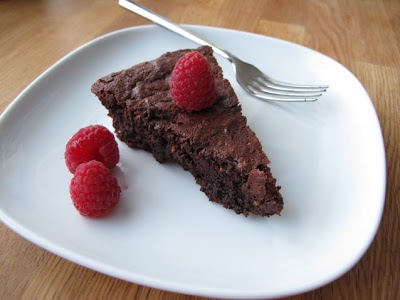
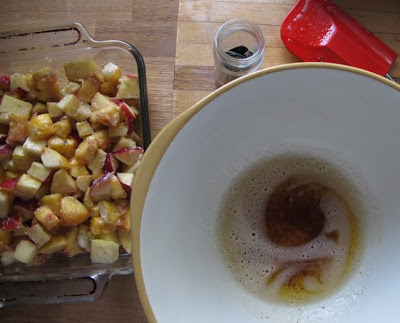
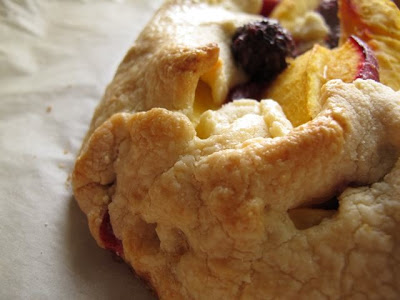
If you're really lucky, and you are my husband, and you ask nicely for raspberries there will be danishes covered with a crabapple and maple syrup cream topped with raspberries waiting for you when you arrive. And you will buy 4 of them.
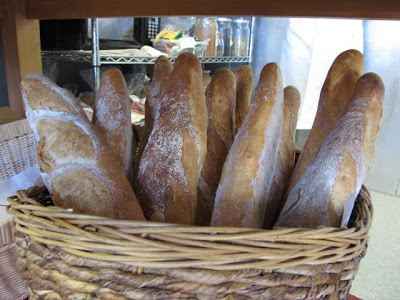
Taking a weekend trip to see Aviv has become such a family ritual for us that it is the first thing the Evil Genius asks about once her Saturday morning cartoons are on. Sadly, for her and us, she does not sleep in that much, so we have a few hours to wait until the 10 am opening. My kind of bakery - it's not open ridiculously early. But don't wait too late or you might find yourself fighting over the last baguette and that's it. Sidewalk Citizen Bakery is only open 10-2/3 on Friday and Saturdays.
If you can't make the weekend trip to the bakery there are still options for gathering the incredible goods. In fact, you can find their stuff all over town! I first met Aviv when he started out delivering bread to offices off the back of his bike. My office all became addicted to his bread and I've been following him since. He still does office deliveries. He's also got a pop-up cargo cart that sets up downtown (check out his Twitter stream for times and locations) as well as selling at the Hillhurst Sunnyside Market on Wednesdays in season. For a full list of locations that sell his amazing products check out his site.
 We are still making the journey as a family to the bakery. We love the chance for a visit, to buy more bread that one should eat in a day, a journey that takes us away from the manufactured markets and yuppie food we're used to finding. This is honest food, served by enthusiastic and kind people. It is kneaded and baked with love, full of the best things that can be found around Calgary (from Silk Road spices to crab apples from down the street). And damn, it's all so good.
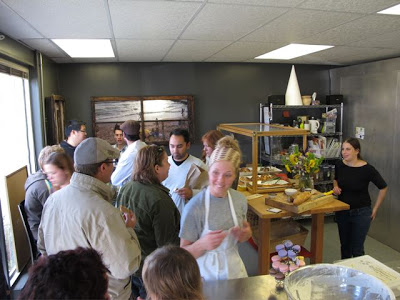
Sidewalk Citizen Bakery
5524-1A Street SW