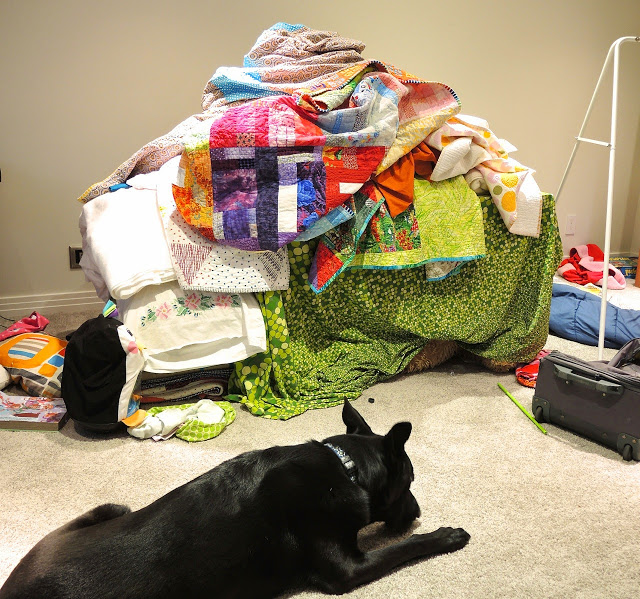
The quarterly check-in. I'll be honest, I had hopes of moving things through this list a lot more. I didn't really start any quilts. But there was summer, frustrations with my machine, a wasp nest, a new school year, and being sick. Excuses, excuses.
It is what it is.
We no longer have a babysitter two days a week. That is really making a difference. Not because I quilted when we had the babysitter, but because it meant I got all the other stuff done so I could quilt once the kids went to bed. Now that time is spent returning emails from the day and planning for the next one. Mornings are for the creative work and my one early riser. We've also entered that time where the kids' activities take up a lot more time. And with a maniac for a 3 yo there is little sitting and watching time while the girls do their thing.
As I said, it is what it is.
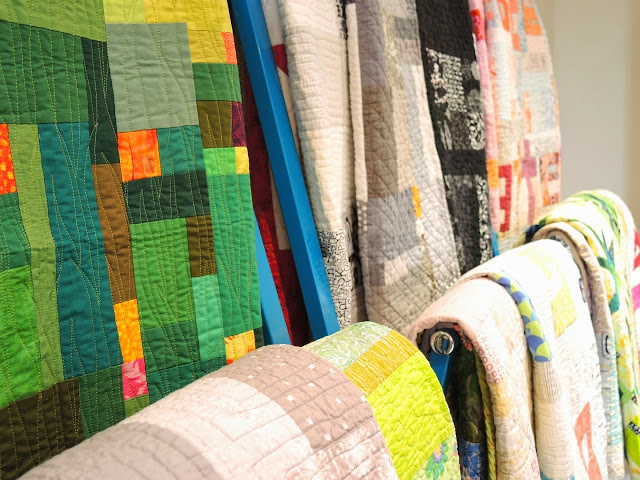
Quilt Tops Ready for Quilting
1.
Cosmos Blocks
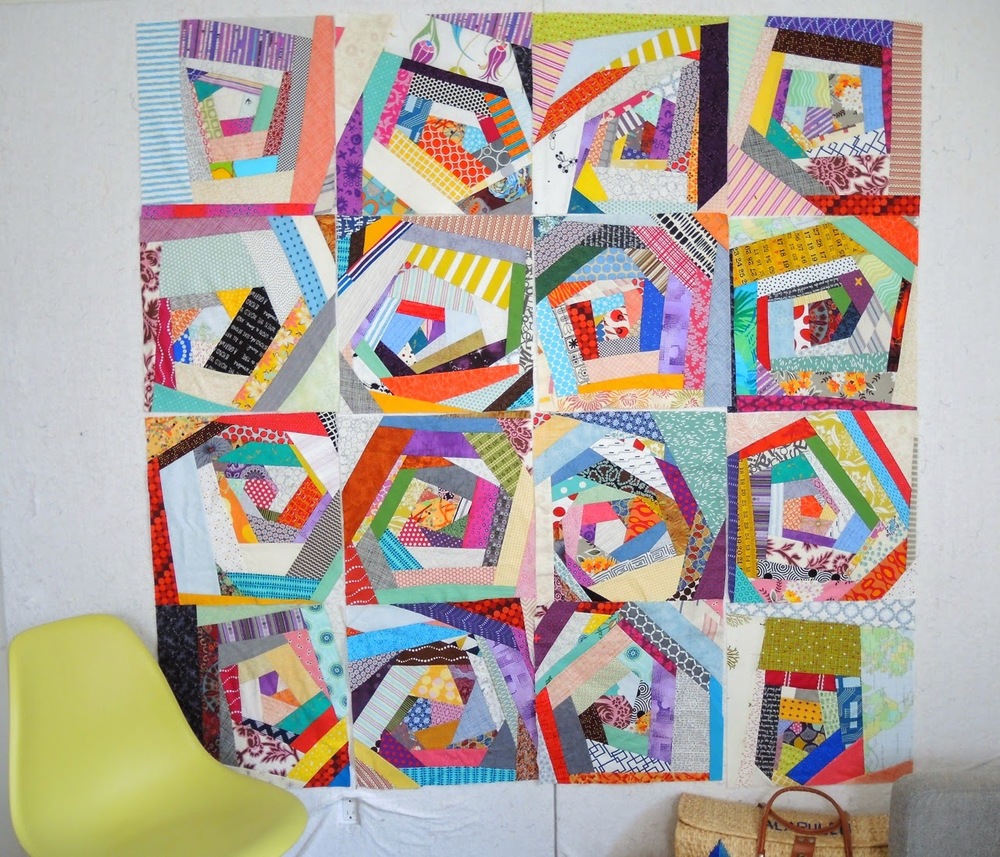
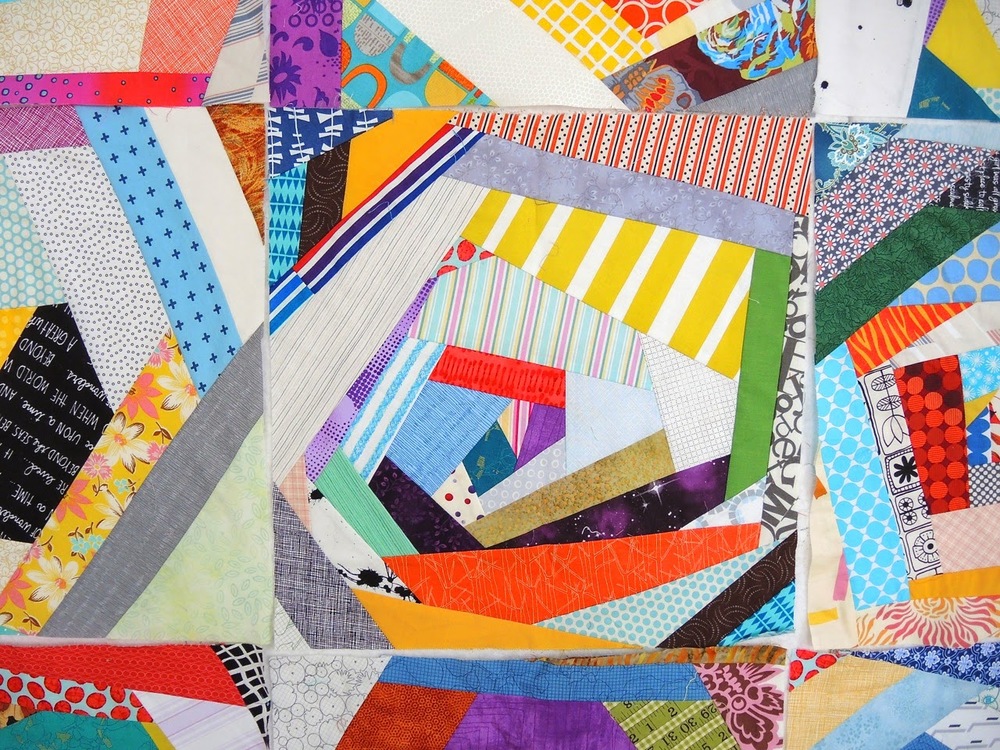
2.
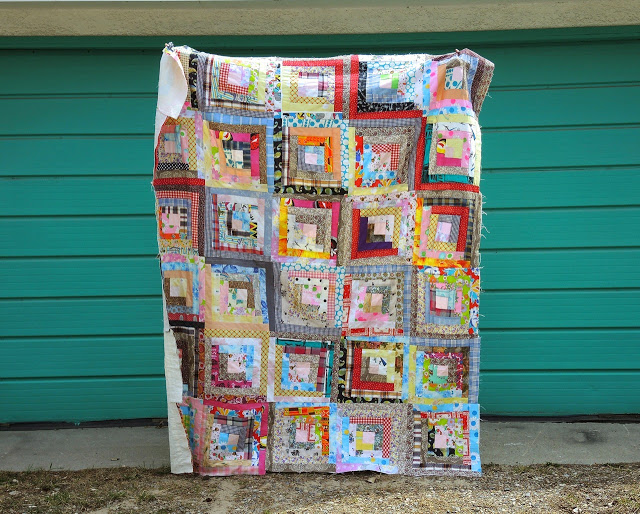
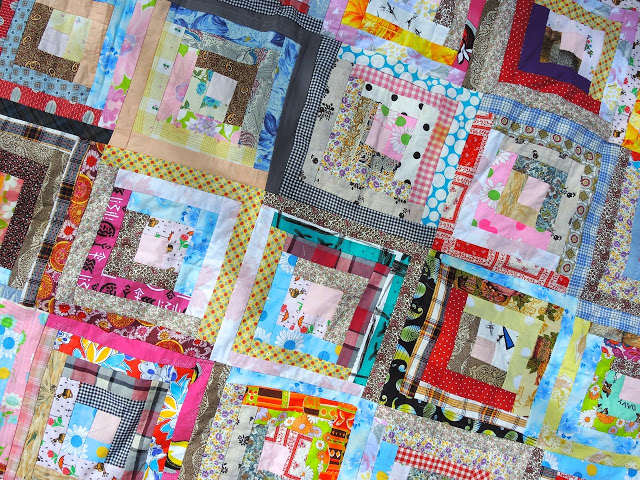
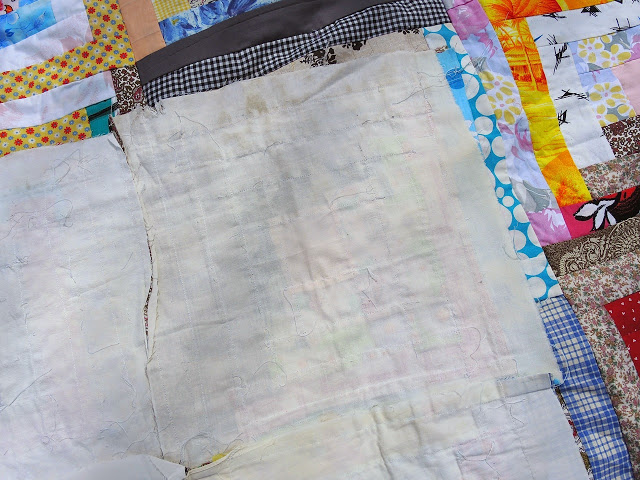
Improv Sampler
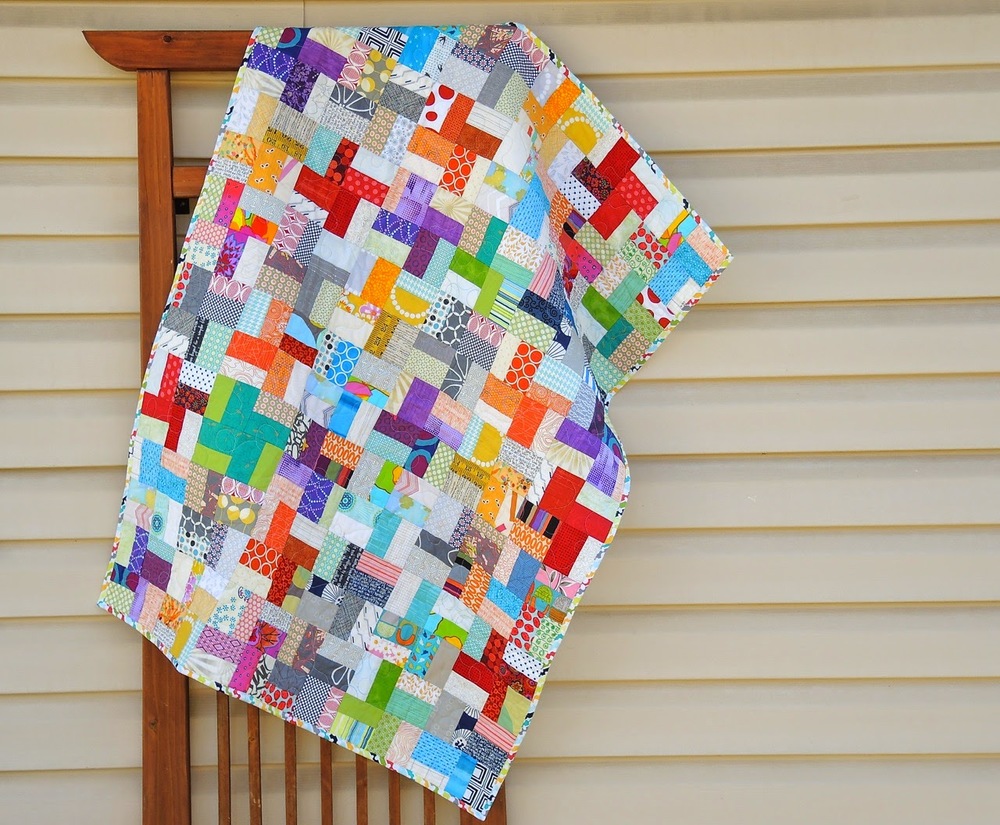
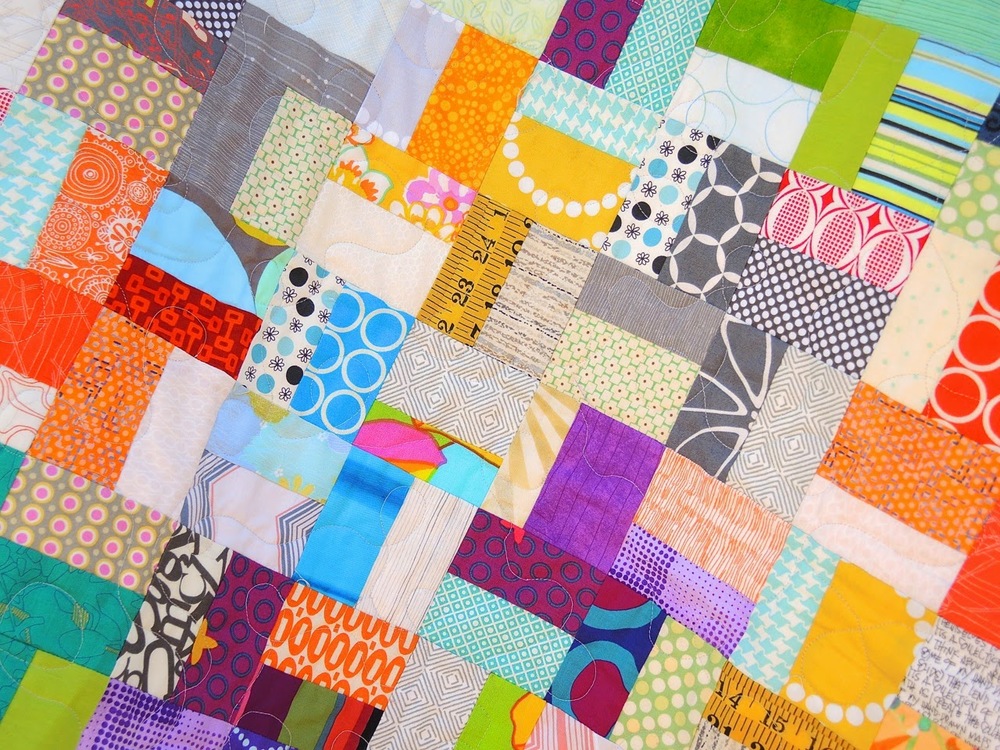
3.
Checkerboard from Sunday Morning Quilts
4.
Slaveship Quilt
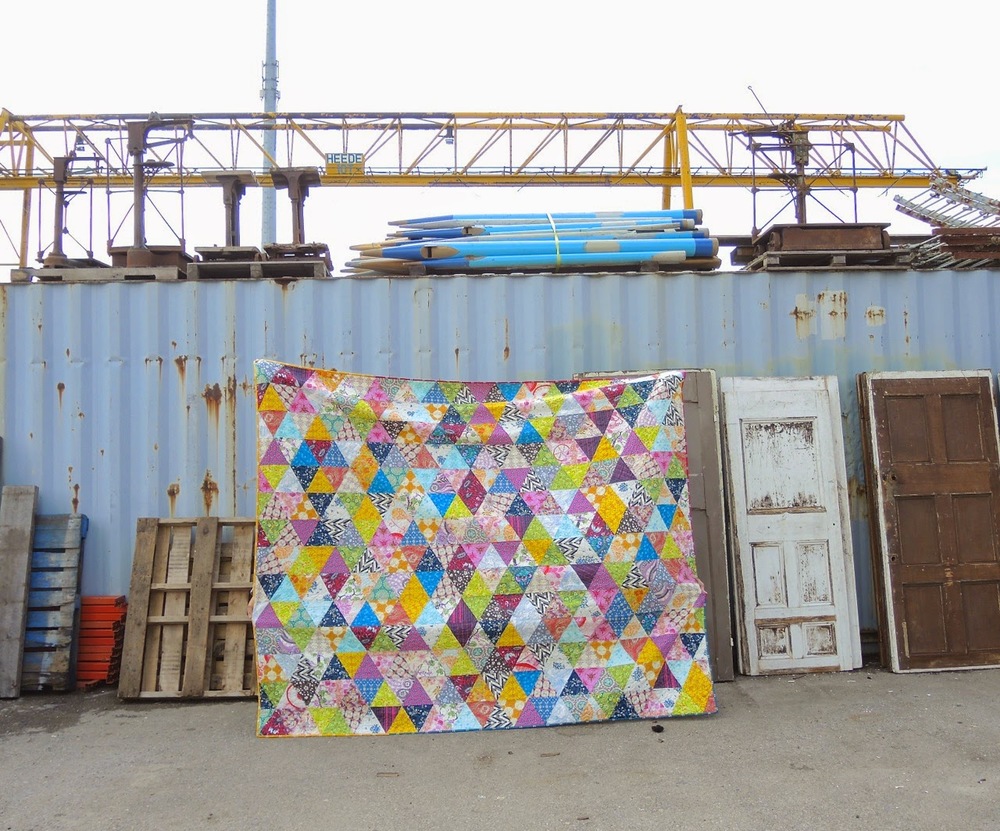
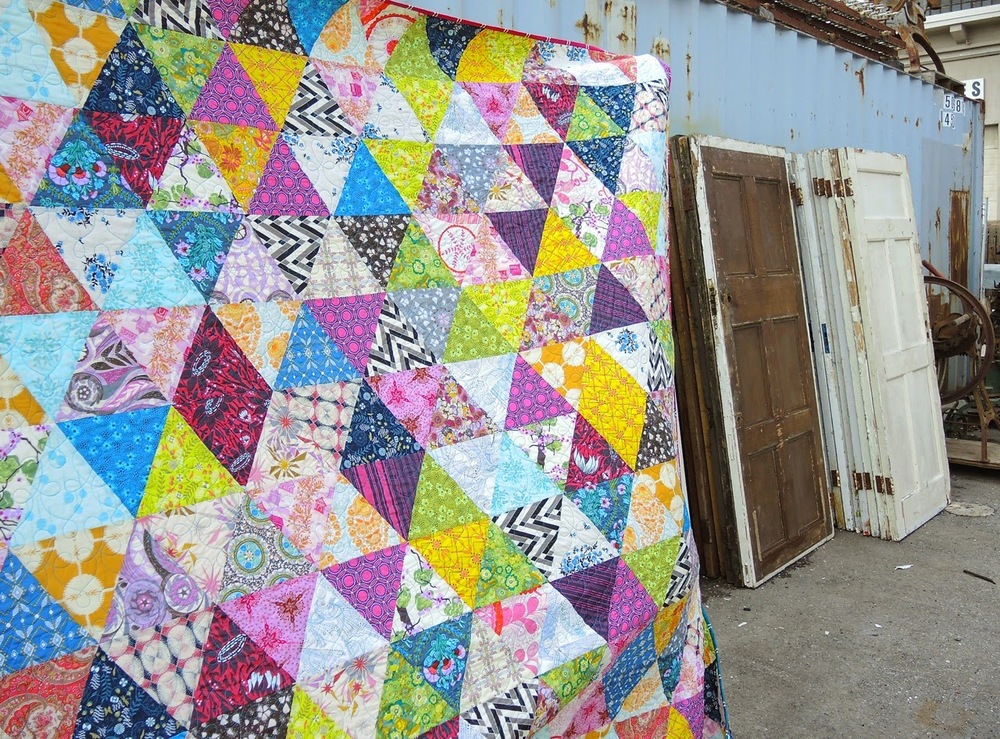
5. The Evil Genius'
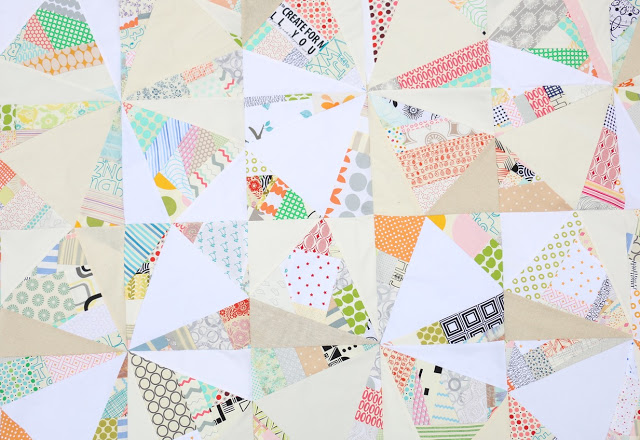
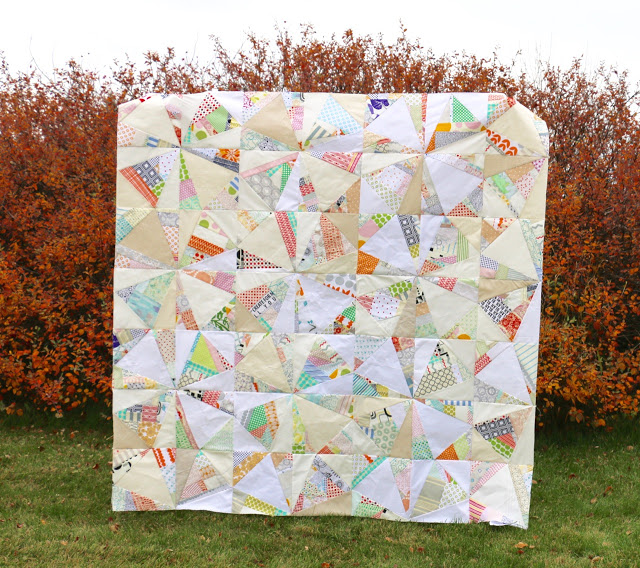
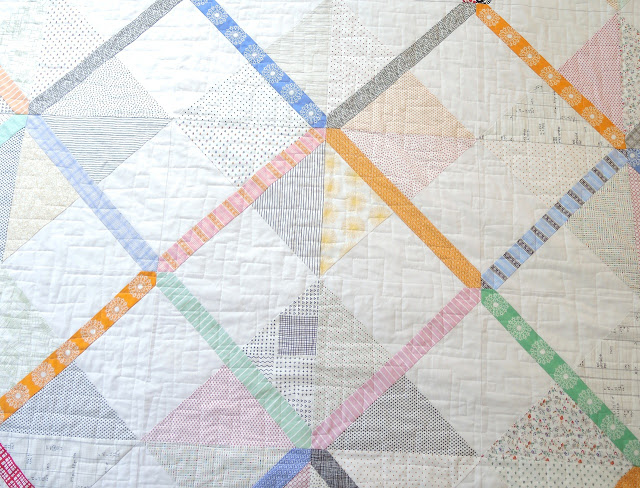
Triangle Quilt
7.
Giant Hexagons
8.
Lilac Lovely - hanging at
My Sewing Room as a sample for my Improv Curves class.
9.
Cirrus Solids Pinwheel top
10.
Solid Sunday Morning
11.
Oh Canada Quilt in Red
12.
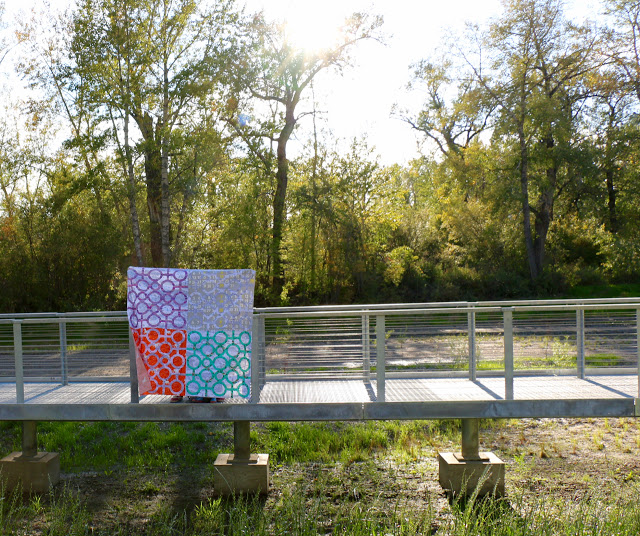
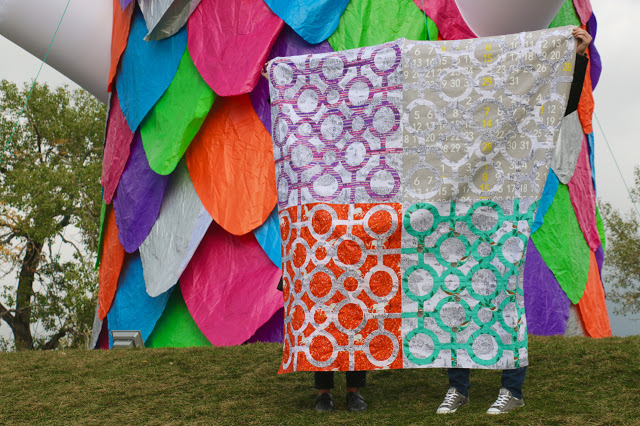
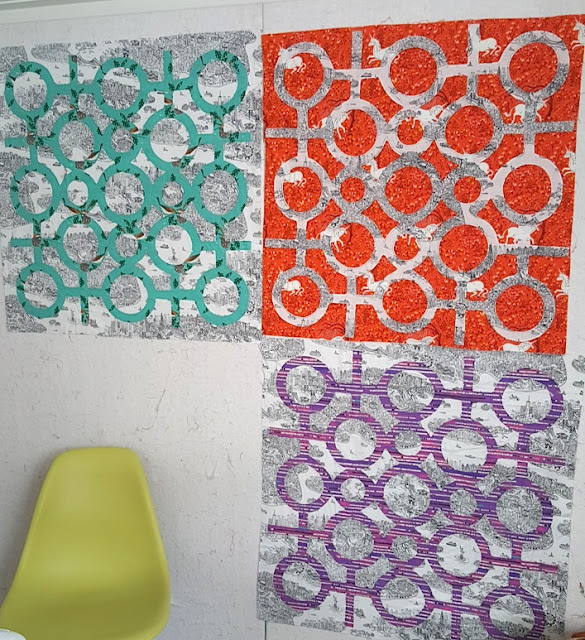
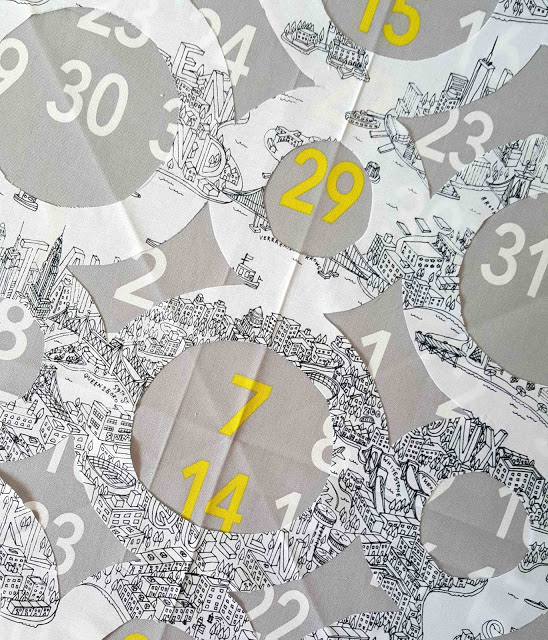
Circle Lattice
13. Low Volume Rainbow Mini - I don't think I've ever shared this, but I came across it this summer.
I'm really hoping to find a day or two on a long arm to get some of these done. Or a friend to help me baste because that holds me up more than anything.
Quilts Being Quilted
14.
Low Volume Circles - Ugh, hand quilting holding me up. Maybe this winter?
15.
Antonio's Quilt - So close, yet I don't finish it.
16.
Smooch - on the machine right now and about half done.
Waiting for Binding
Nothing in this pile.
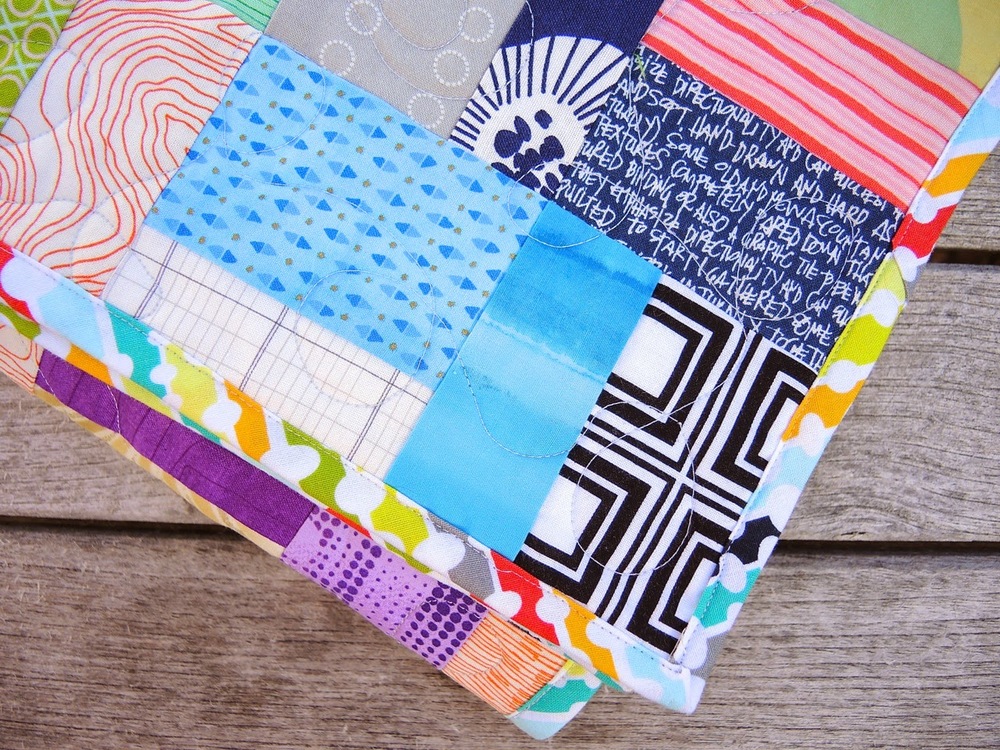
Blocks and Process
17.
Low Volume Shoeman's Puzzle/Slab blocks - So, so close on this one. I was all set to sew the last rows together and I saw a mistake I made. Just haven't been motivated to fix it.
18. A
values quilt in neutrals - I know I said I wasn't counting class blocks, but I now have enough blocks to turn this into a quilt.
19.
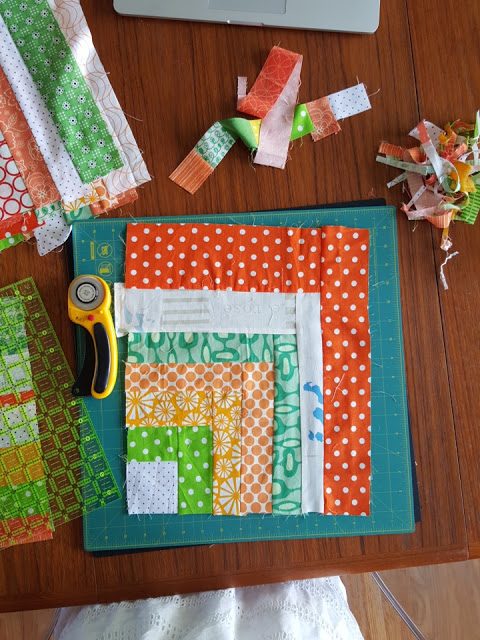
Green/Yellow/Orange Improv blocks - These have turned into an almost full set of blocks. About 8 more to go then I can put the top together.
20.
Mid Mod Bee - Still wishing for a day or two to get this together.
21.
Hand Pieced Diamonds - Is it crazy that I feel the whole top needs to be hand pieced together?
22. More
Cosmic Burst blocks
23.
Name quilt for my daughter - I think this become a backing more than anything...
24. Chandelier quilt - requires some unsewing and I'm just not motivated to do this.
25.
Liberty Circles
26. Respite - a project started in a
Bill Kerr design workshop
27.
Pieced Stars
28.
The Water Quilt
29.
Edges/Studio Stash Play
30.
Beach Grass Take 2
31.
Y2K quilt - Maybe up to 20 rows now.
32. Another leaders and enders project, intended to be like Up, Up, and Away from Sunday Morning Quilts
33.
Round and Round blocks -
Up to 16 of these now. Still here.
34.
Snippets on Dates - Haven't touched these since the last time, but I have sewn pairs together randomly..
35. Leftovers from
Modern Paris
36.
Gee's Bend inspired blocks after
my trip to Alabama - I worked on a pile more of these blocks, but now debating final layout options before I make more.
37.
Paperless paper piecing block from my class with Cristy Flincher. I think it needs to be the start of a medallion quilt.
38. The
girls' clothes turned into a quilt with the Gee's Bend quilters.
39. Improv work with Cotton and Steel Fabrics that I started for my
CreativeLive Improv Quilting Basics class.
40. Blue Improv - pulled out some class sample I've used over the years and played with them for
CreativeLive Improv Quilting Basics. Now I think I have a plan for them.
42.
The X-Plus blocks I used in the
Creative Live Quilting with Low Volume Fabrics class.
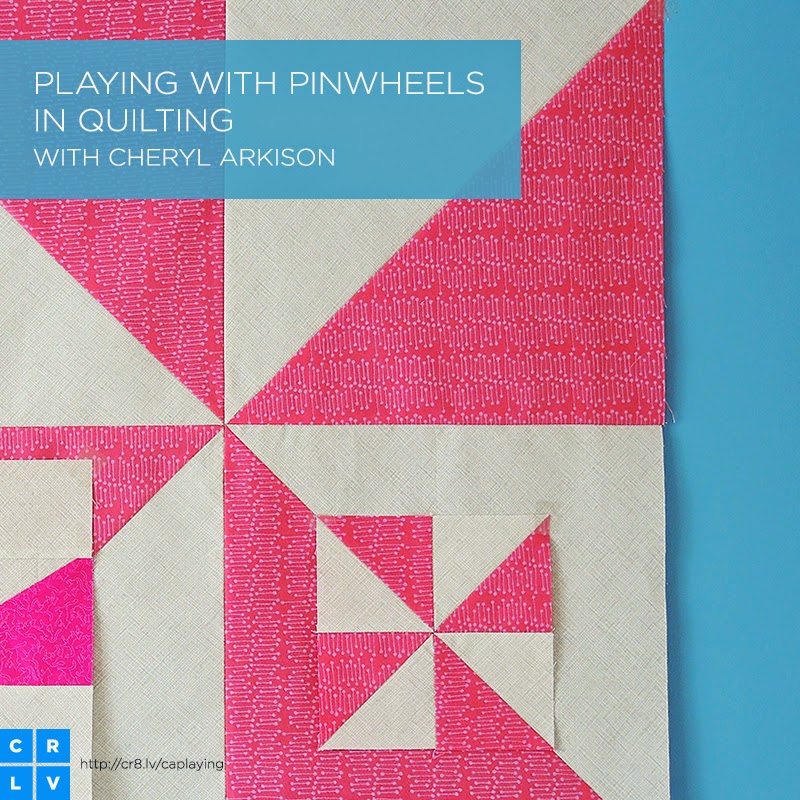
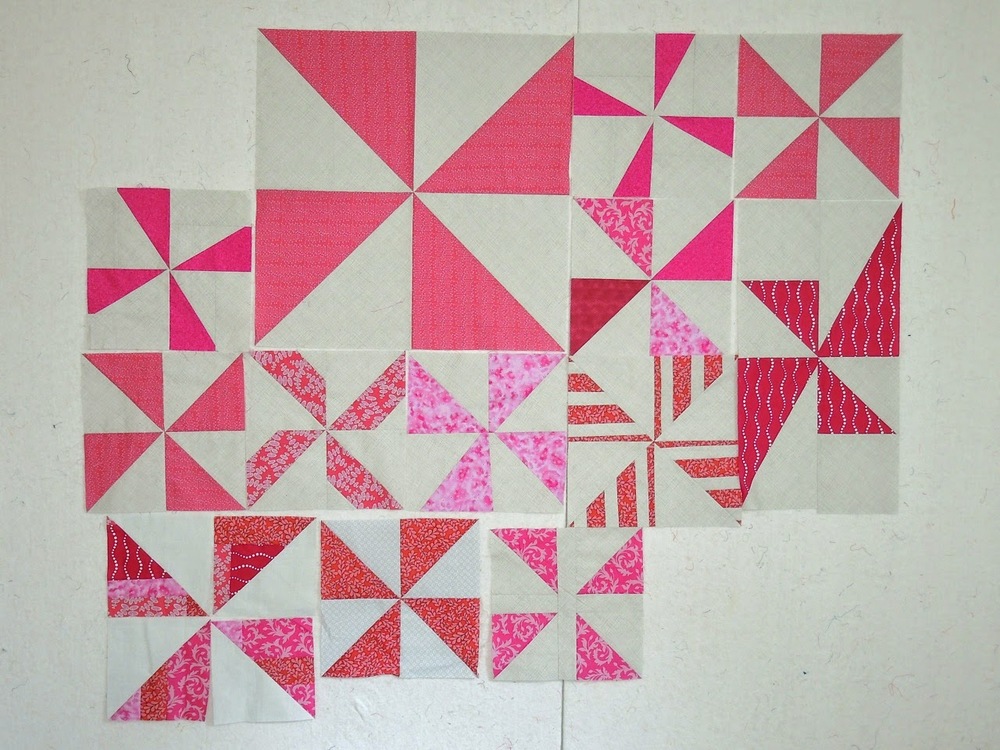
43. A whole bunch of pinwheels that I'm playing with. Started as prep for my
CreativeLive Pinwheel Play class.
Finished
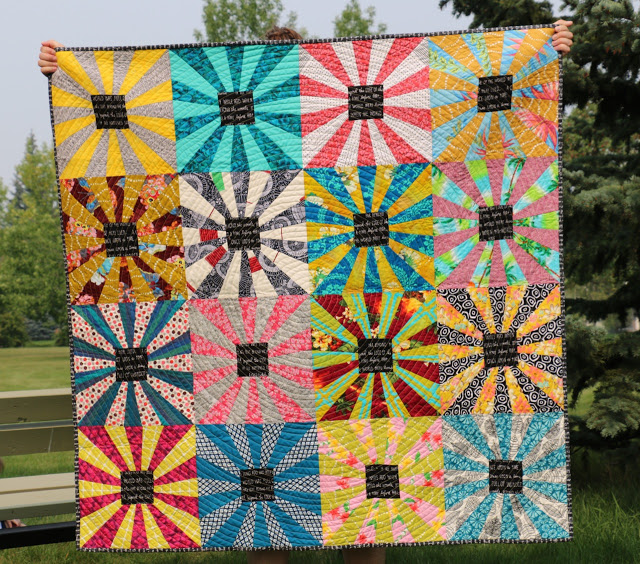
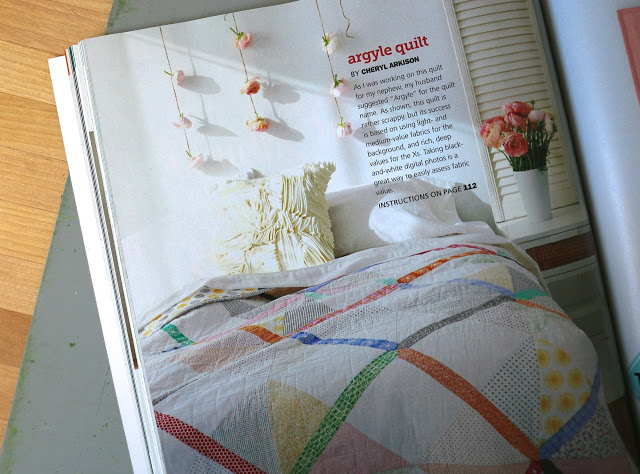
Glitter Pen - technically it was finished months and months ago, but it was just published in the summer issue of Modern Patchwork so I couldn't share it earlier.
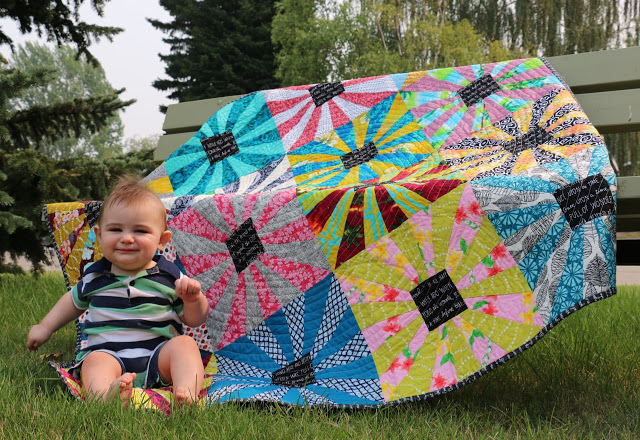
Aloha Kakou - a fun baby and mama quilt that was a secret project finally finished and revealed.
One awesome pincushion.
I am pleased that I didn't start anything new, well nothing new that isn't a class sample. But I was hoping for some finishes. I want to get things done, but there just isn't enough time in the day. You can't beat yourself up over that though, just do what you can, when you can. As long as you are enjoying it when you do it then you need not want for anything else.