Improv Curves - Scrappy Versus Scrap

Improv Curves Color Girl Quilts

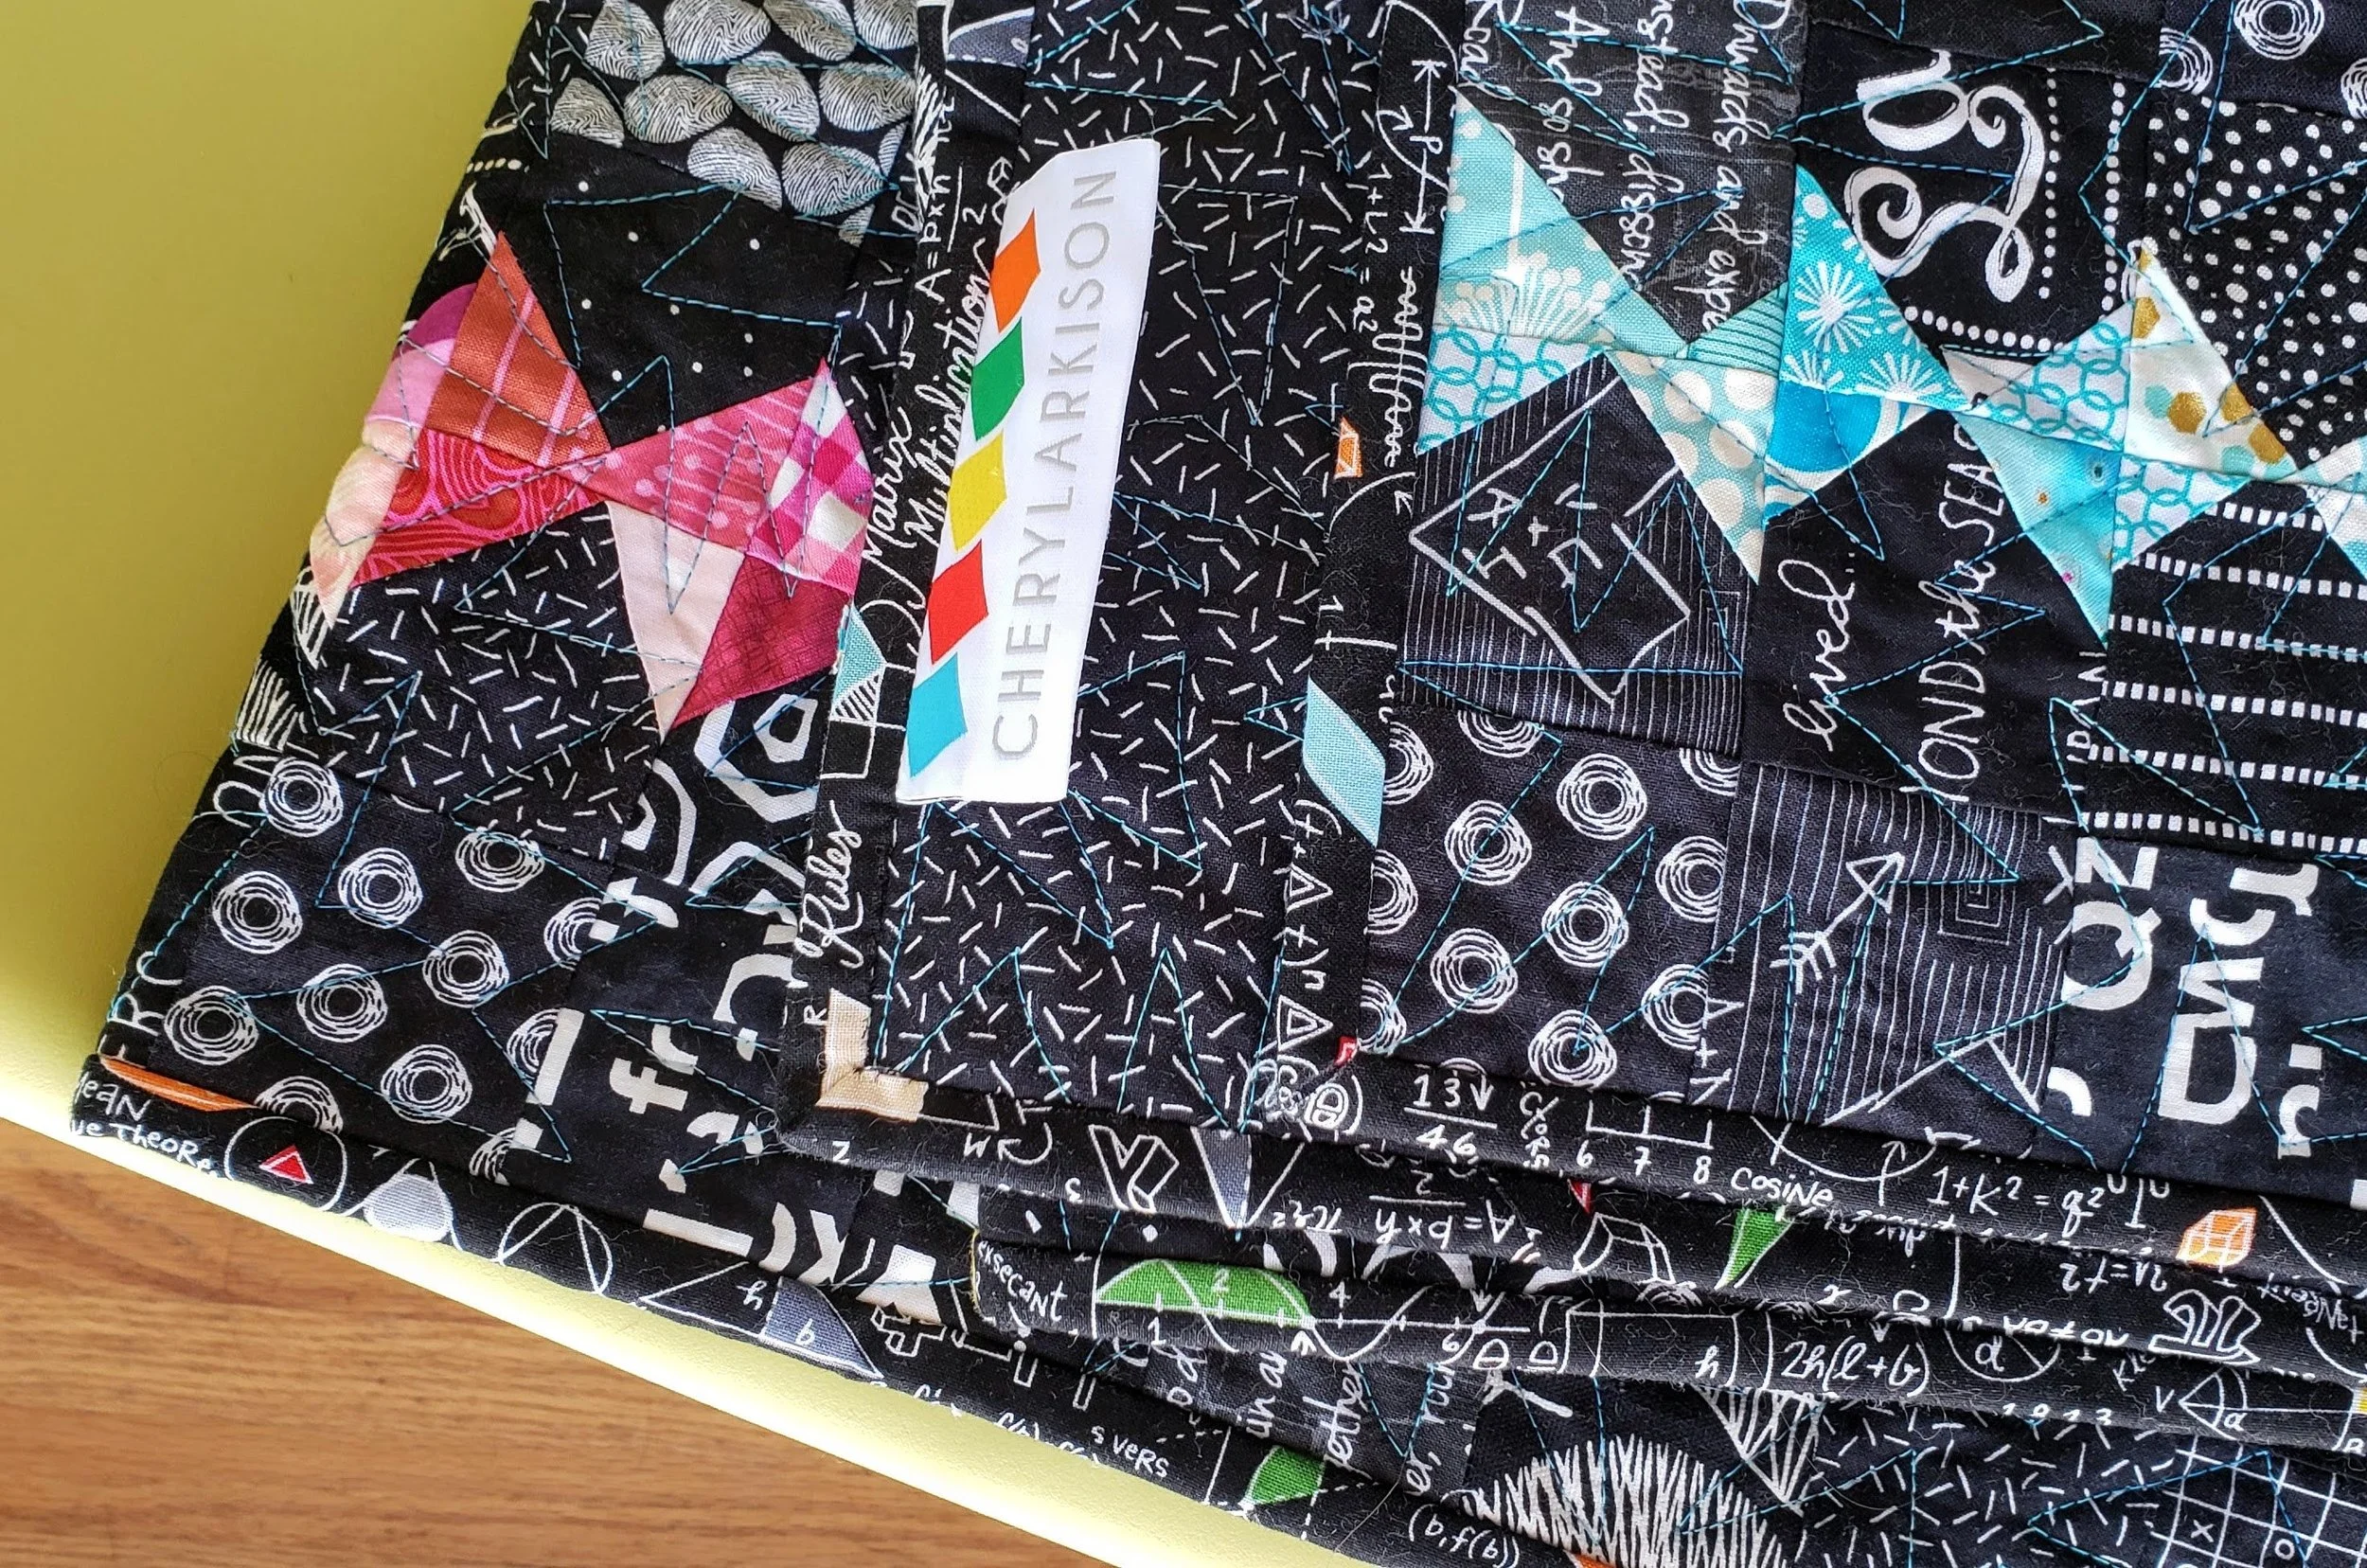
I knew there was a reason I couldn’t throw away the scraps.

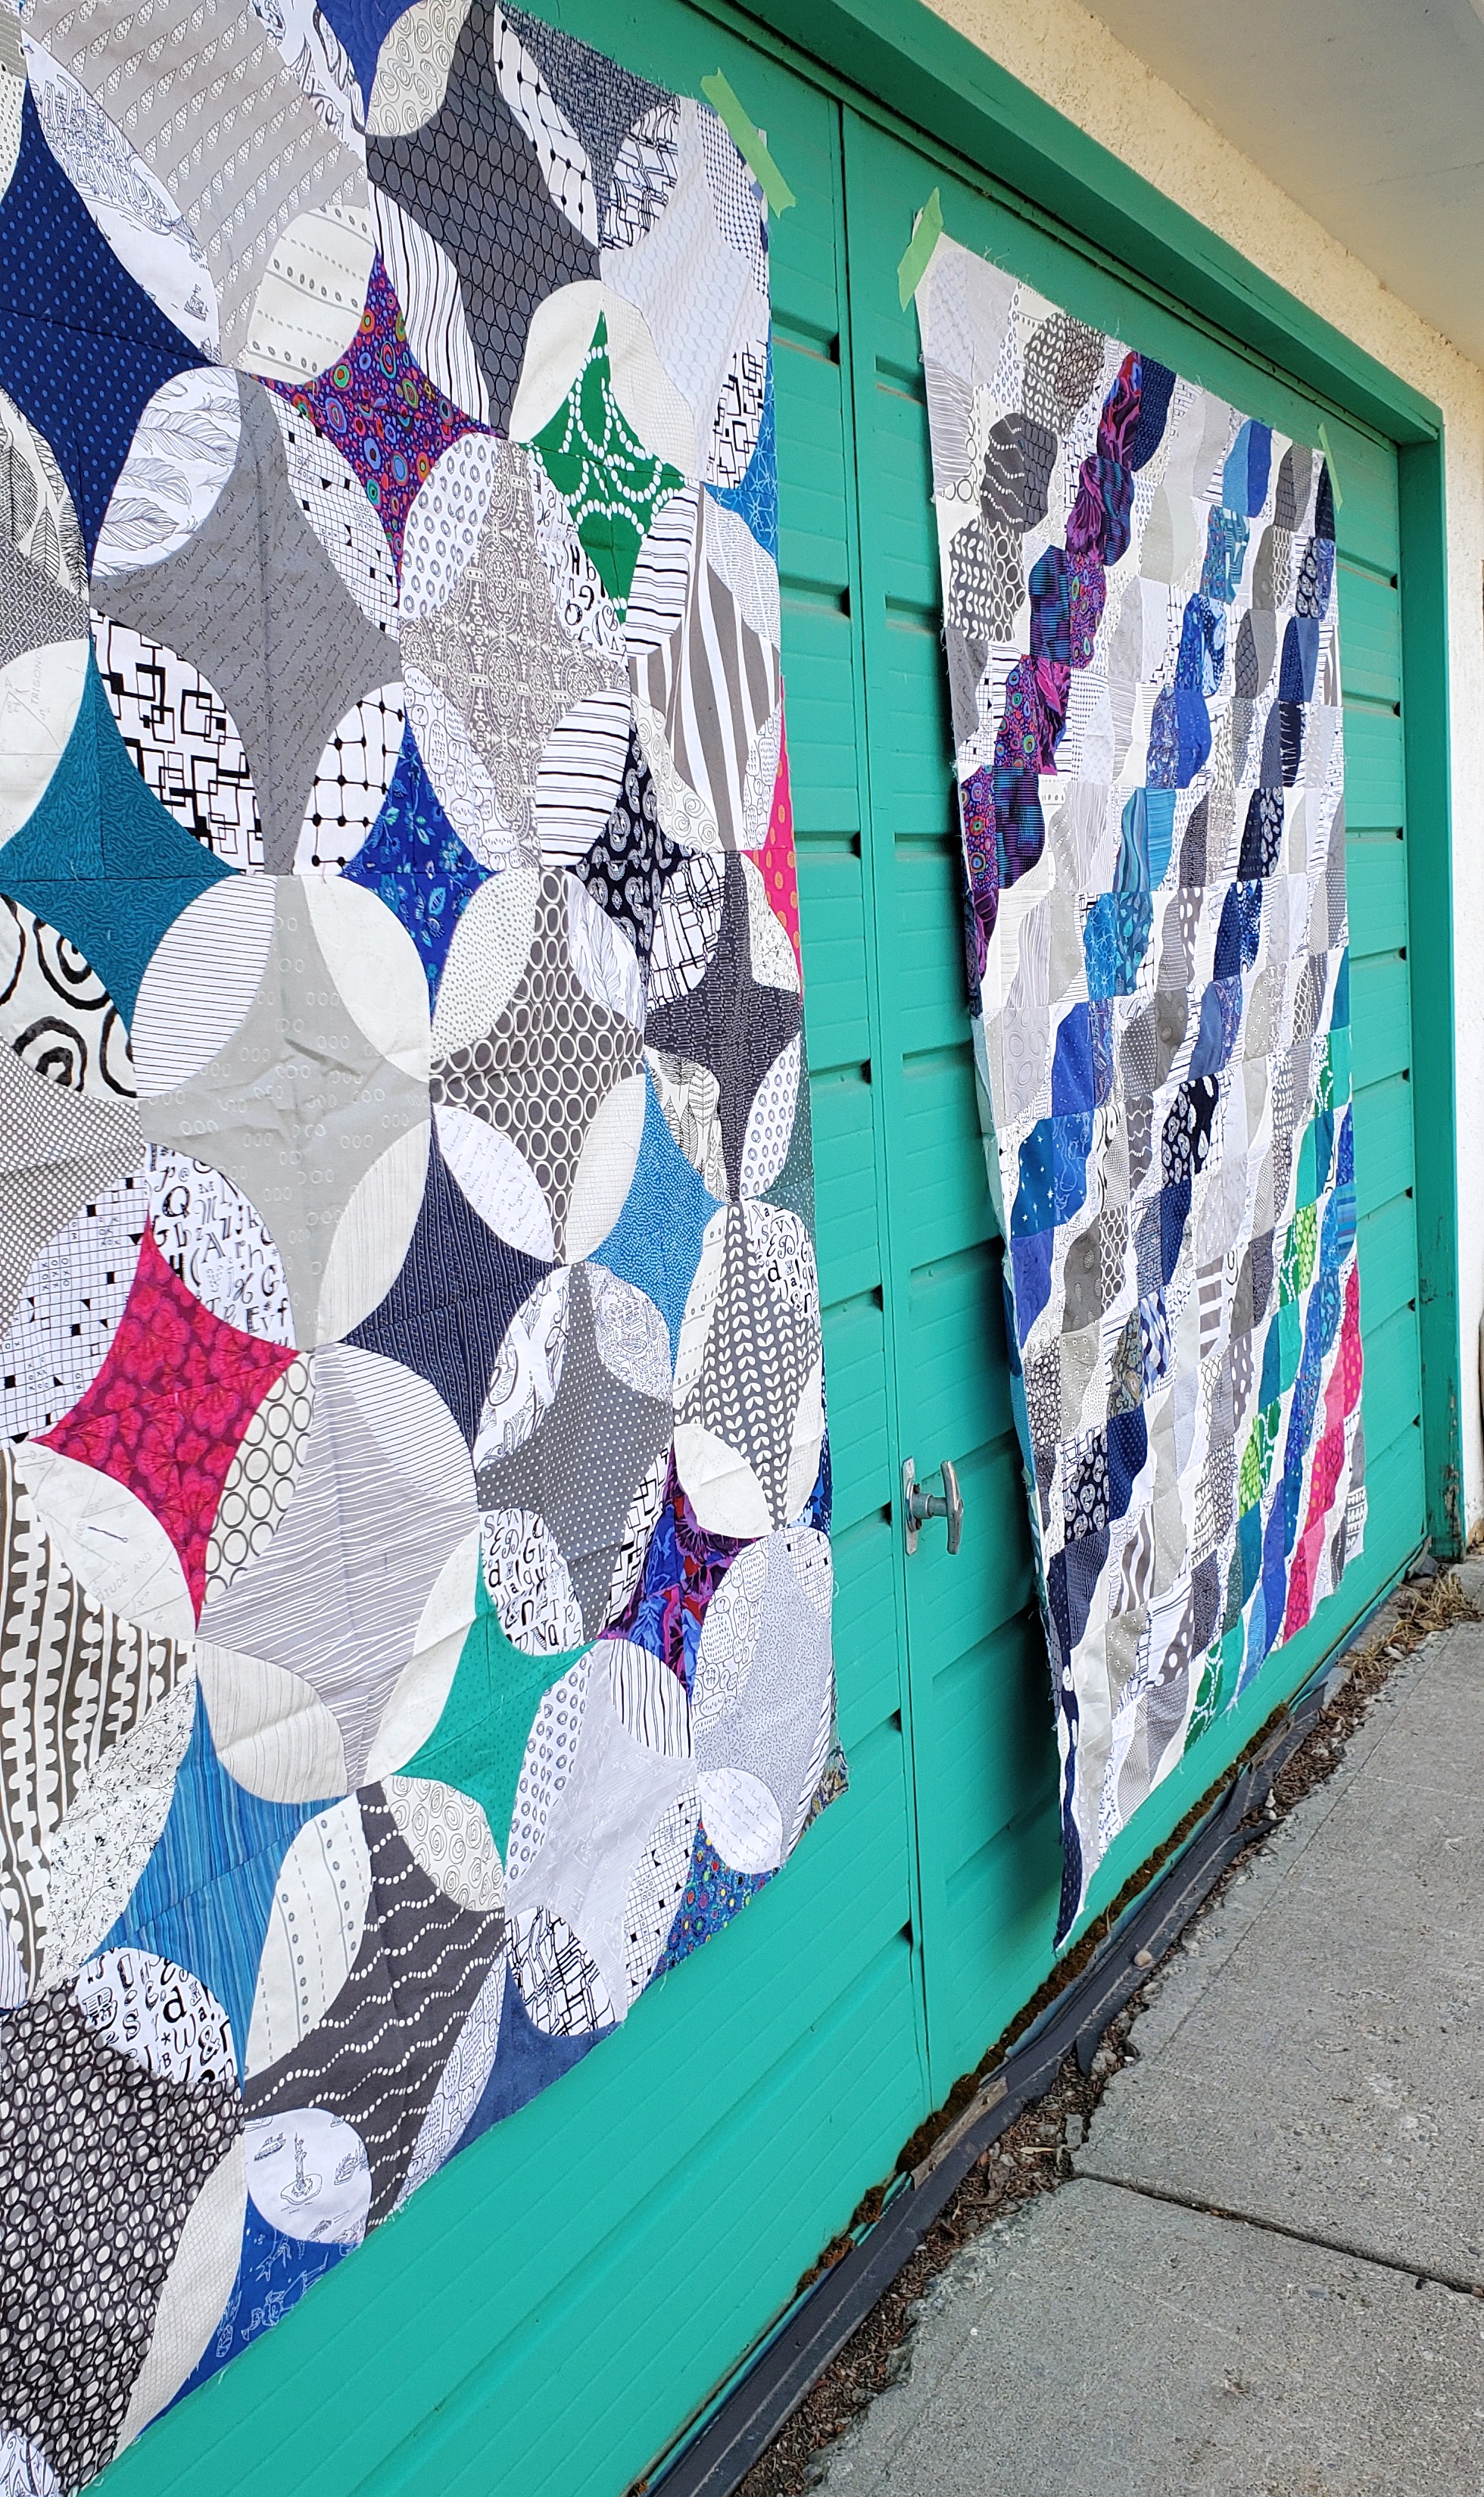
There I was, playing around and making this improv curve quilt. It was completely inspired by a very precise pattern by Sharon at Color Girl Quilts (Indigo). But the way I chose to make it meant then I was left with a lot of cut out curves. They matched and all, but they weren’t needed for the quilt I was then making.

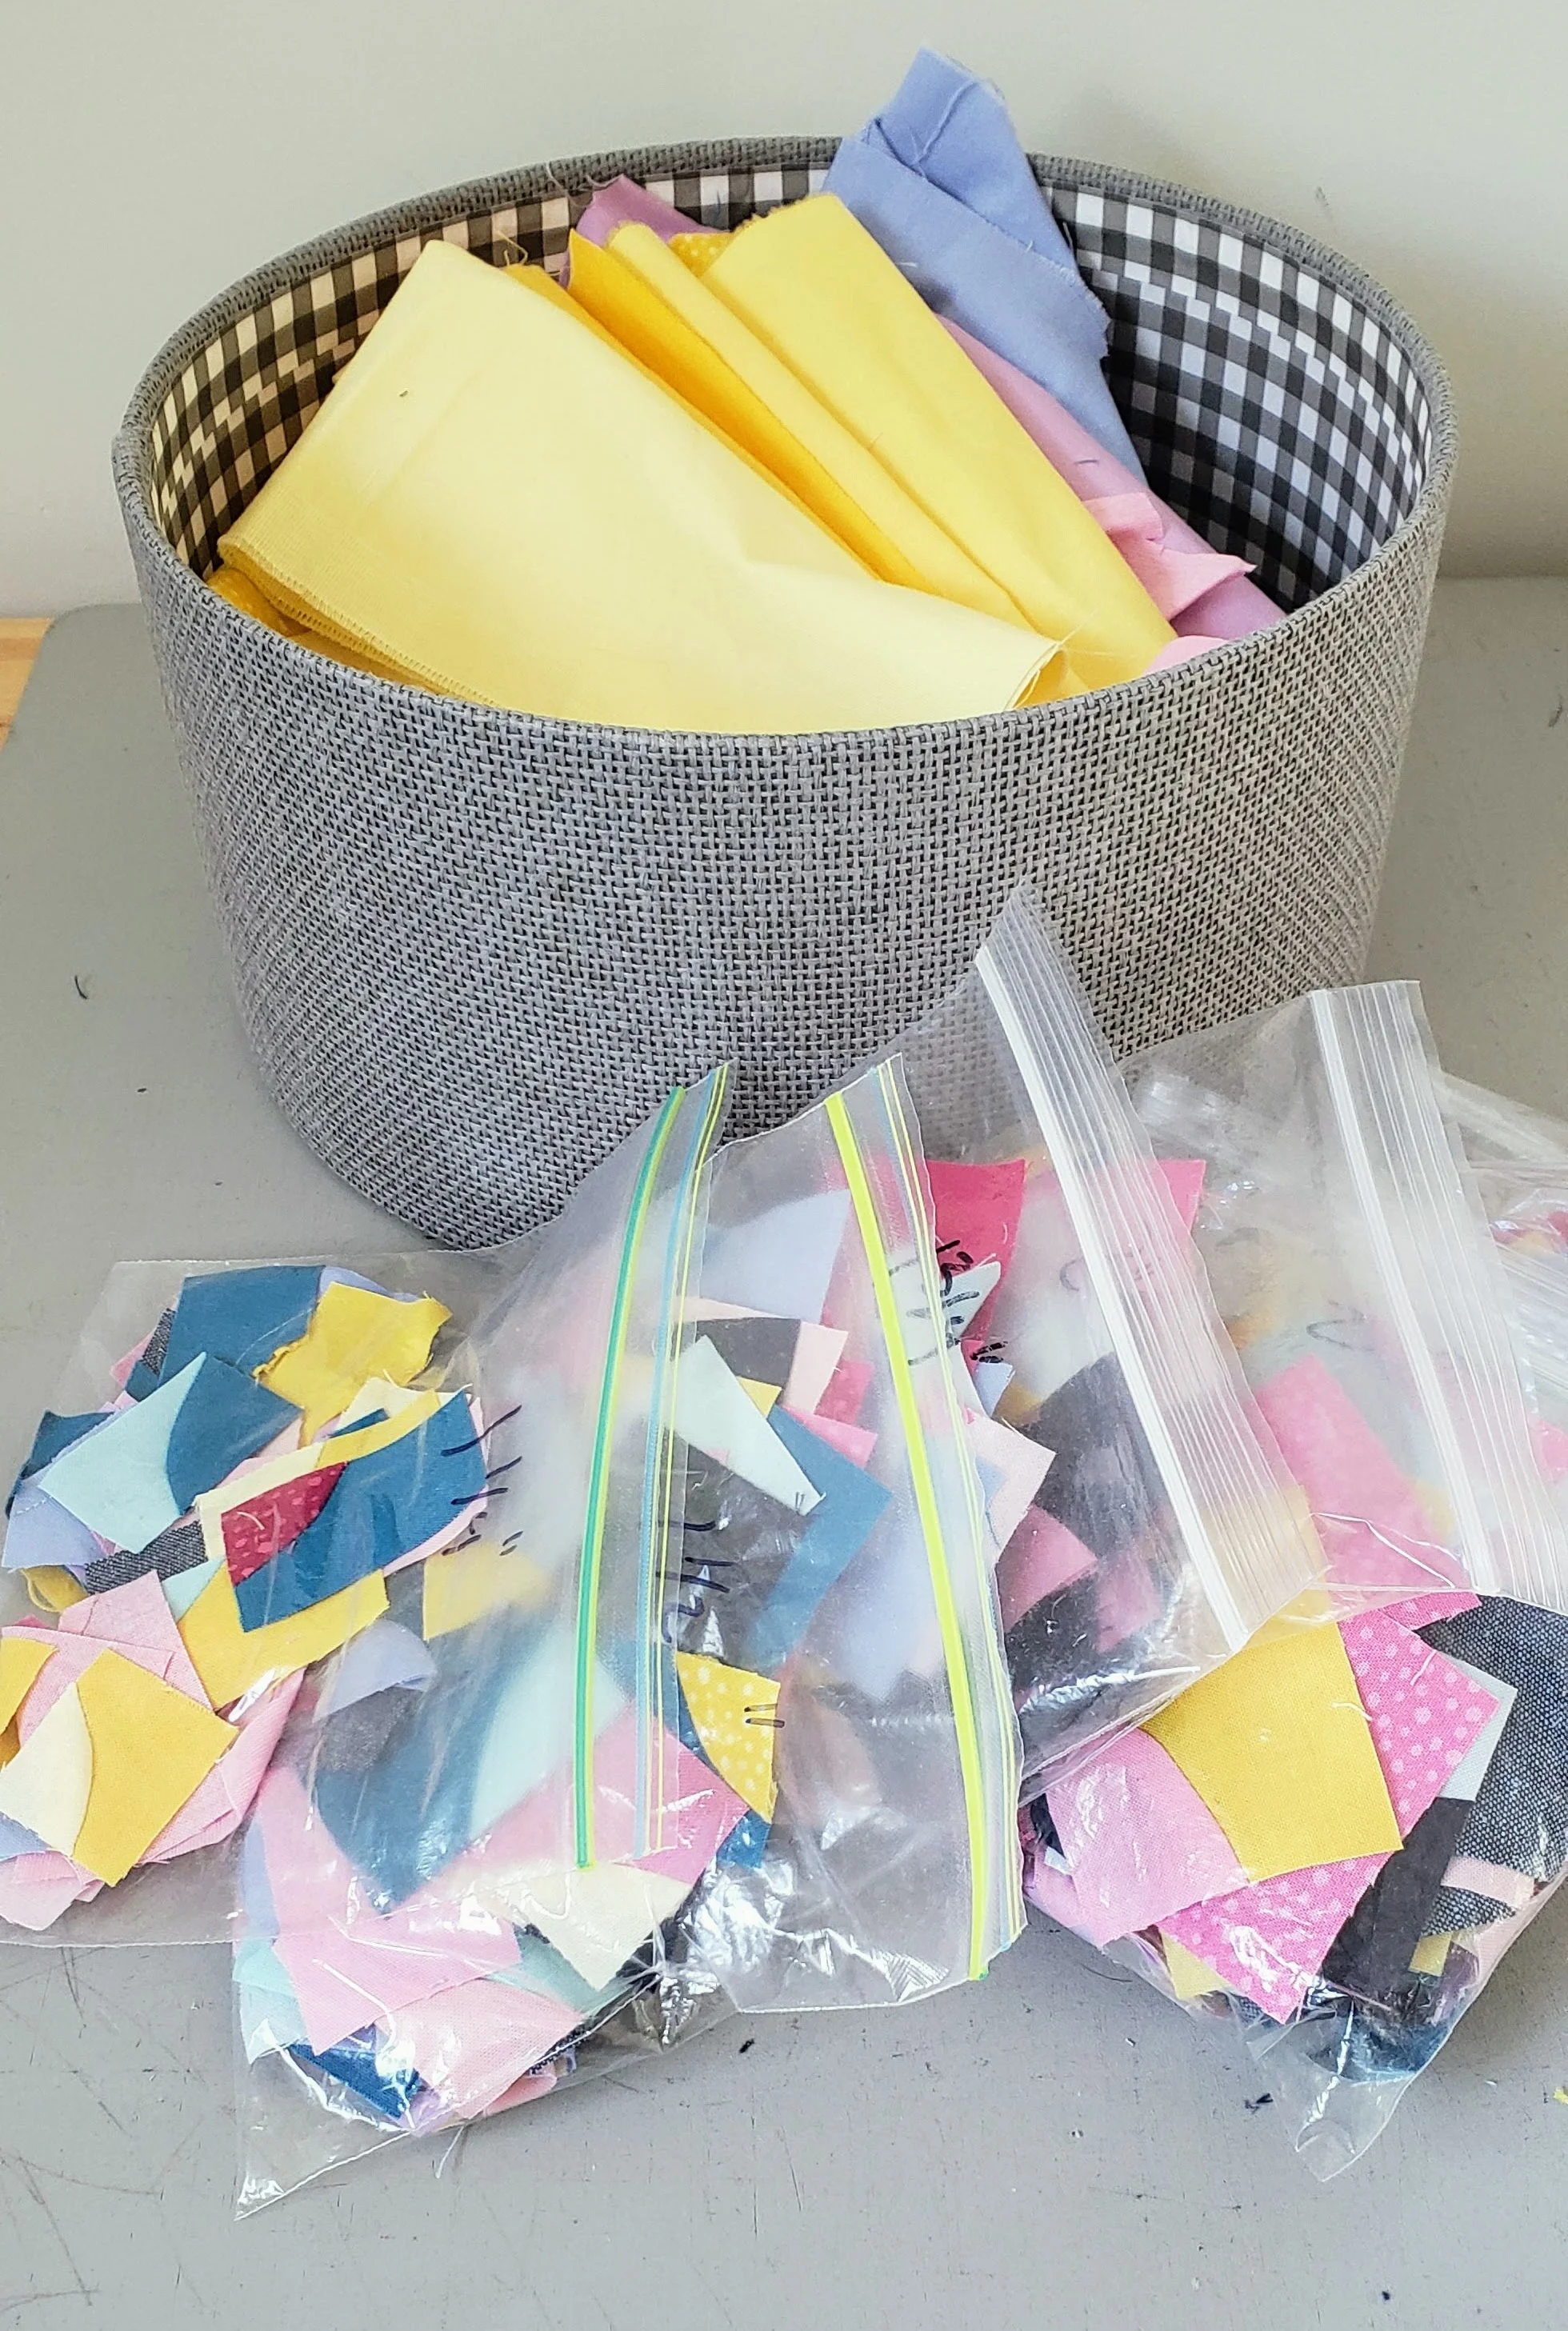
Rather than toss them aside to get jumbled or lost I kept the pairs of pie and crust together then sewed them up when everything else was done. Then they got tossed aside and nearly jumbled and lost.

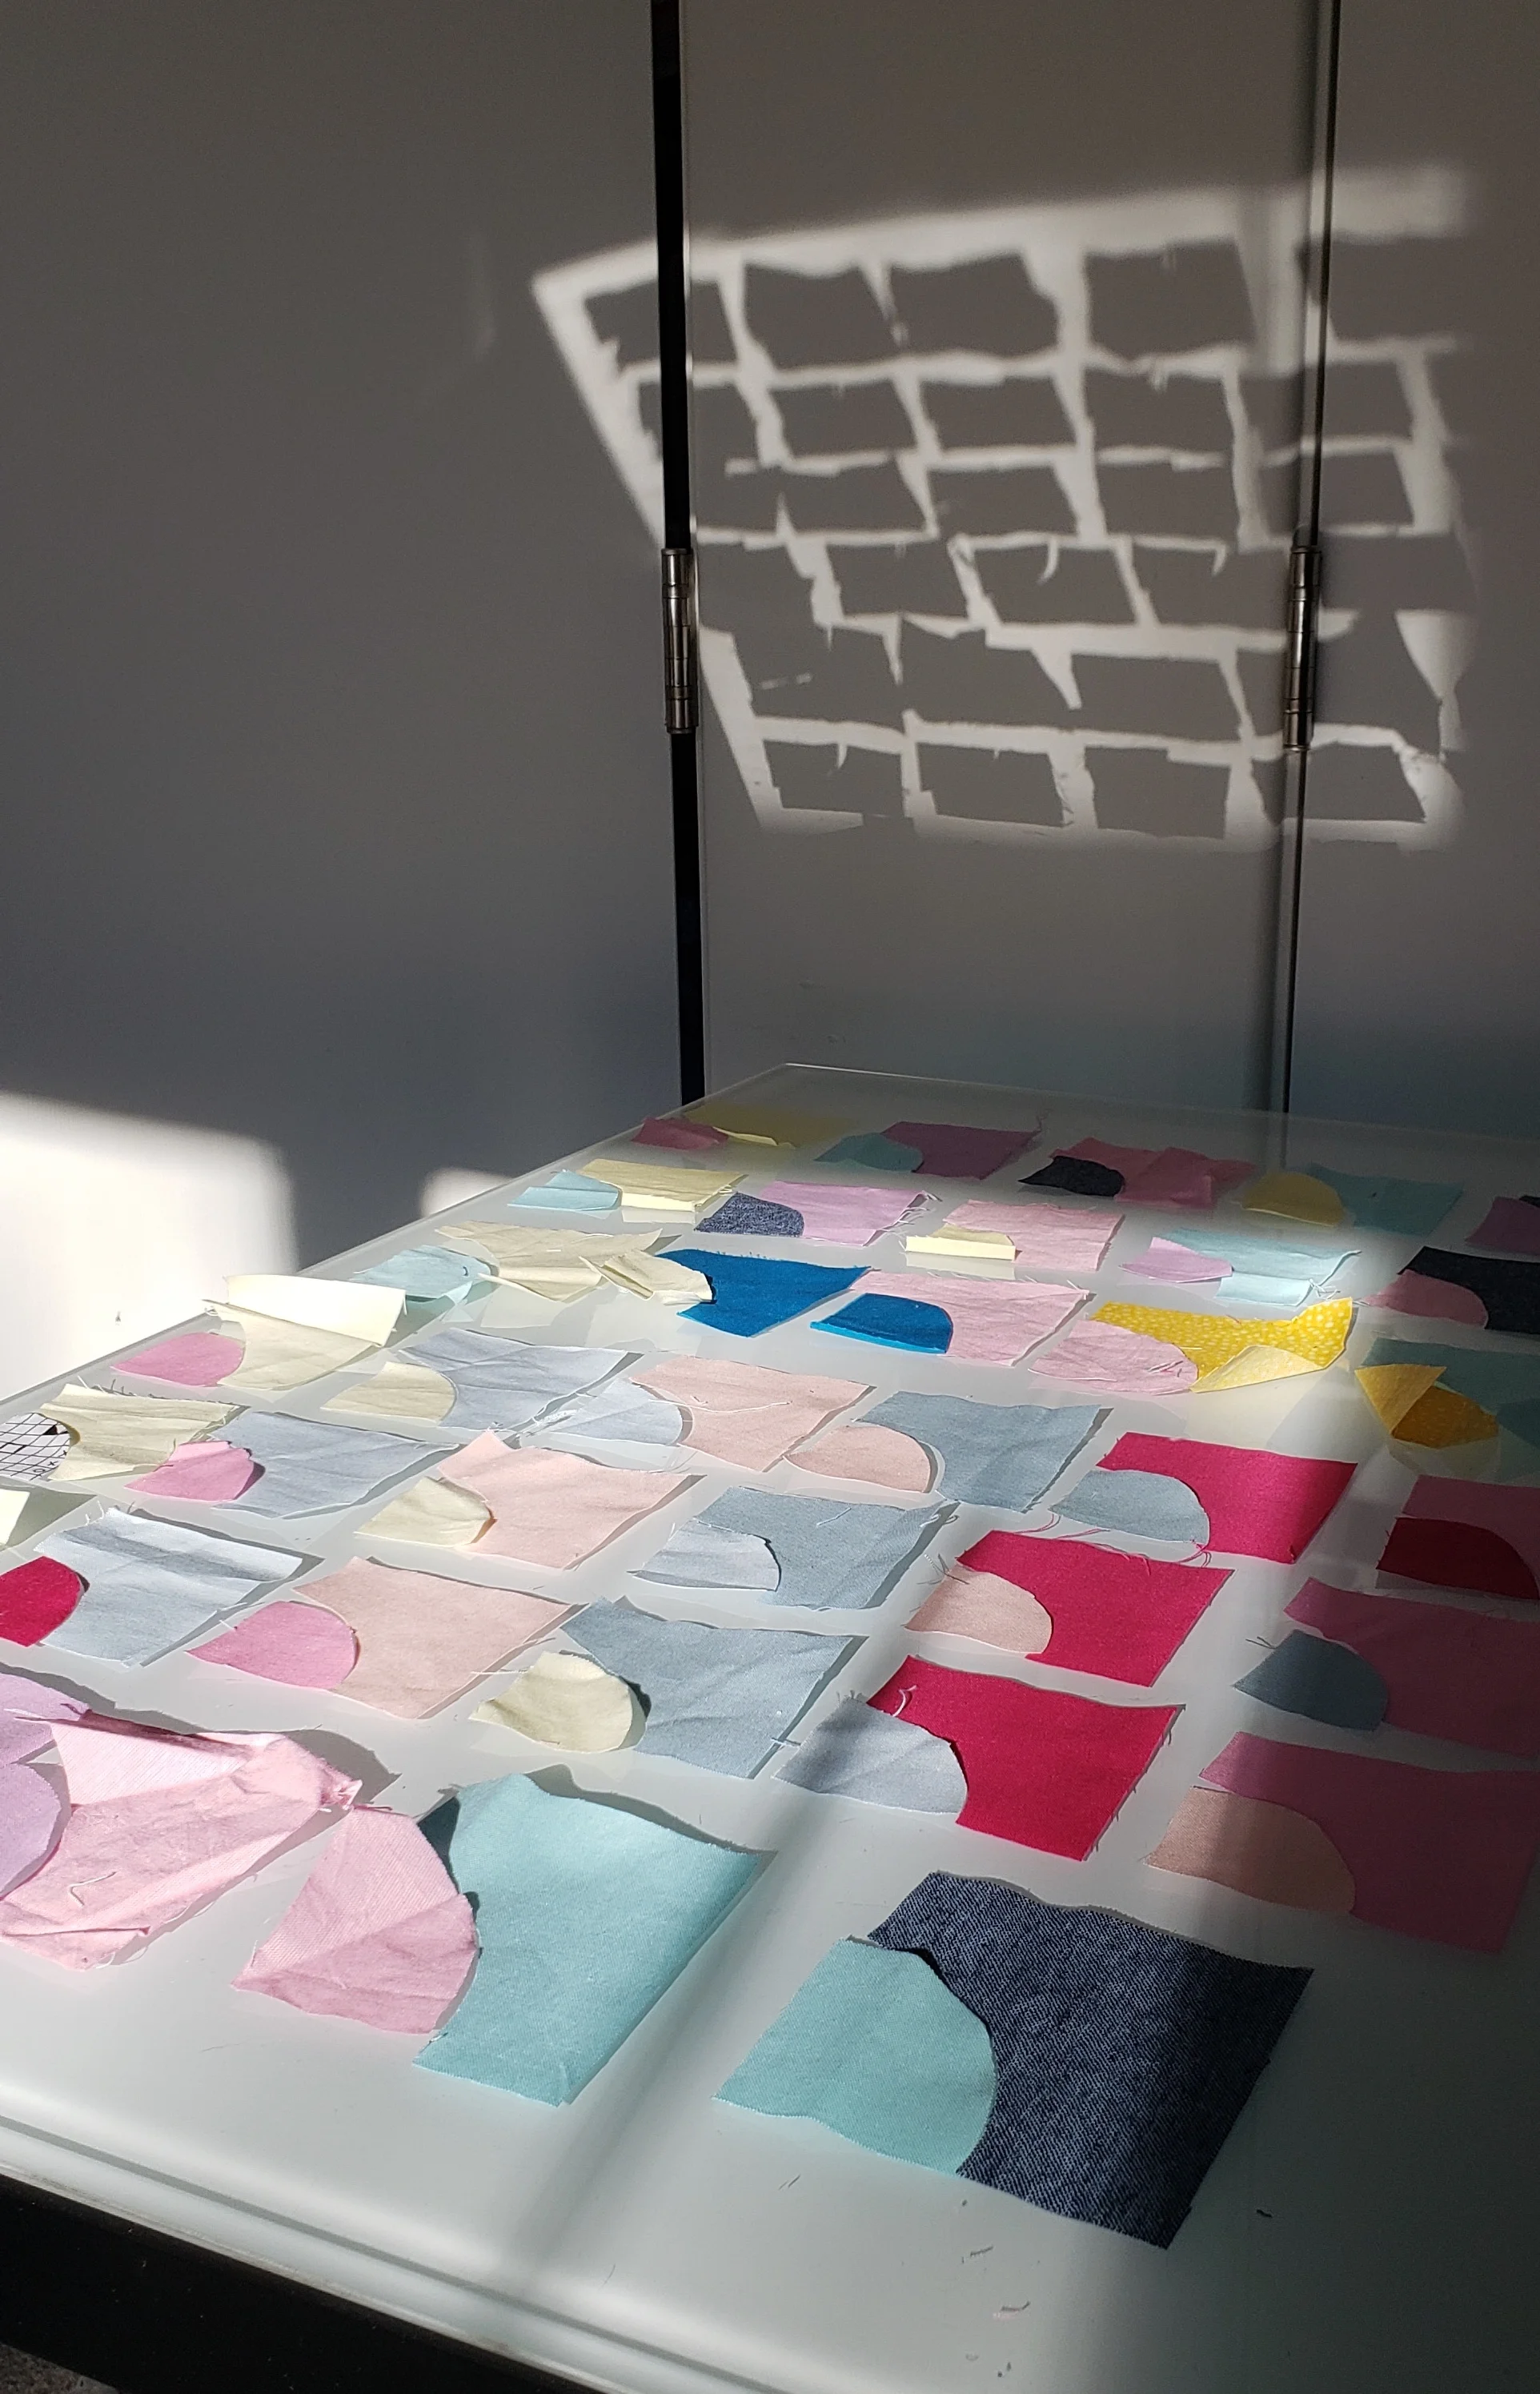
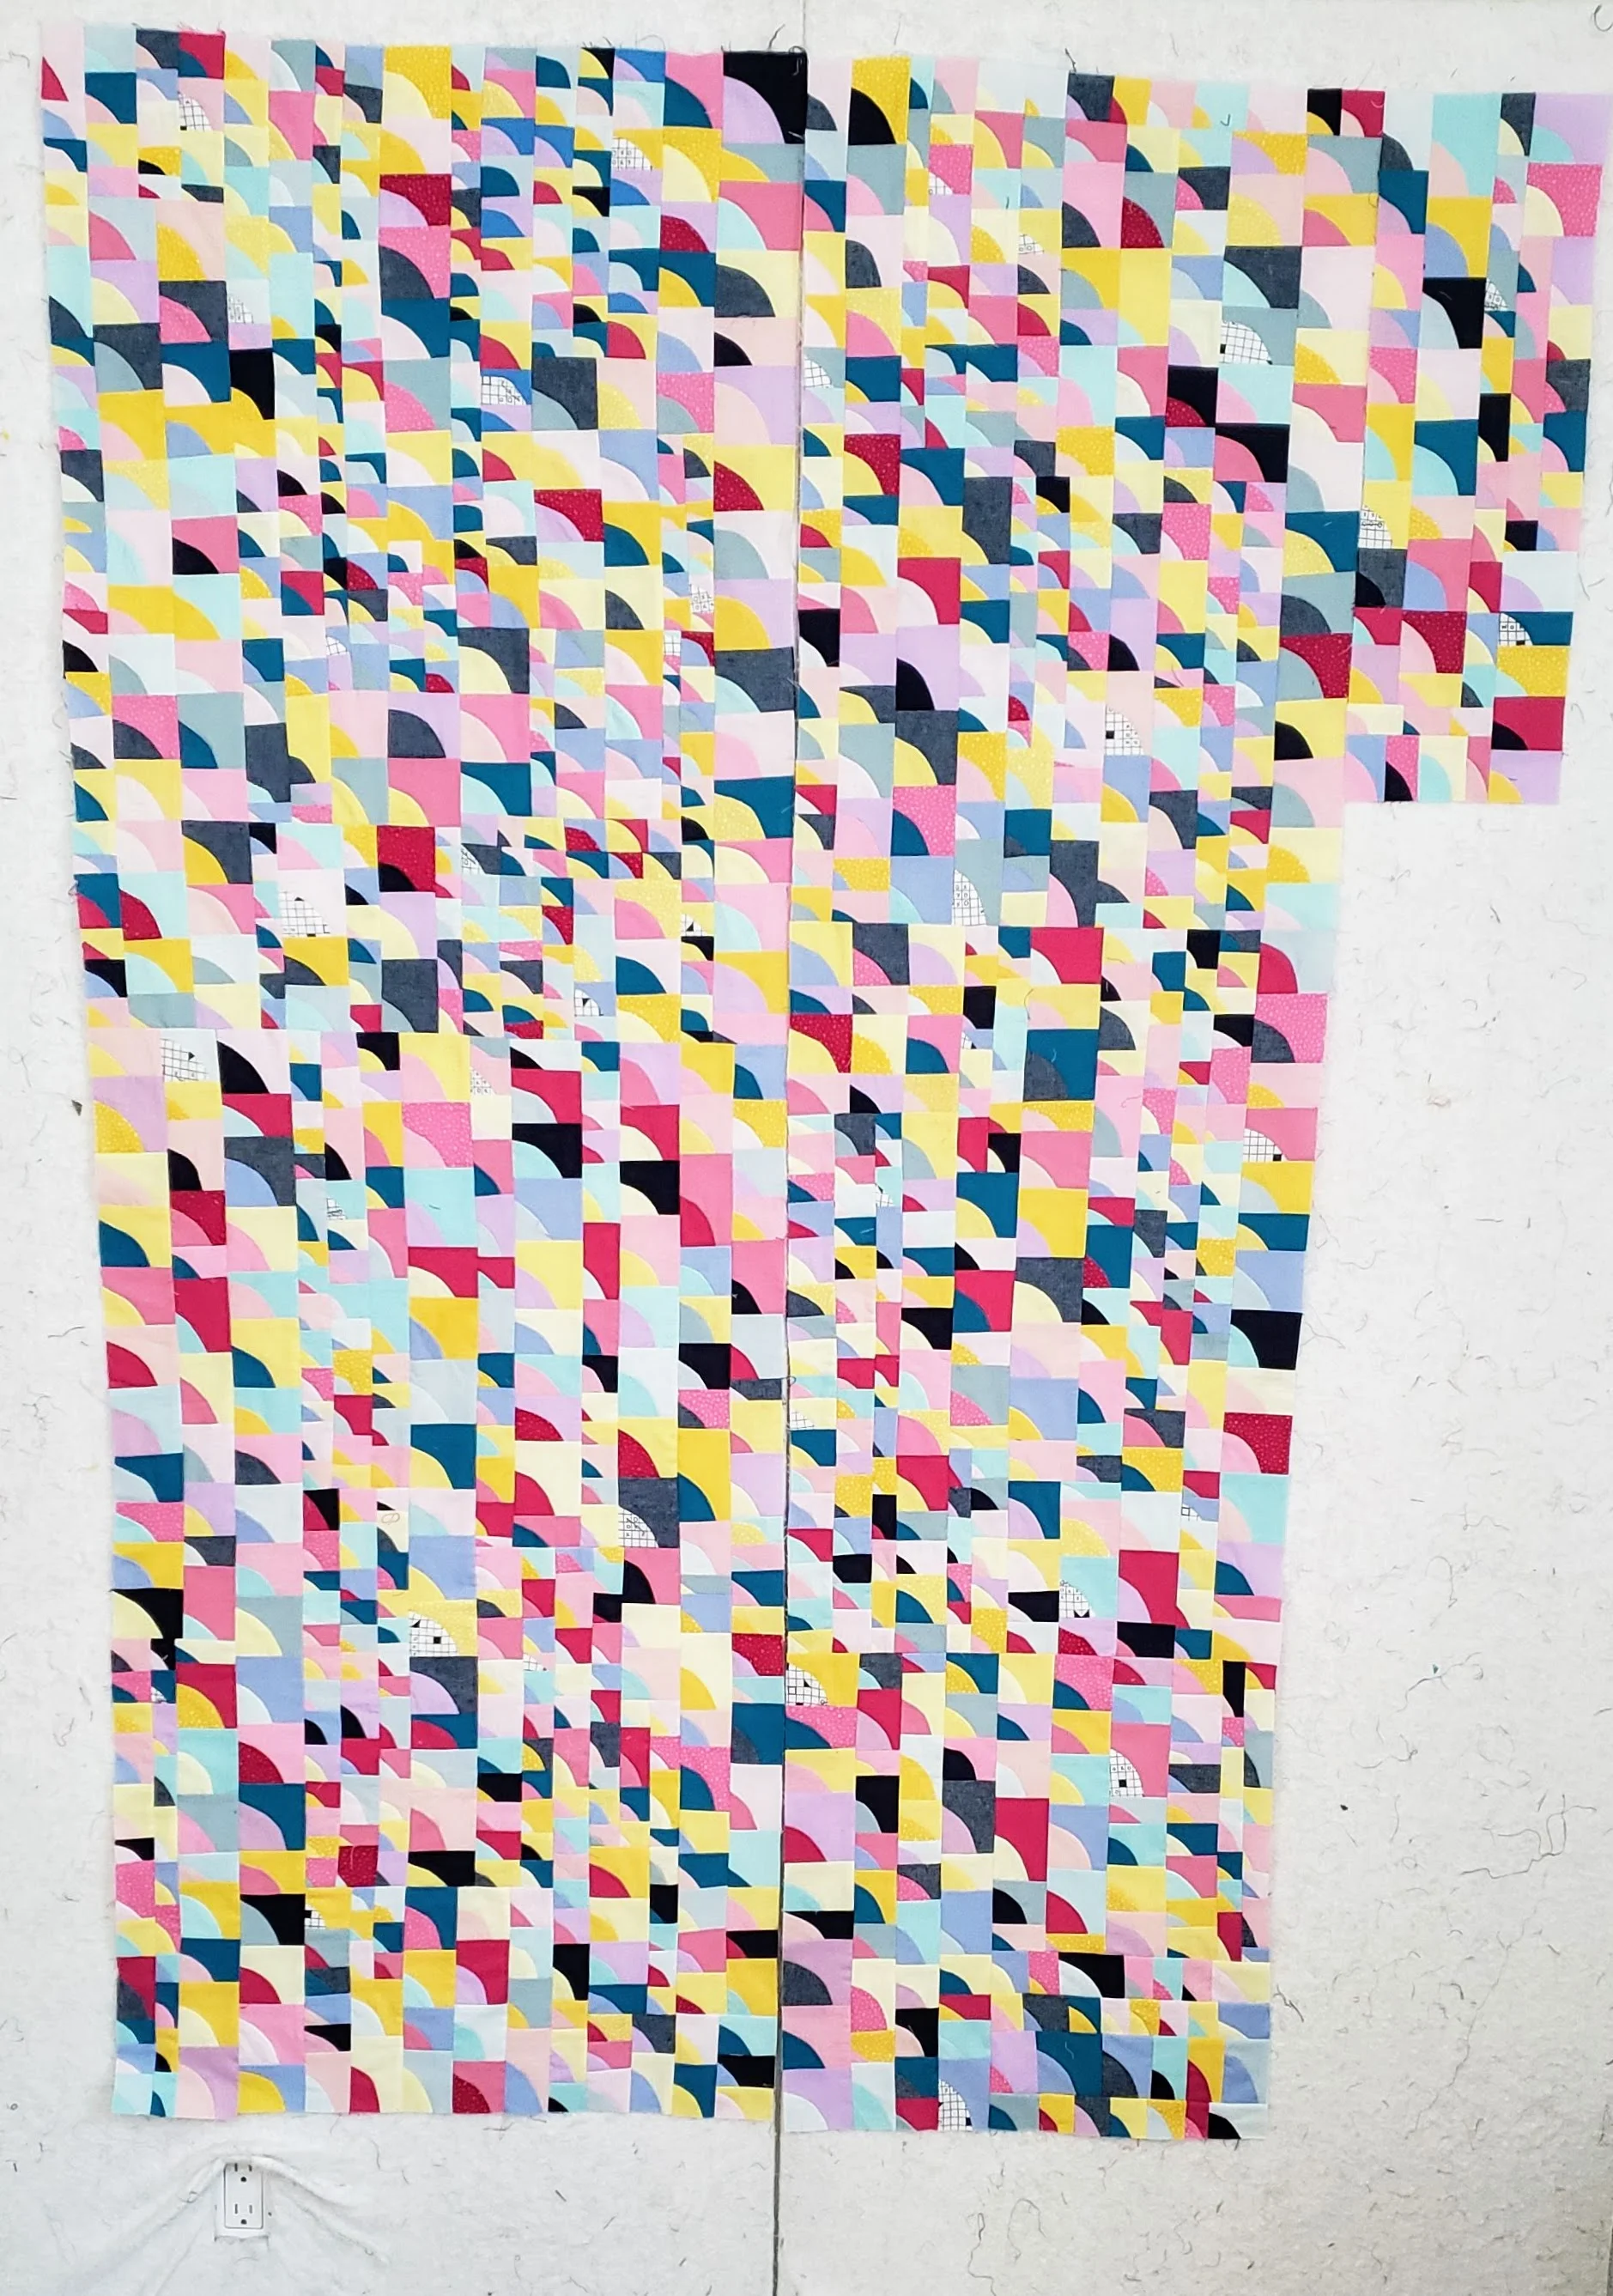
A few weeks ago I was in the mood to finish something. I was also in the mood for some design wall play. With zero plan for these scrap curves I started playing. For a few evenings I arranged and rearranged. Some layouts were too much like the original. One was, ahem, a little too lady-like. I had flowers and other things up there too. In the end I settled on the one that - at first - felt too predictable. But that first instinct proved the best. It used up all but 9 of the blocks and I am thrilled with the results.

Improv Curves

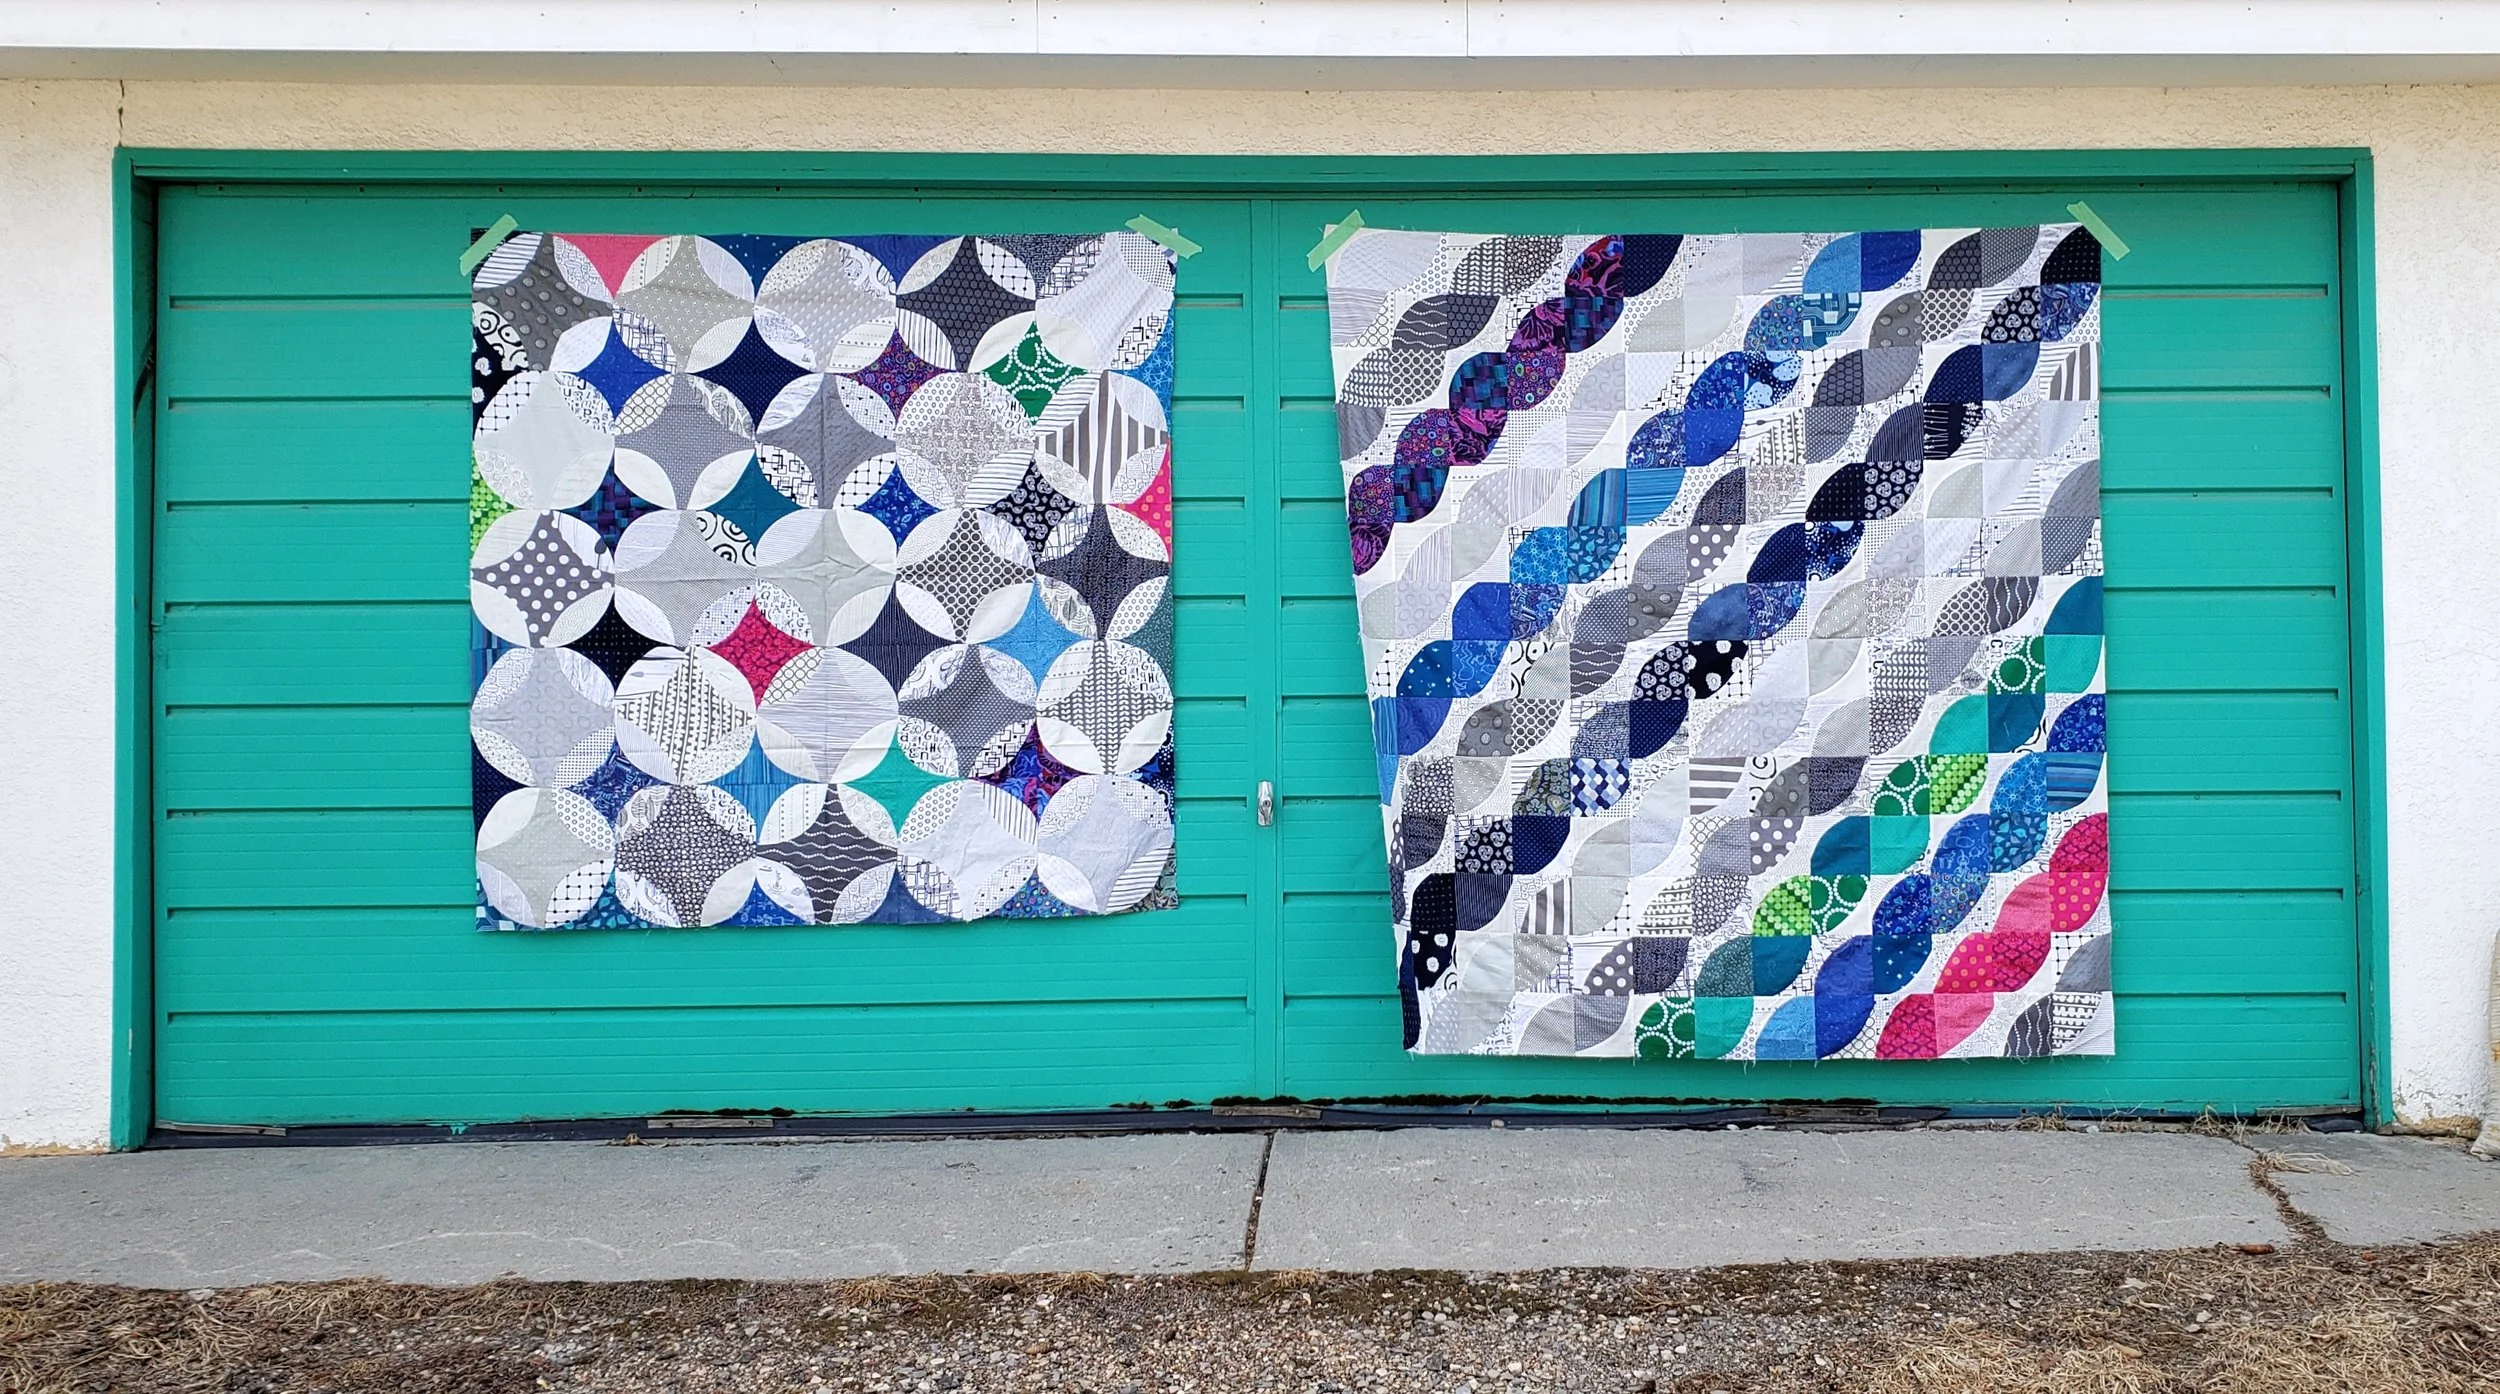
When I went to take the photo I discovered a very interesting thing - the scrap quilt was bigger than the original! Side by side they relate by way of colour scheme and the improv curves, but they are too very different quilts! One fundamental difference, however, is that I would call the first quilt scrappy, while the second is a scrap quilt. That is, the first one has multiple fabrics, all chosen deliberately. The second one was me working with what I was handed in scraps. It might be a subtle or even a semantic difference, but there is a difference.

Side note: The difference between scrappy and scrap is one of my new truck shows!

These now get added to the pile of quilt tops. No matter when they eventually get quilted though, I think they will have to go to a certain pair of sisters that lives in my house.

Improv Curves Color Girl Quilts


Make Waves - A New Class and a New Quilt

Make Waves Thursday Club

I didn’t mean to start a new quilt. But there I was on a video call with Marisa Cummings from Creative Thursday. We were chatting about her Thursday Club - a monthly exploration of the creative act for all of us - and my upcoming class. I can’t even say what was the initial spark, but a quick sketch on that call confirmed two things.

First, the Make Waves block is for my month teaching The Thursday Club. This Thursday join me as we make the block live! I will walk you through fabric selection, both hand sewing and machine sewing techniques, and finishing options. It’s okay if you can’t join us live, you can still purchase the event and learn all about the block. This will be the only spot I will be teaching it.

Make Waves the Thursday Club

If you ever take a class with me you know I am a big proponent of creating for the sake of creativity; that nothing you make in class has to be anything. That was honestly how I started with this. Just some class samples, no plans beyond that. I picked blue for the obvious wave reference. Then Marisa suggested we have some other colours because not everyone responds to blue. So I made a few other colours. I also make some solid versions, thinking the block itself is a miniature landscape. That got me thinking about sunsets. Suddenly I am making blocks in all the colours of a sunset.

So second, this is the start of a new quilt. It’s going to be a bit to make all the blocks. You know me, I don’t make small quilts.

In the meantime, make your own waves. Join us on April 4 at 1 pm MST to learn how to Make Waves yourself. This is a totally beginner friendly improv quilt block. I will be providing instructions for both hand sewing and machine sewing. Either way, it is deceptively simply yet has striking results.

Make Waves The Thursday Club

The Thursday Club is a wonderful initiative by Marisa. I’ve known Marisa online for over a decade. She continually inspires me and I can honestly say she has changed my life in some pretty positive ways. The Thursday Club is about giving ourselves just a little bit of time to explore creativity. Last month it was painting with Helen Dardik. Next month is another painting session with Marisa. And wait until you see the rest of the line up! Just one or two hours a month to explore, play, create. Just for you. Give yourself the gift, it is worth the investment in yourself.

Register Here

Binding Scraps - Amanda Jean Made Me Do It

Scrap Quilts with Triangles

Amanda Jean Made Me Do It

50’’ x 60’’

Those little triangles you cut off when joining strips for binding or Jelly Roll Race quilts? Do not throw them away!! Keep them for years and years and then you can make this quilt.

Years ago, when I was writing Sunday Morning Quilts with Amanda Jean Nyberg she convinced me to start saving those little triangles. Until then I confess that I was throwing them out. Fast forward a few years and her next book, No Scrap Left Behind, has a delicious pattern for all those little triangles!

It can be daunting when working with So. Many. Small pieces at once. Generally, I would recommend having this be an ongoing project. A little bit here and there or maybe using them as leaders and enders. I ended up doing nothing but this project for a few weeks, at least to get the top done. It nearly killed me. Tedious, to say the least. But the end result was fantastic!! The top needed to sit a little while though, to muster up the steam to see it again.

My recent desire to finish things though brought this quilt up again. I actually had the back made a long time ago too, a request from my oldest, The Monster. At a time when she was feeling down she asked me if I ever made something as a reminder that life can get better? Until then, I had not. Now we have this two sided quilt for the rough days.

It Gets Better

It wasn’t too bad to quilt it, even with all the seams. I lifted up the presser foot a bit and dove in with an angular meander. On a scrappy quilt like this you aren’t going to see much in the way of quilting so something all over is perfect. Any colour thread would do as well, so I picked a favourite turquoise variegated from Wonderfil. It worked perfectly.

For those of you that also follow me on Instagram I had a fun time getting help with binding choices. Usually I know exactly what I want to do but this time I was torn. So I put the top choices out to the world. It was really interesting to see what other people thought too. In the end I chose away from my norm. I typically go for a high contrast binding. This time I went for something that blended. I think it was the perfect choice.

Quilt Binding Samarra Khaja

And now I’ve finished two quilts already this year. That is already more than last year, I think!

Itty Bitty Curves Update 2 Years later

Tiny Piecing Improv Curves

When I posted some photos of these little curves the other day a non-quilting friend asked me if I was making another version of the quilt. Because she remembered me working on them last year. Nope, same quilt. More piecing.

I pulled this project back in to the rotation last week. After so many scrap projects of late it is nice to be working with a controlled colour scheme. Not that the piecing is any faster with these itty bitty curves! I guess this was the itch that needed to be scratched.

Many times I’ve been asked how big I plan to make this quilt. The answer is always “Until I run out of fabric.” Of course, since I am working with solids I could replace them. Frankly, I’ve done that once already. But even I have limits and will likely stop once this round of fabric is done. In actuality, the supply of yellow fabric is getting low so I guess that will be my limiting factor. As it currently stands, the pieces for the top make it about 40’’ x 60’’ .

Tiny Piecing Improv Curves Quilting

As the fabric supply dwindles I’ve decided to focus on making the little blocks instead of assembly. I have absolutely no idea how much bigger this can and will get. My little plastic baggies are filled with the size sorted blocks, like some sort of quilting drug deal. Every time I sew, press, square up, and add to the collection my potential finished quilt gets an inch or two bigger. By sewing all the blocks now I will ensure that my colours stay balanced across the entire finished quilt and not have a portion where there is no yellow, for example. So I will sew all the blocks first then sew them all together. Fingers crossed this leaves me with a functional sized quilt.

It’s been precisely 2 years since I started this project in a class with Chawne Kimber. At the time it was a fun experiment, a good way to play with one of my idols in the room guiding me. There is no rushing tiny piecing, especially when you want the finished result to be large enough to cover a lap and not just a wall. There is also an inherent boredom in tiny piecing, especially when making something larger. It is a A LOT of repetitive action. If it takes me a few years, it takes me a few years. I am thoroughly engaged in the process when I am doing it and have no problem letting my interest ebb and flow. I’m floating down a slow river and the ride is good.

Chawne Kimber tiny piecing