"inspiration"

Tree of Life Vintage Quilt Inspiration

Tree of Life Vintage quilt.jpg

What better way is there to spend a late winter day than immersed in a vintage quilt collection? Back in March I had the opportunity to explore part of Heritage Park’s collection of donated and gathered quilts. It was all in anticipation of the Festival of Quilts, taking place in August. Delayed twice because of Covid it was a special experience. My goal was to identify a quilt to inspire a modern interpretation for a special class at the Festival of Quilts. Let me tell you, it was hard to narrow it down!

In the end I chose this pastel version of the Tree of Life pattern. I took a million pictures then came home to sketch. My goal to was make a straightforward version of the block, one easily made with a rotary cutter and one that lent itself to play. I wanted students to be able to play with colour, fabric, and scale, creating their own modern version of the block.

Tree of Life Quilt Pattern Notes.jpg
Tree of Life Quilt Block.jpg

The first version I made tested the pattern. It was also an opportunity to play with fabric and scale. This particular block finishes at 36” square! I dug into the stash of both purples and the low volume black and whites. I love the combination of warm purples and cool purples. Together they make the block very dynamic.

This size proved popular in the class itself. It’s a great way to get far with a project.

The block itself can be set with a straight set like this or on point. It’s hard to decide what you want until you make the block. For example, I debated making 3 more blocks this size to make a four patch in this straight set, maybe all pointing to the four corners. However, I think I will add another round of black and white patchwork squares to make it a bit bigger and turn it into a baby quilt.

Here’s what it looks like on point, like in the original.

Tree of Life Quilt Block.jpg

You can see I am having fun playing with fabric. Exploring variations in the colour green and playing with value placement keeps this from being boring. The entire block is made from half square triangles and squares. Super easy to make! But also a bit tedious. So having some excitment with the fabric sure helps. So does a good show in the background (I am currently watching Sex Education on Netflix.)

In the class itself students worked in all sizes and with a wide range of colours. It is always so exciting to see people play!

A huge thank you to Heritage Park, curators and staff there, as well as the Festival of Quilts volunteers for making this happen.

PS Don’t follow those pattern instructions, it contains errors that I fixed later.

Names for Snow

Names For Snow 1 Cheryl Arkison

Names For Snow

47” x 58”

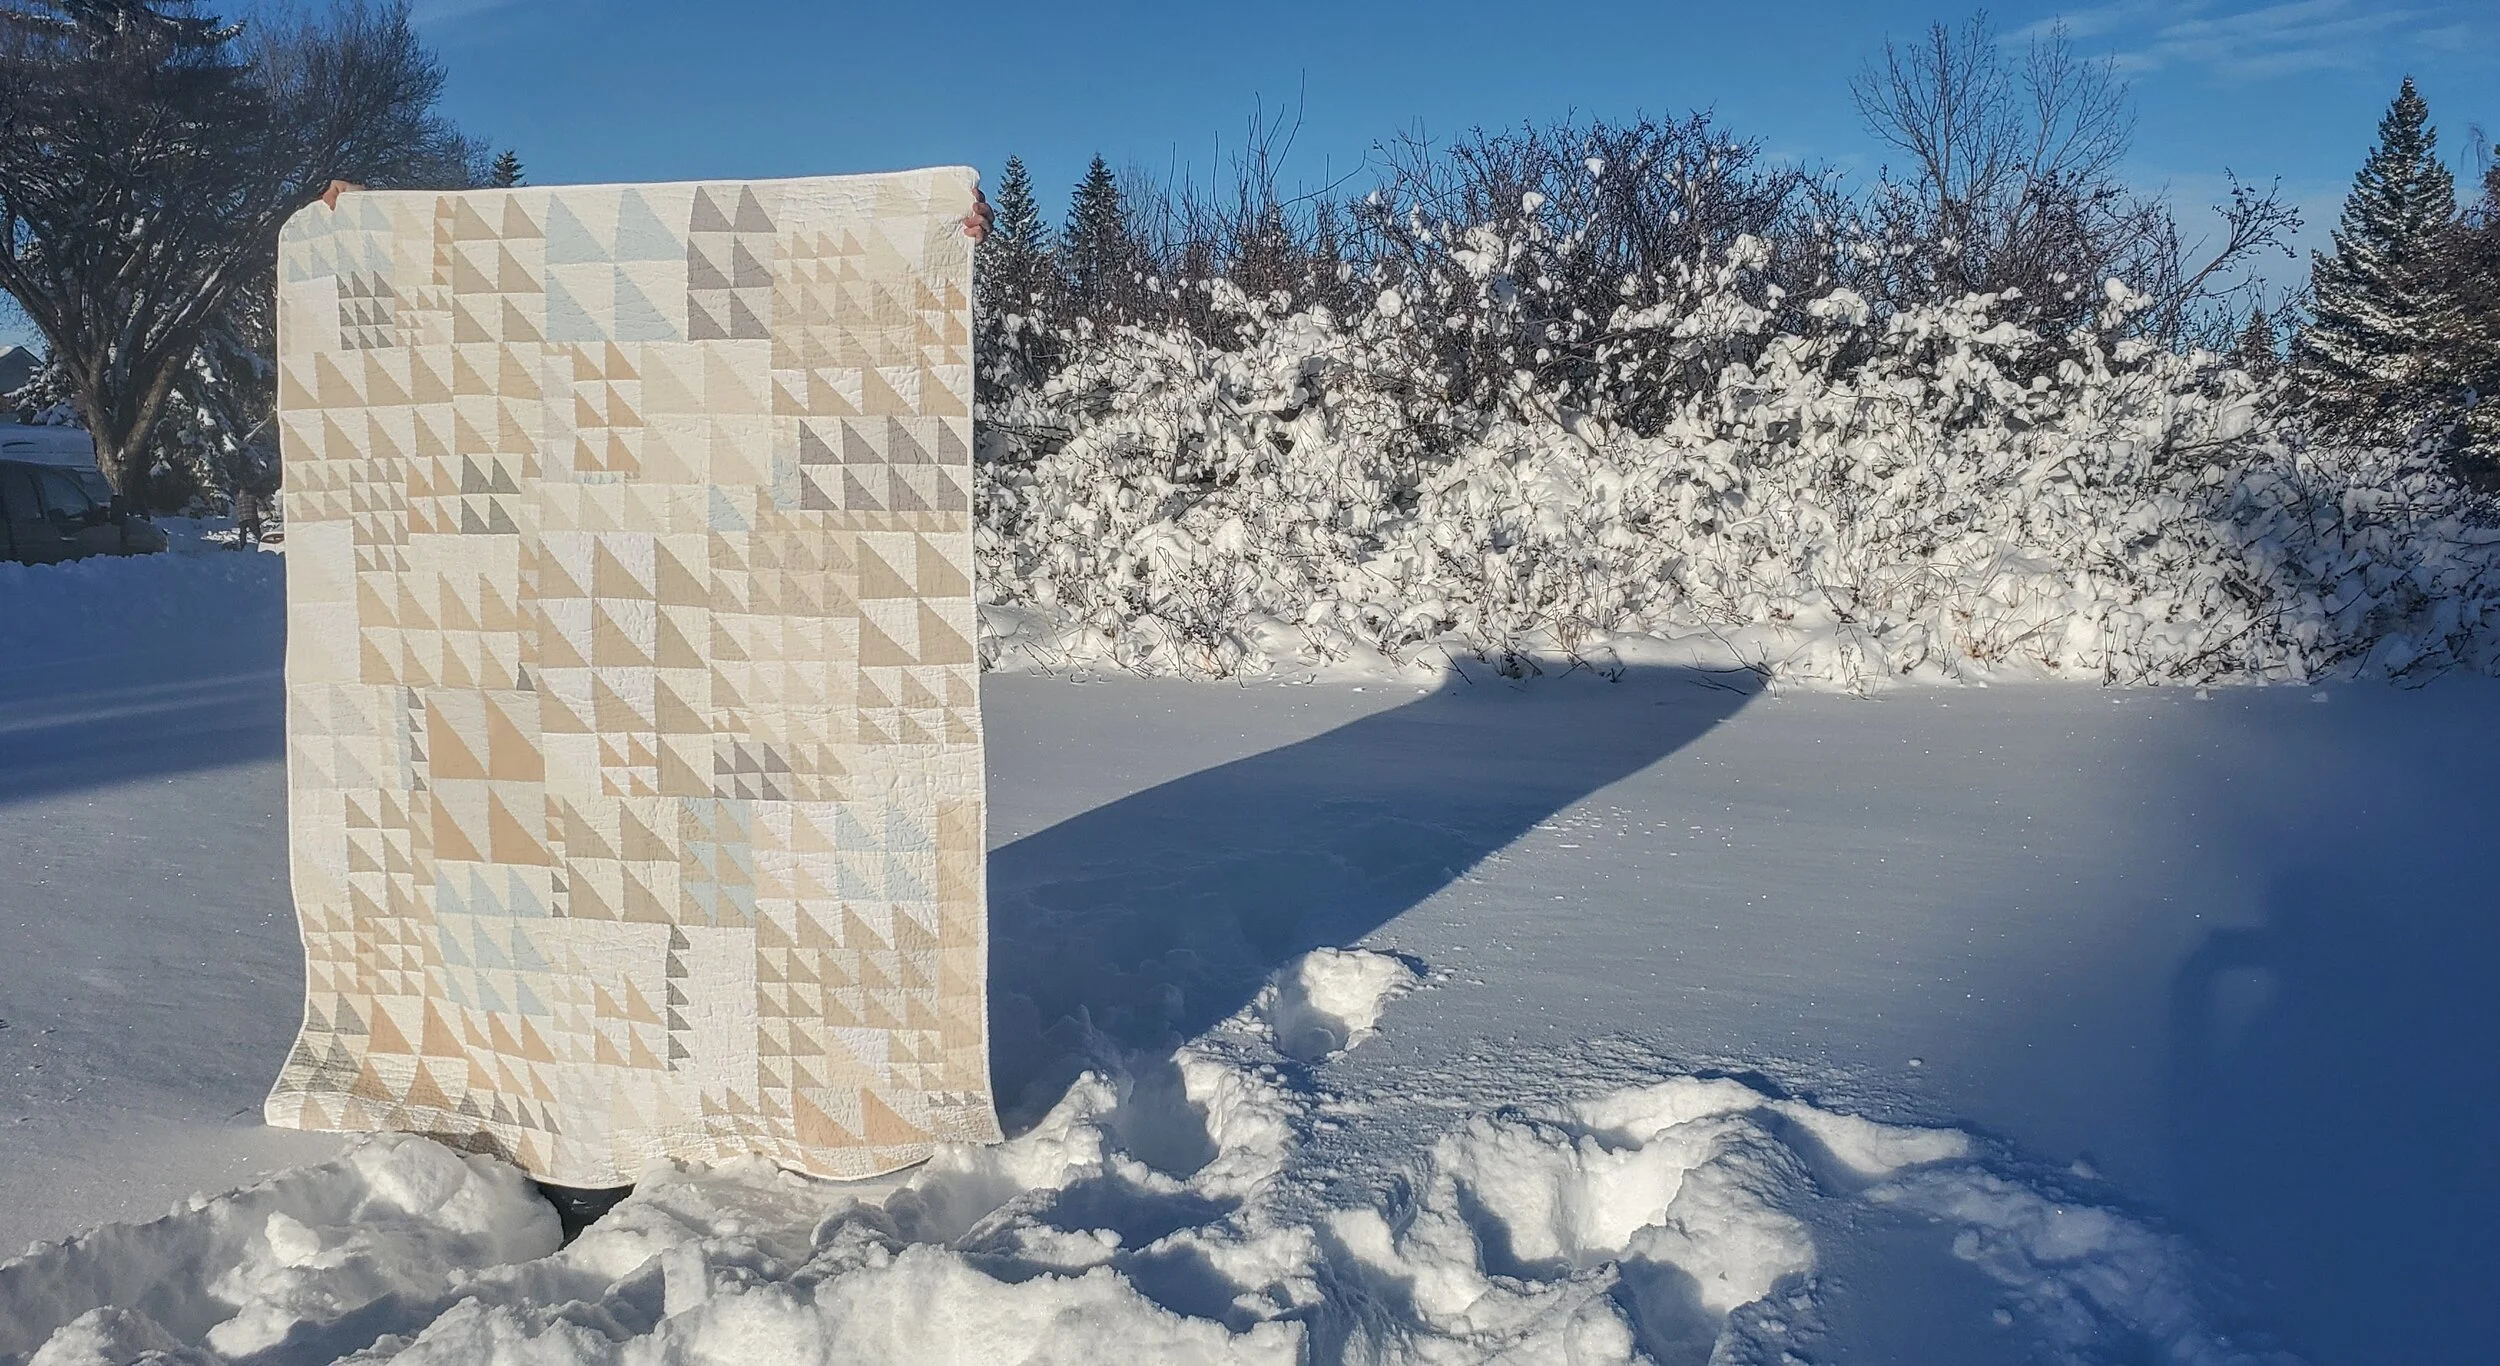
Okay, so I finished this quilt more than a year ago. Then it was on display and stayed living for a friend for a year. He was paranoid about it getting wrecked and so gave it back. I’ve just been waiting for a proper snowfall to get a picture of it.

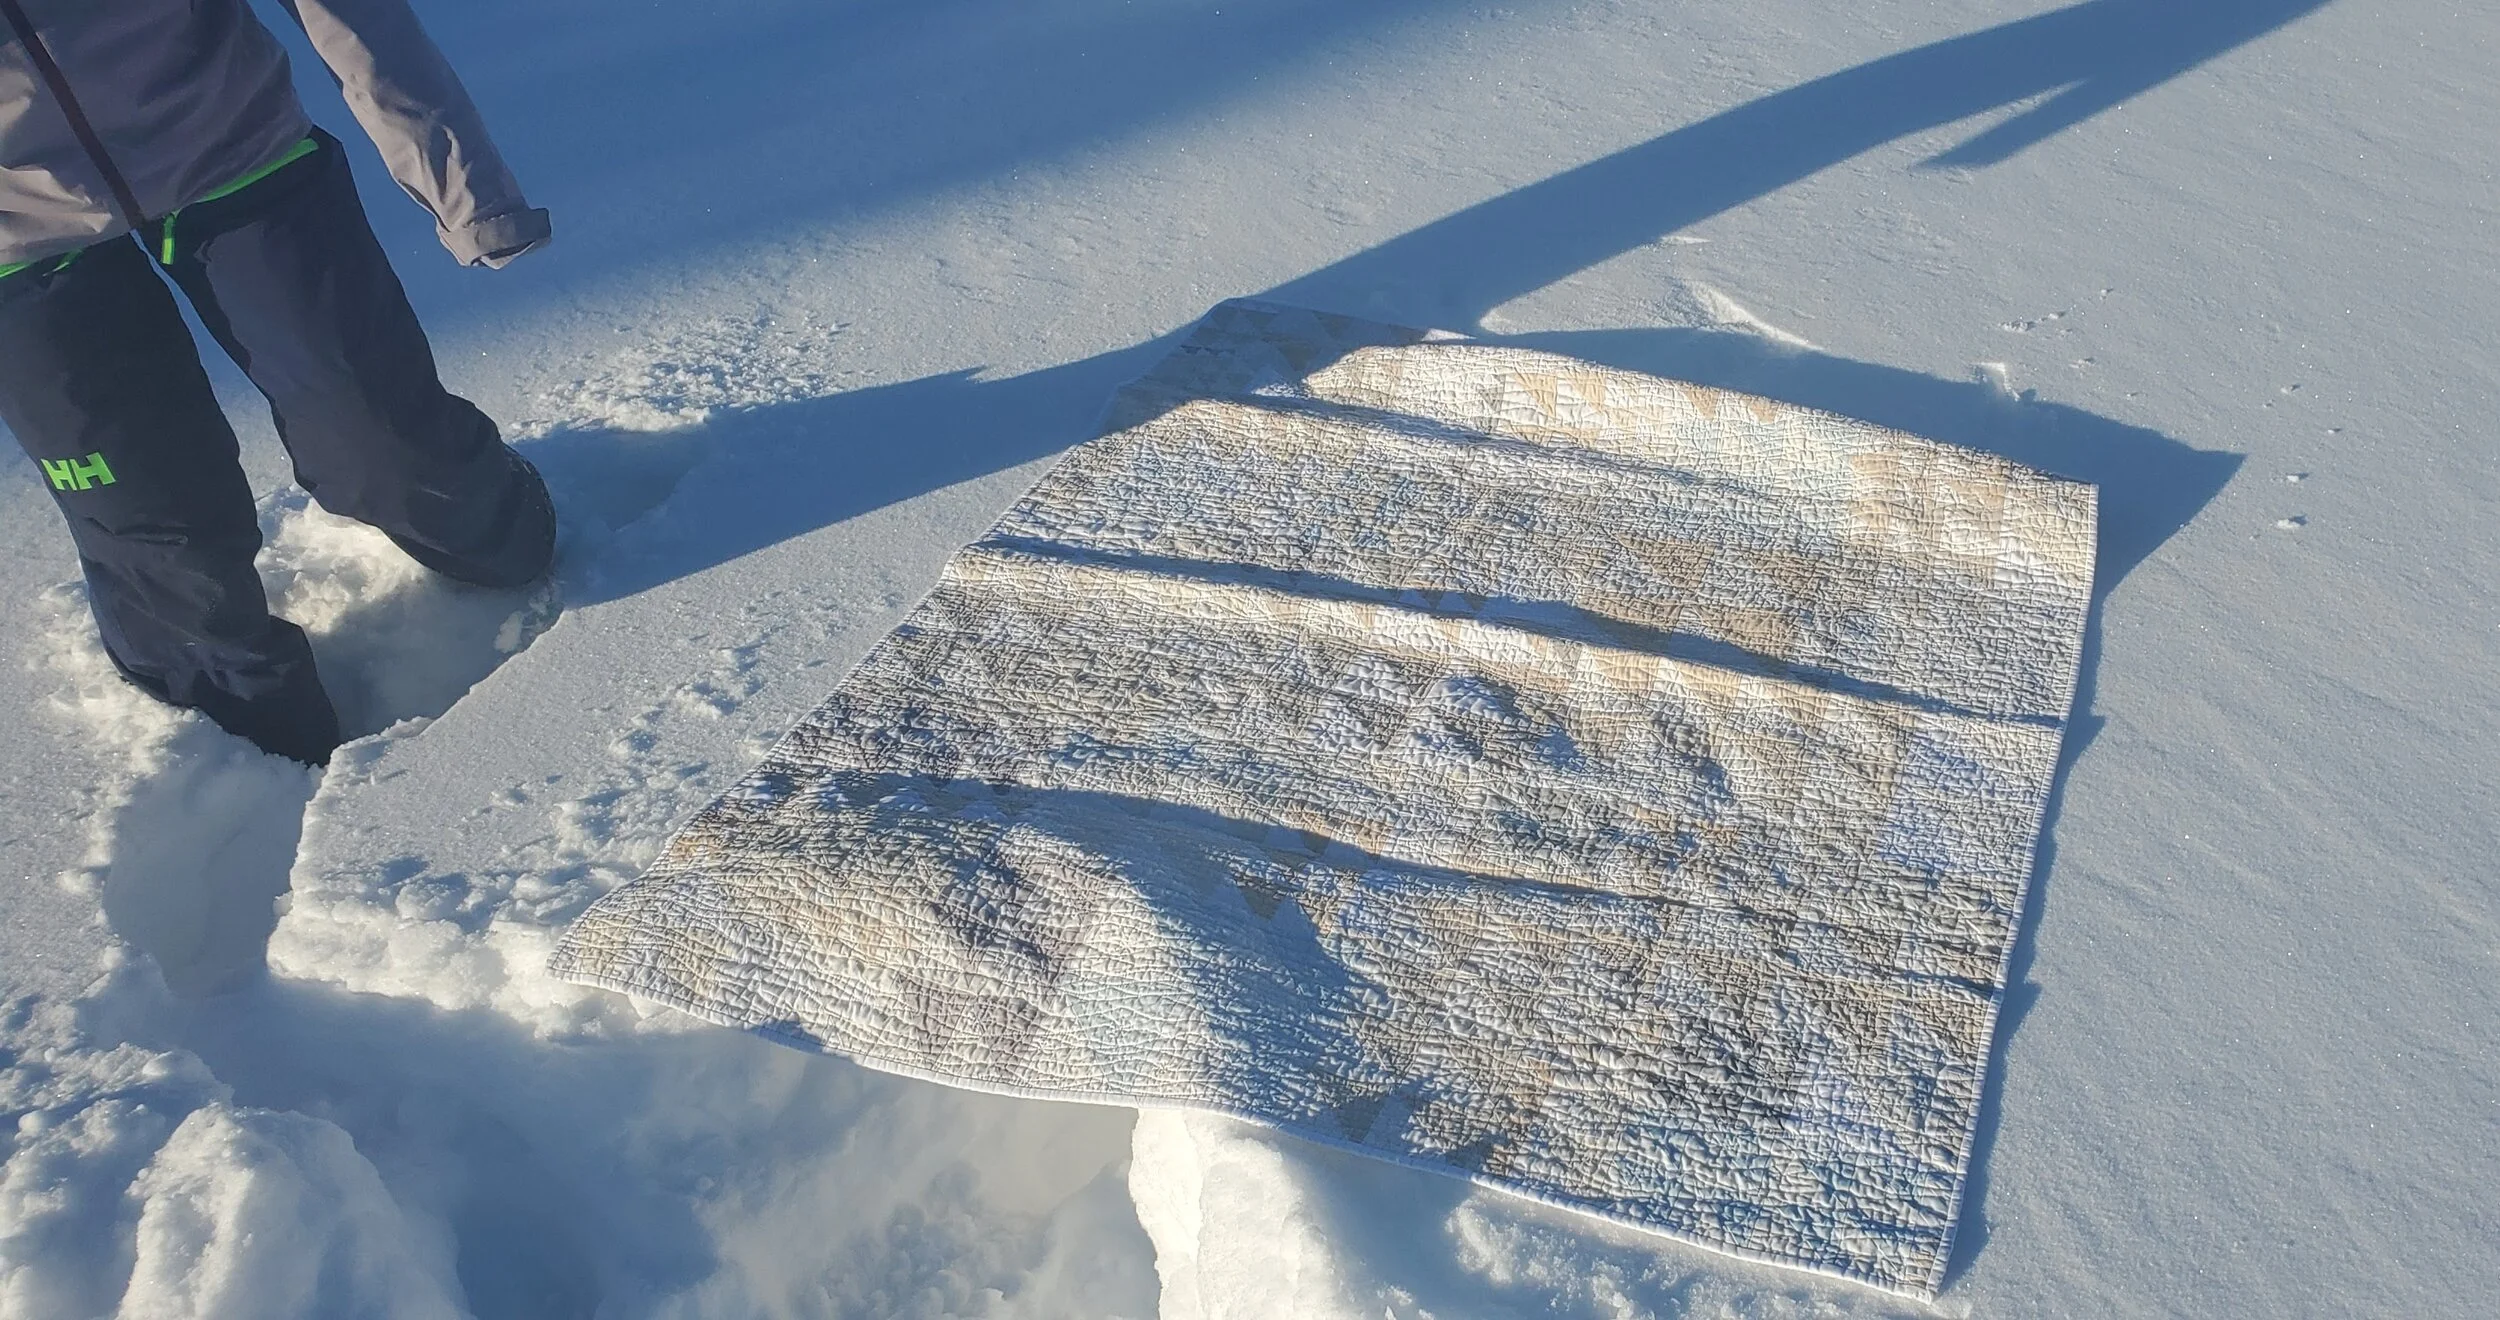
Of course, I forgot that proper snowfalls actually make it difficult to take quilt pictures. There is the feets of snow, for one. And two, despite all that white, it is quite difficult to get accurate colour representation in snow. Good thing this quilt is inspired by snow! In a strange twist in quilt photography, shooting this quilt in the sun was the way to do it. Got my tween and her best friend to help out as I forced them away from the snow fort they are building.

Names For Snow Cheryl Arkison Improv Quilts

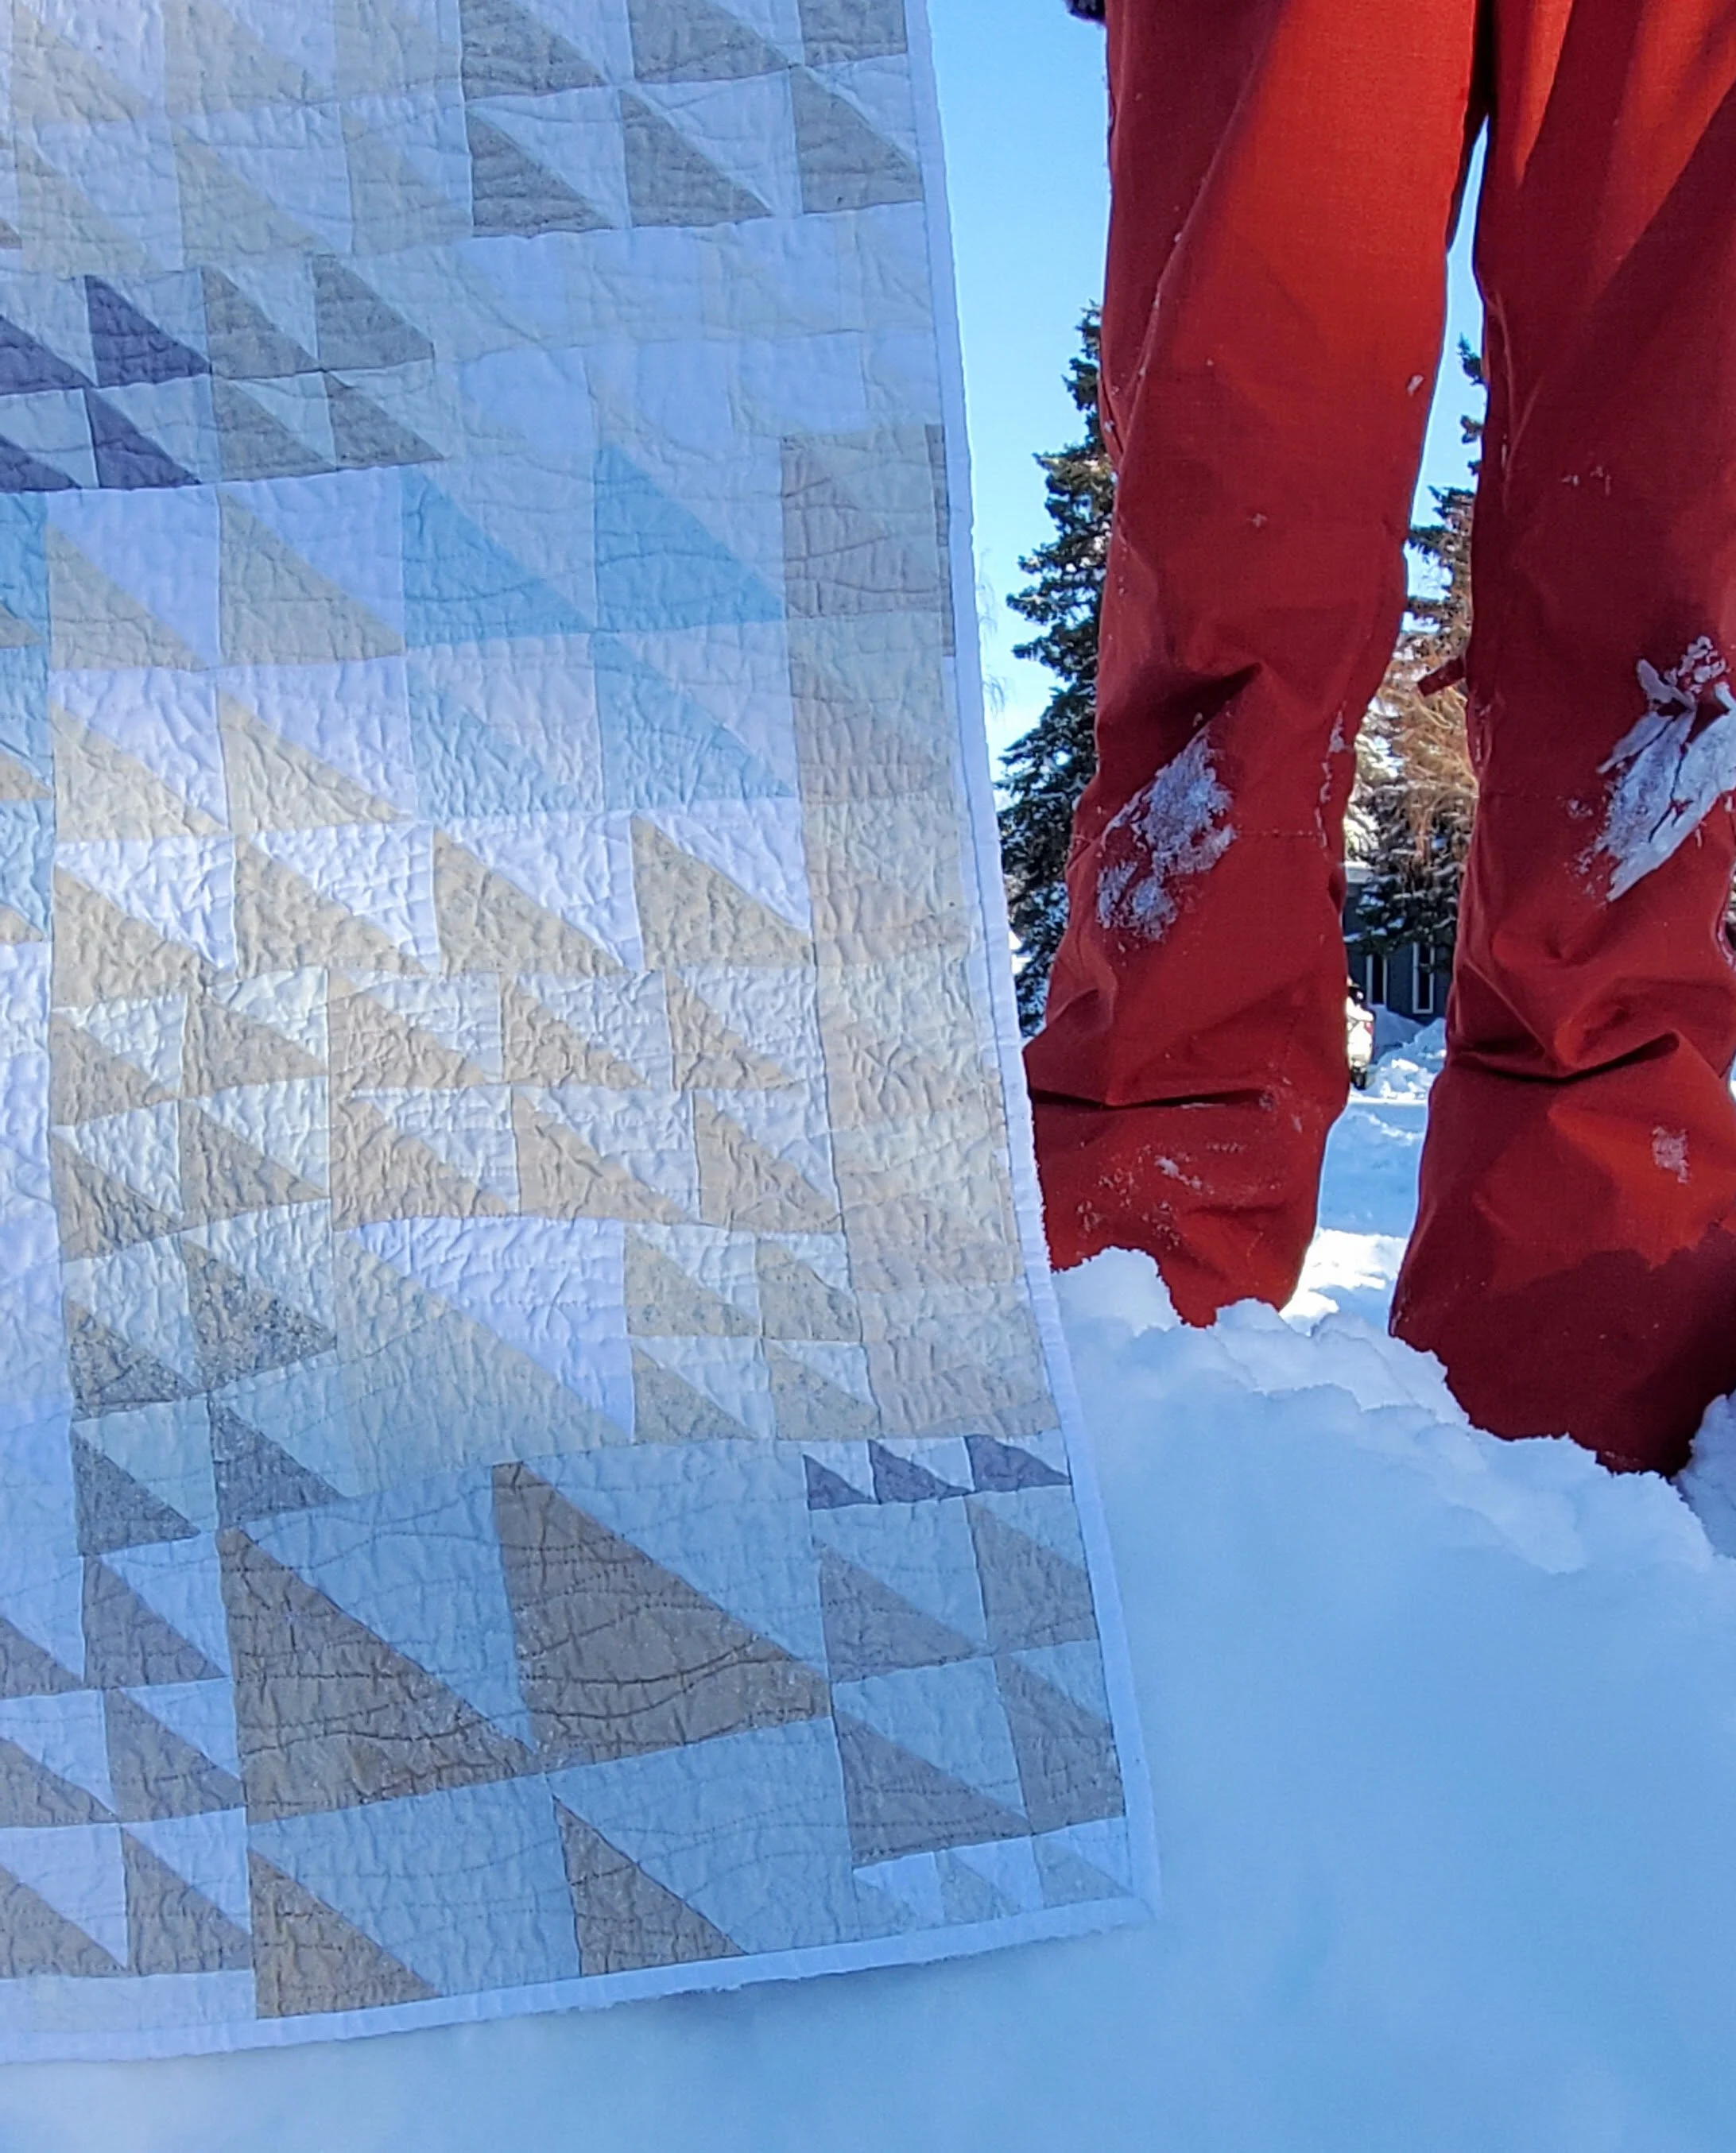
The entire quilt started as a love letter to my favourite scissors. Kevin from Knife Wear goes on buying trips to Japan. I made a comment about scissors offhand and he came up with some pairs to try. Yes, I know we quilters are spoiled with a lot of scissor options. These ones are, by far, my favourite. So I set out to freehand cut half square triangles and sew them together. Everything was cut by hand - the initial squares, trimming, and squaring up. The only time I brought out a rotary cutter and ruler was to square up the finished quilt. What a liberating way to work!

Note to self: do this again.

Playing with all these neutrals resulted in another love letter through this quilt. To my favourite season: winter! It isn’t often that I have the name of a quilt early in the making but this one was set pretty quickly. Whites, creams, beiges, more whites, a little blue. No yellow.

Names For Snow  Cheryl Arkison Improv Quilts

I spent way too much time obsessing over the quilting. I was researching different languages and their names for snow, I was trying to figure out how to stitch in Inuktitut. I brainstorming loads of options. In the end, however, a deadline and my desire to never mark quilts won. I went with dense, wavy lines (snowdrift) with little asterisk/sparkles here and there. Texture, more than anything.

The white binding seemed like a no brainer.

When making improv quilts, whether free hand cut like this or now, one key thing to remember is that perfection does not live here. Points will be trimmed off, lines might be a bit wonky, you might cut more than expected to make things fit, and almost nothing lines up. This is precisely why I like this. It looks and feels handmade. I see my own movements in every line of stitching, every shape. It can be a hard switch from the pursuit of perfection in quilt making but it is a liberating switch for many.

Now that we are settled in for a Christmas at home I am glad for another quilt on the sofa to celebrate my truly favourite season. Winter is indeed for snow forts and skiing (hopefully) and skating. Winter is for curling up with quilts and cookies at the bookends of those activities.

Here’s to the season!

This is the third in my landscape series. See Mountain Meadows and Ripples.

Rocky Road to Kansas With a Vibrant, Modern Twist

Rocky Road to Kansas Cheryl Arkison

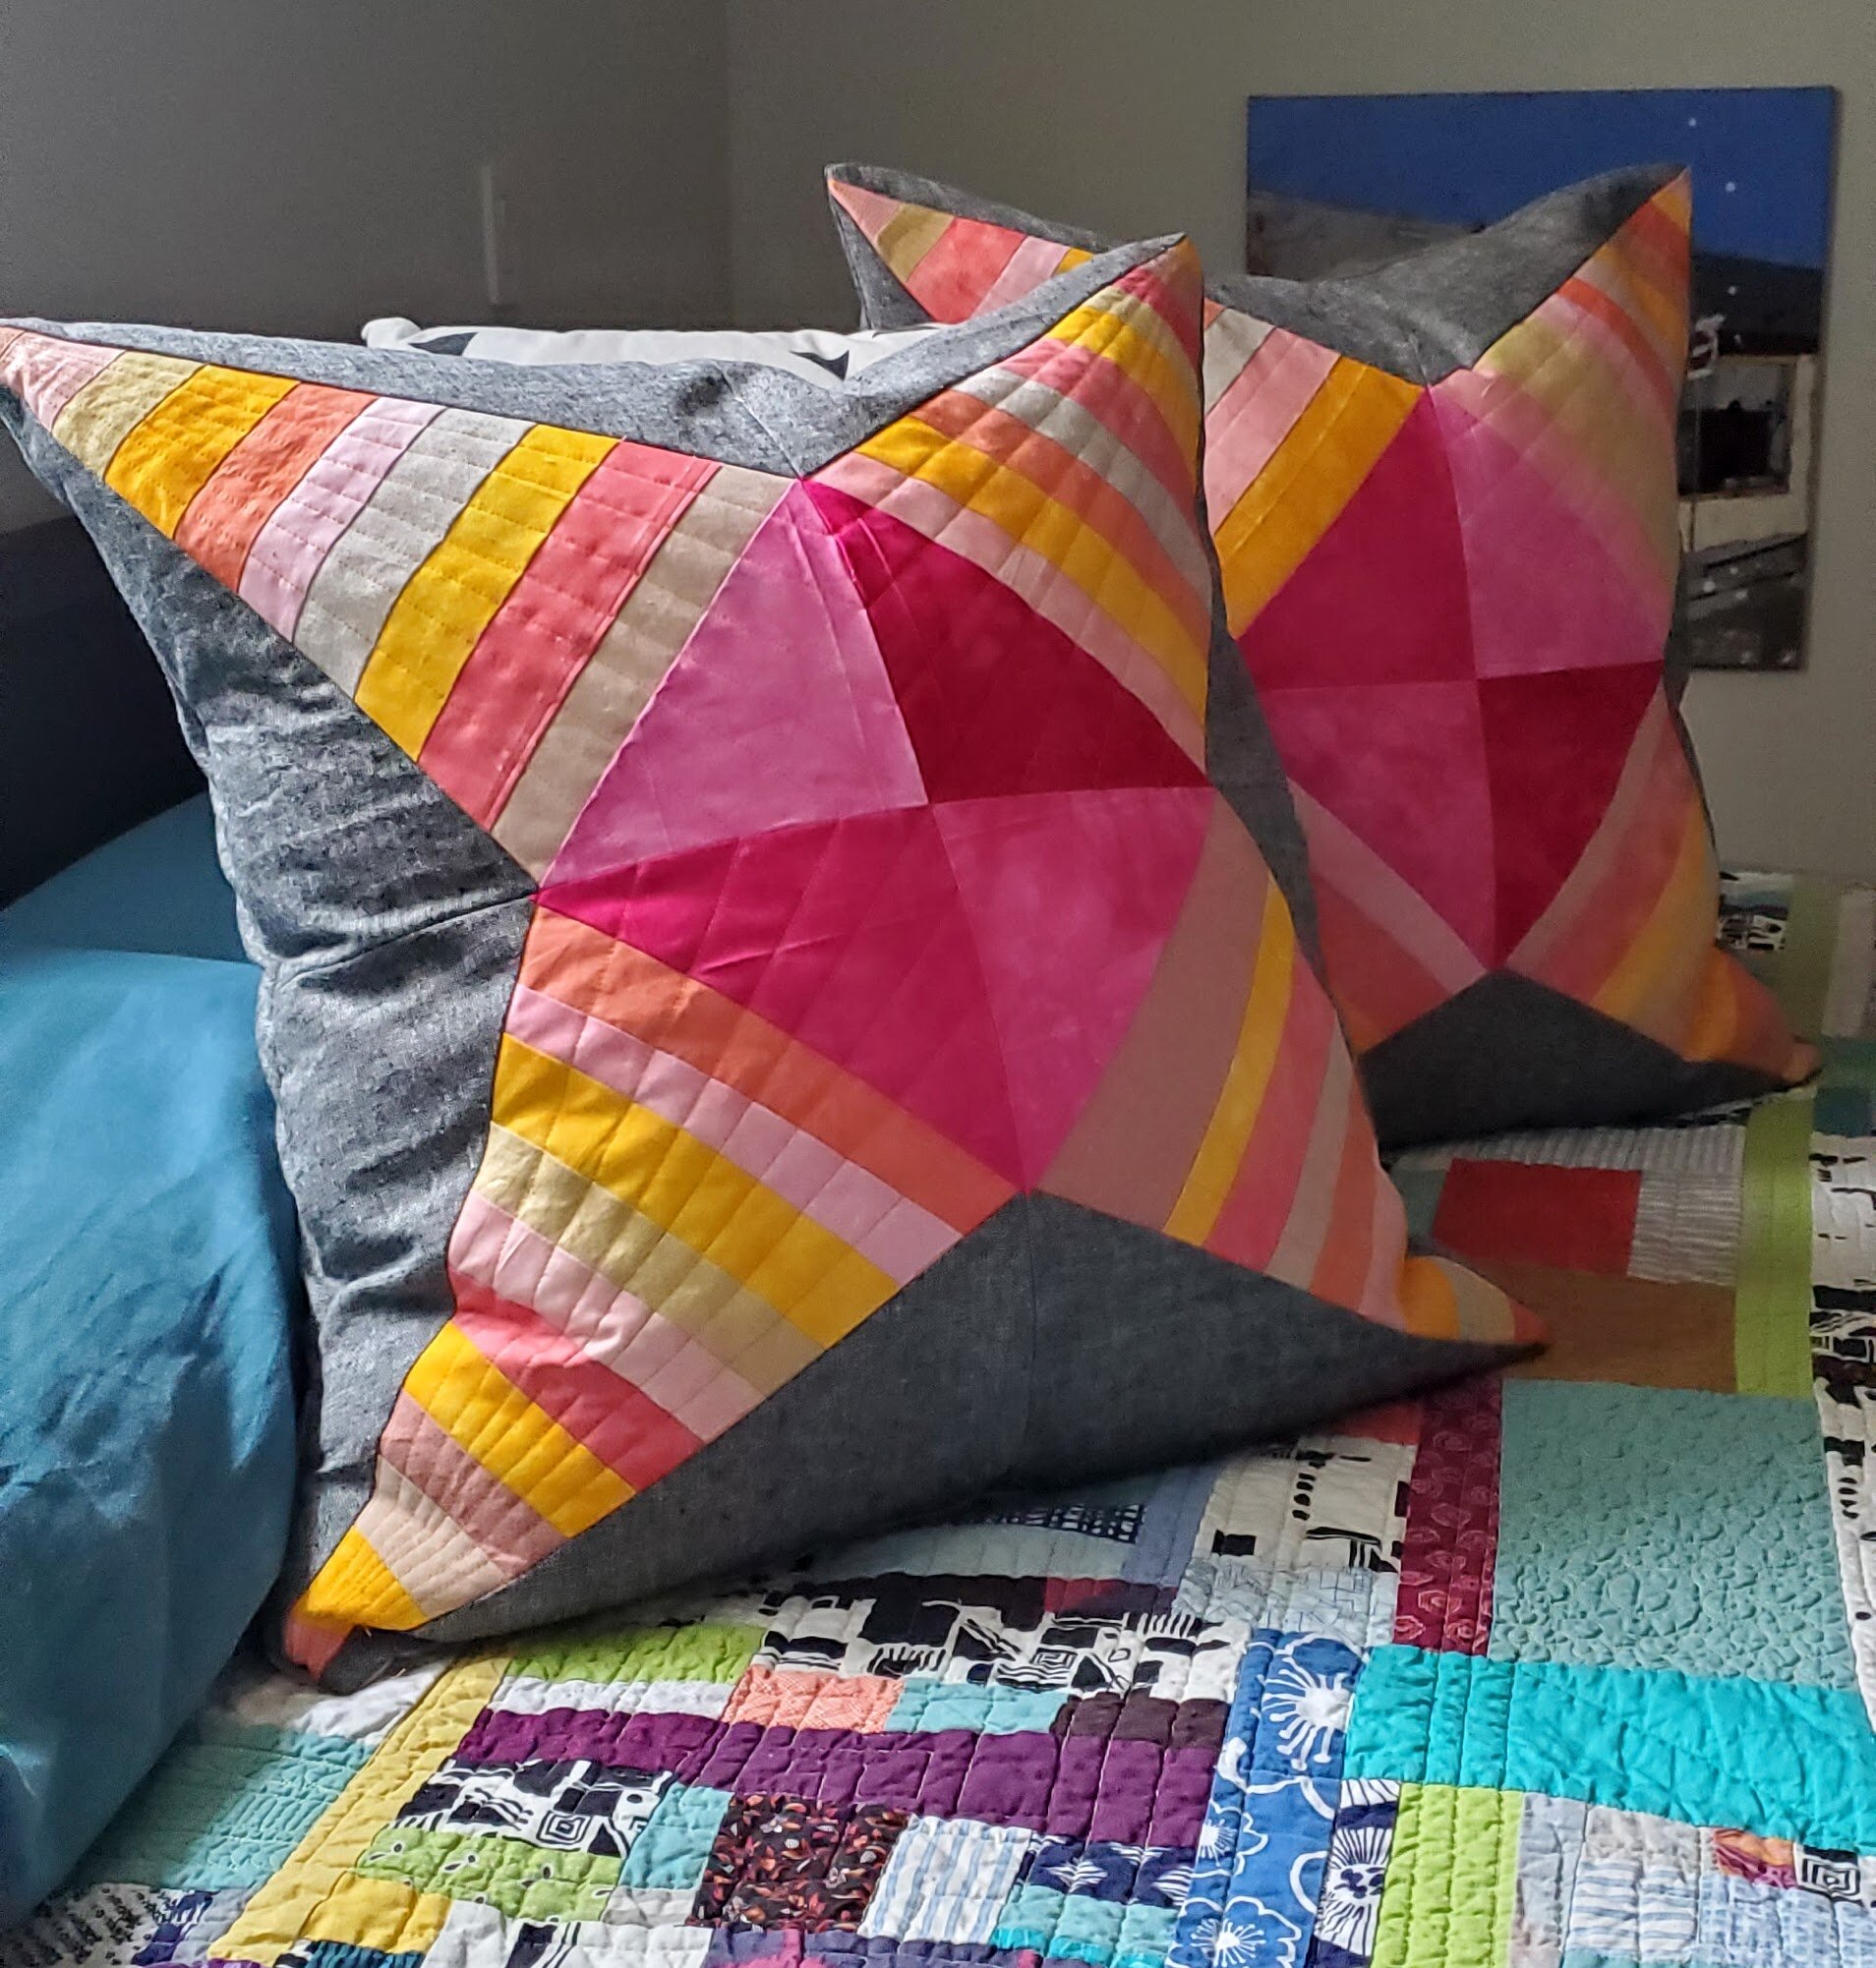
When you don’t have enough fabric to make a quilt you make pillows.

When you have an idea that won’t get out of your head you make something.

Back in September, when I was painting traditional quilt blocks fo Morning Make I painted one particular block: Rocky Road to Kansas. It’s quite a cool design. Even Barbara Brackman doesn’t say much about the block’s particular history, but it does have a long one. The block is seen in quilts nearly 130 years old, in variations more like a crazy quilt or a string quilt. It is definitely a block that can read extremely modern too. Like most quilt blocks, it all depends on the fabric you use.

Rocky Road to Kansas Cheryl Arkison

In my case - once the idea borrowed itself in my creative consciousness - I went with a collection of hand dyed fabrics and some charcoal linen. The hand dyes came from two sources. The vibrant colours were a gift from my husband and daughter 5 years ago. At the culmination of a epic road trip to Whitehorse they came across a quilt store and shockingly, went in for me. They came across some vibrant fabric that was dyed by a local. Well, that local, it seems, now lives in Fiji so I think these tropical colours make a lot of sense now! The rest of the fabric was a collection of precious scraps from Debbie Aruda. I met Debbie teaching at The Workroom. Using natural dyes she was manipulating fabric in gorgeous ways and she gifted me with some. The combination of luminescent and subtle colours works so well together, I think.

To make the quilt block I drafted a freezer paper template. That way I could get nice, crisp lines and, hopefully, matching points. It was also useful as I was working with a limited supply of fabric. Each block is actually a four patch. Together they make a 24” square.

Rocky Road to Kansas Cheryl Arkison

I probably had enough fabric to make a total of 10 corners. Of course, I could have augmented the blocks with other stash fabric too. At one point I entertained doing a whole deconstructed thing. You know, one block with 4 corners, one with 3, one with 2, and then just 1. That would have got me a decent size quilt. it would have also got me a quilt top that likely would have sat for years before being finished. So, pillows it is.

My husband actually hates decorative pillows on the bed and I hate laying in bed for anything other than sleep and well, sex. But these pillows are on the bed and they look pretty good there too. I guess they will be purely for show and I am not complaining one bit!

In March I played with making marks with watercolour. That led to further watercolour explorations. That led to sewing these blocks. This project is a perfect example of creativity begets creativity.

Wish Upon a Star

Mills and Stars from Perfectly Pretty Patchwork

Wish Upon a Star

48” x 48”

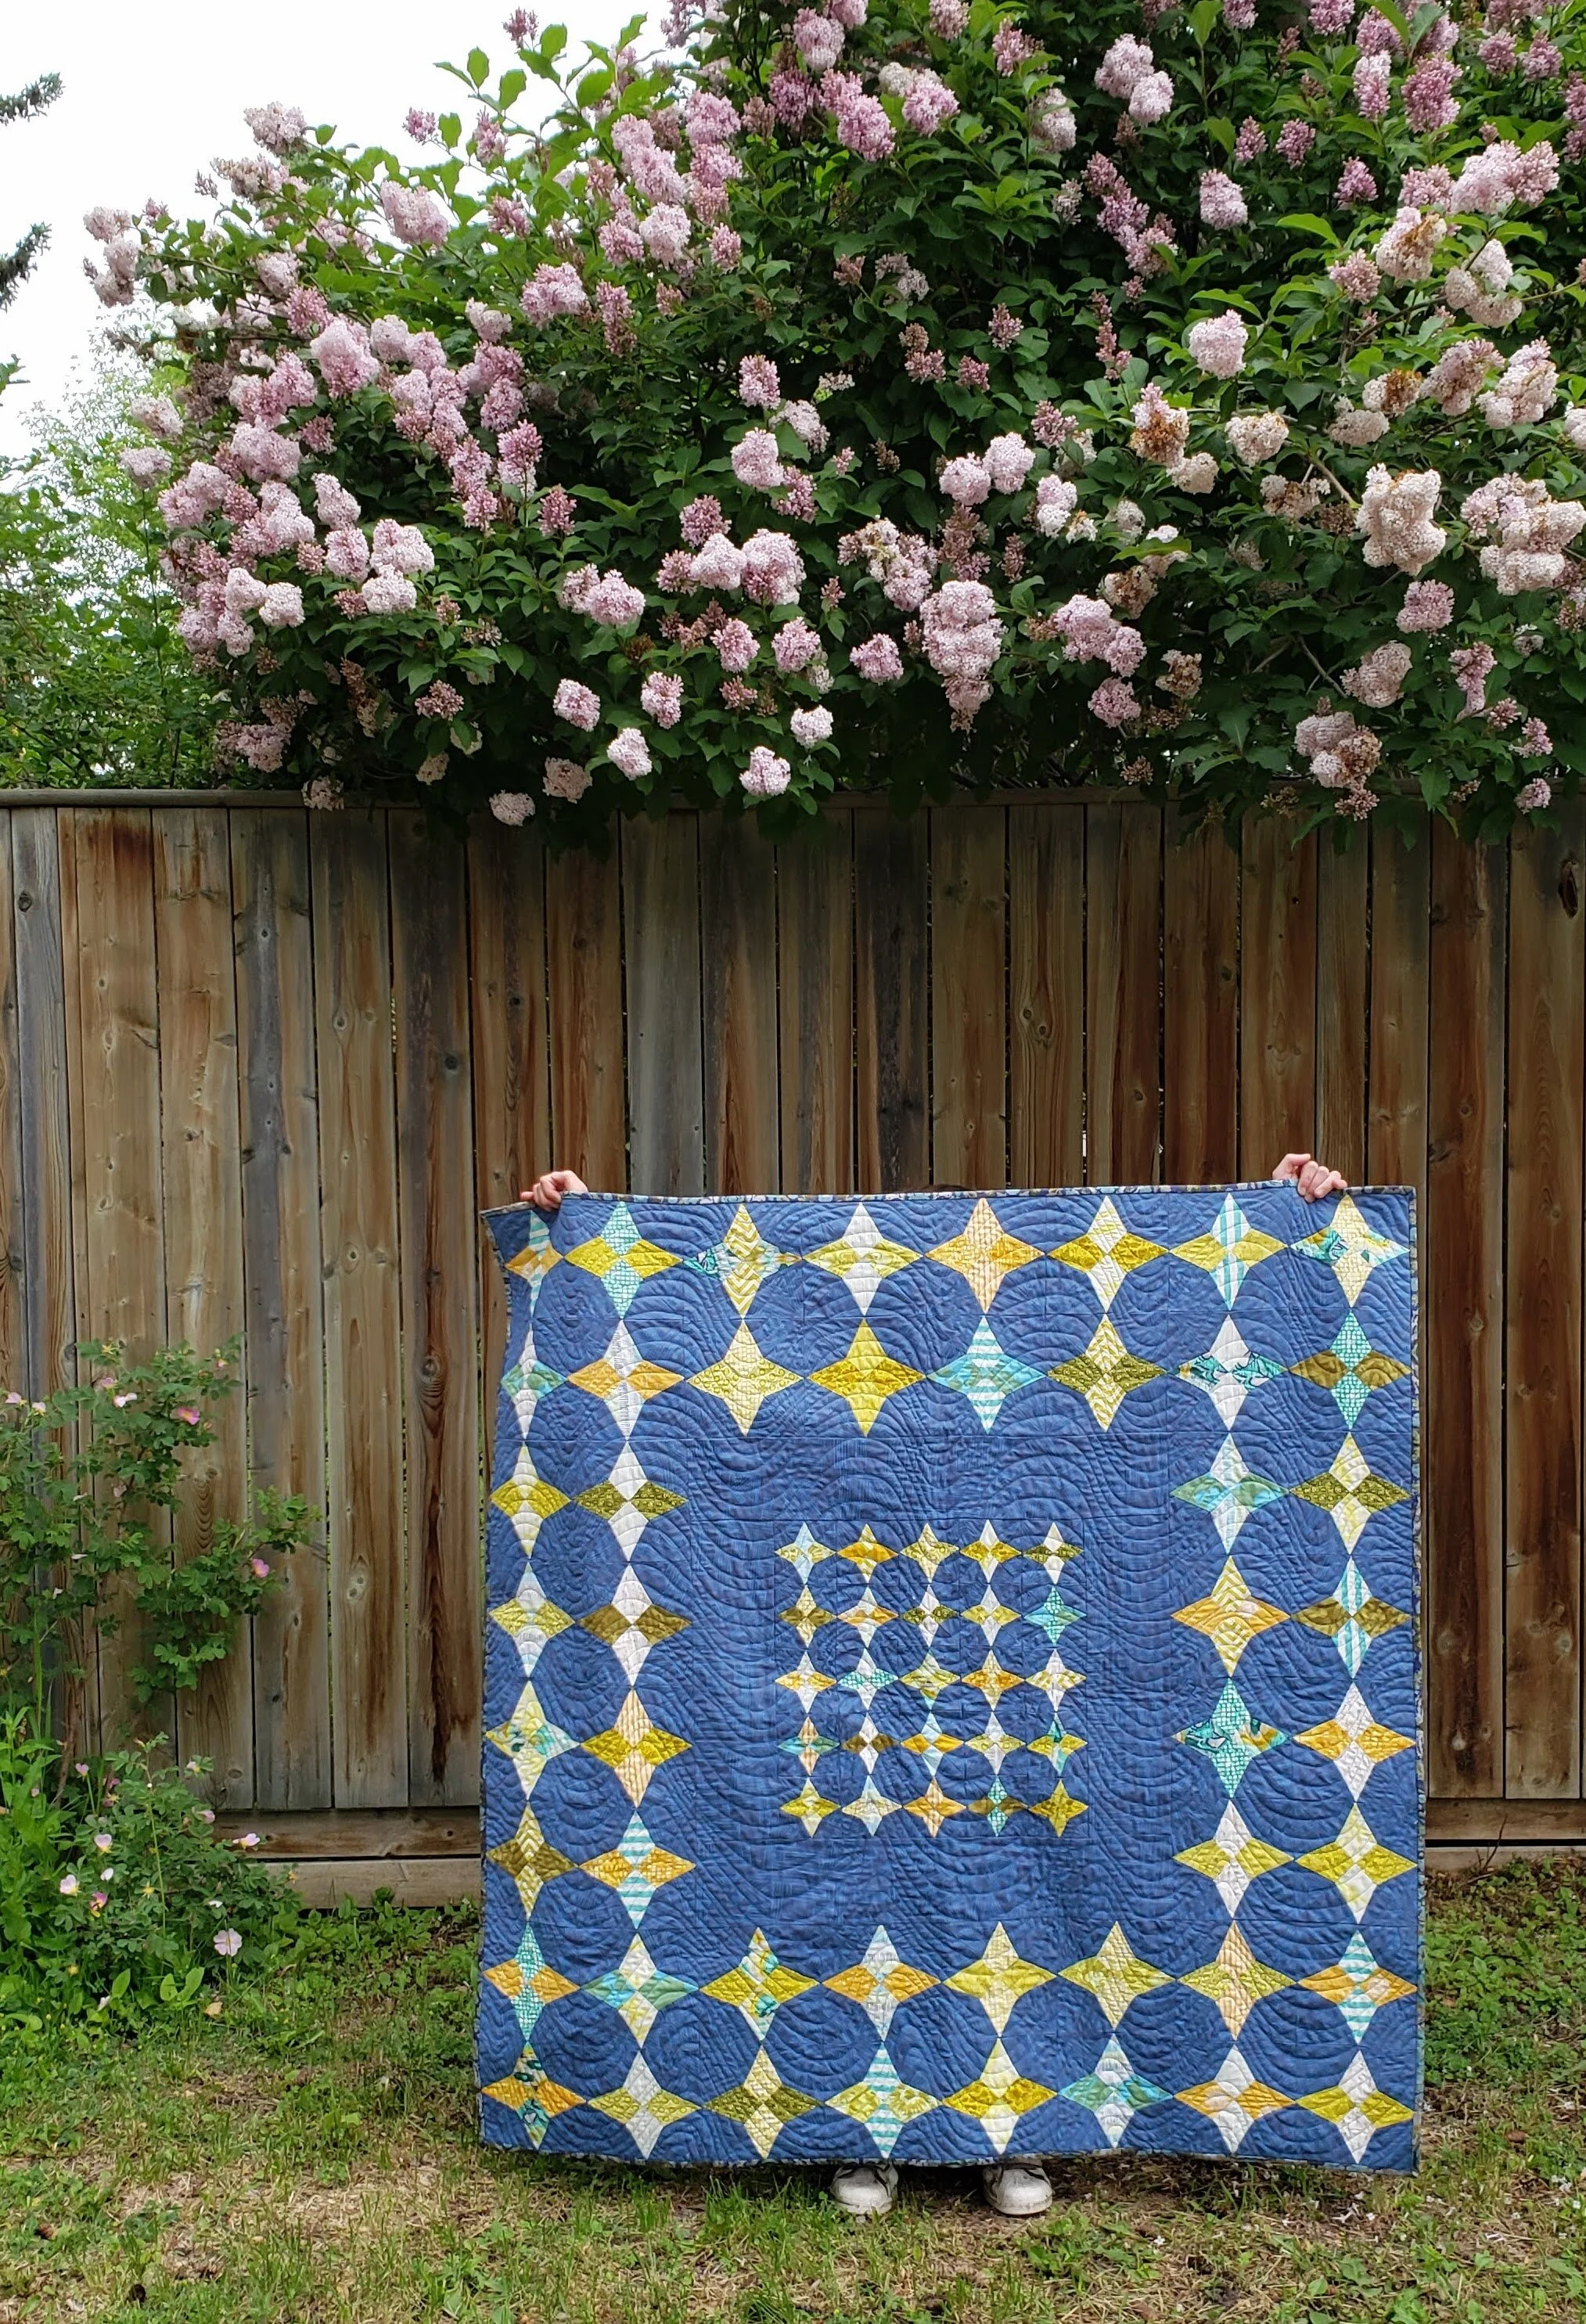
For a little baby boy, born to parents raised across the country , a quilt to make all the wishes. Or, just to spit up, poop, and play on. And hopefully keep you warm. Heading your way soon.

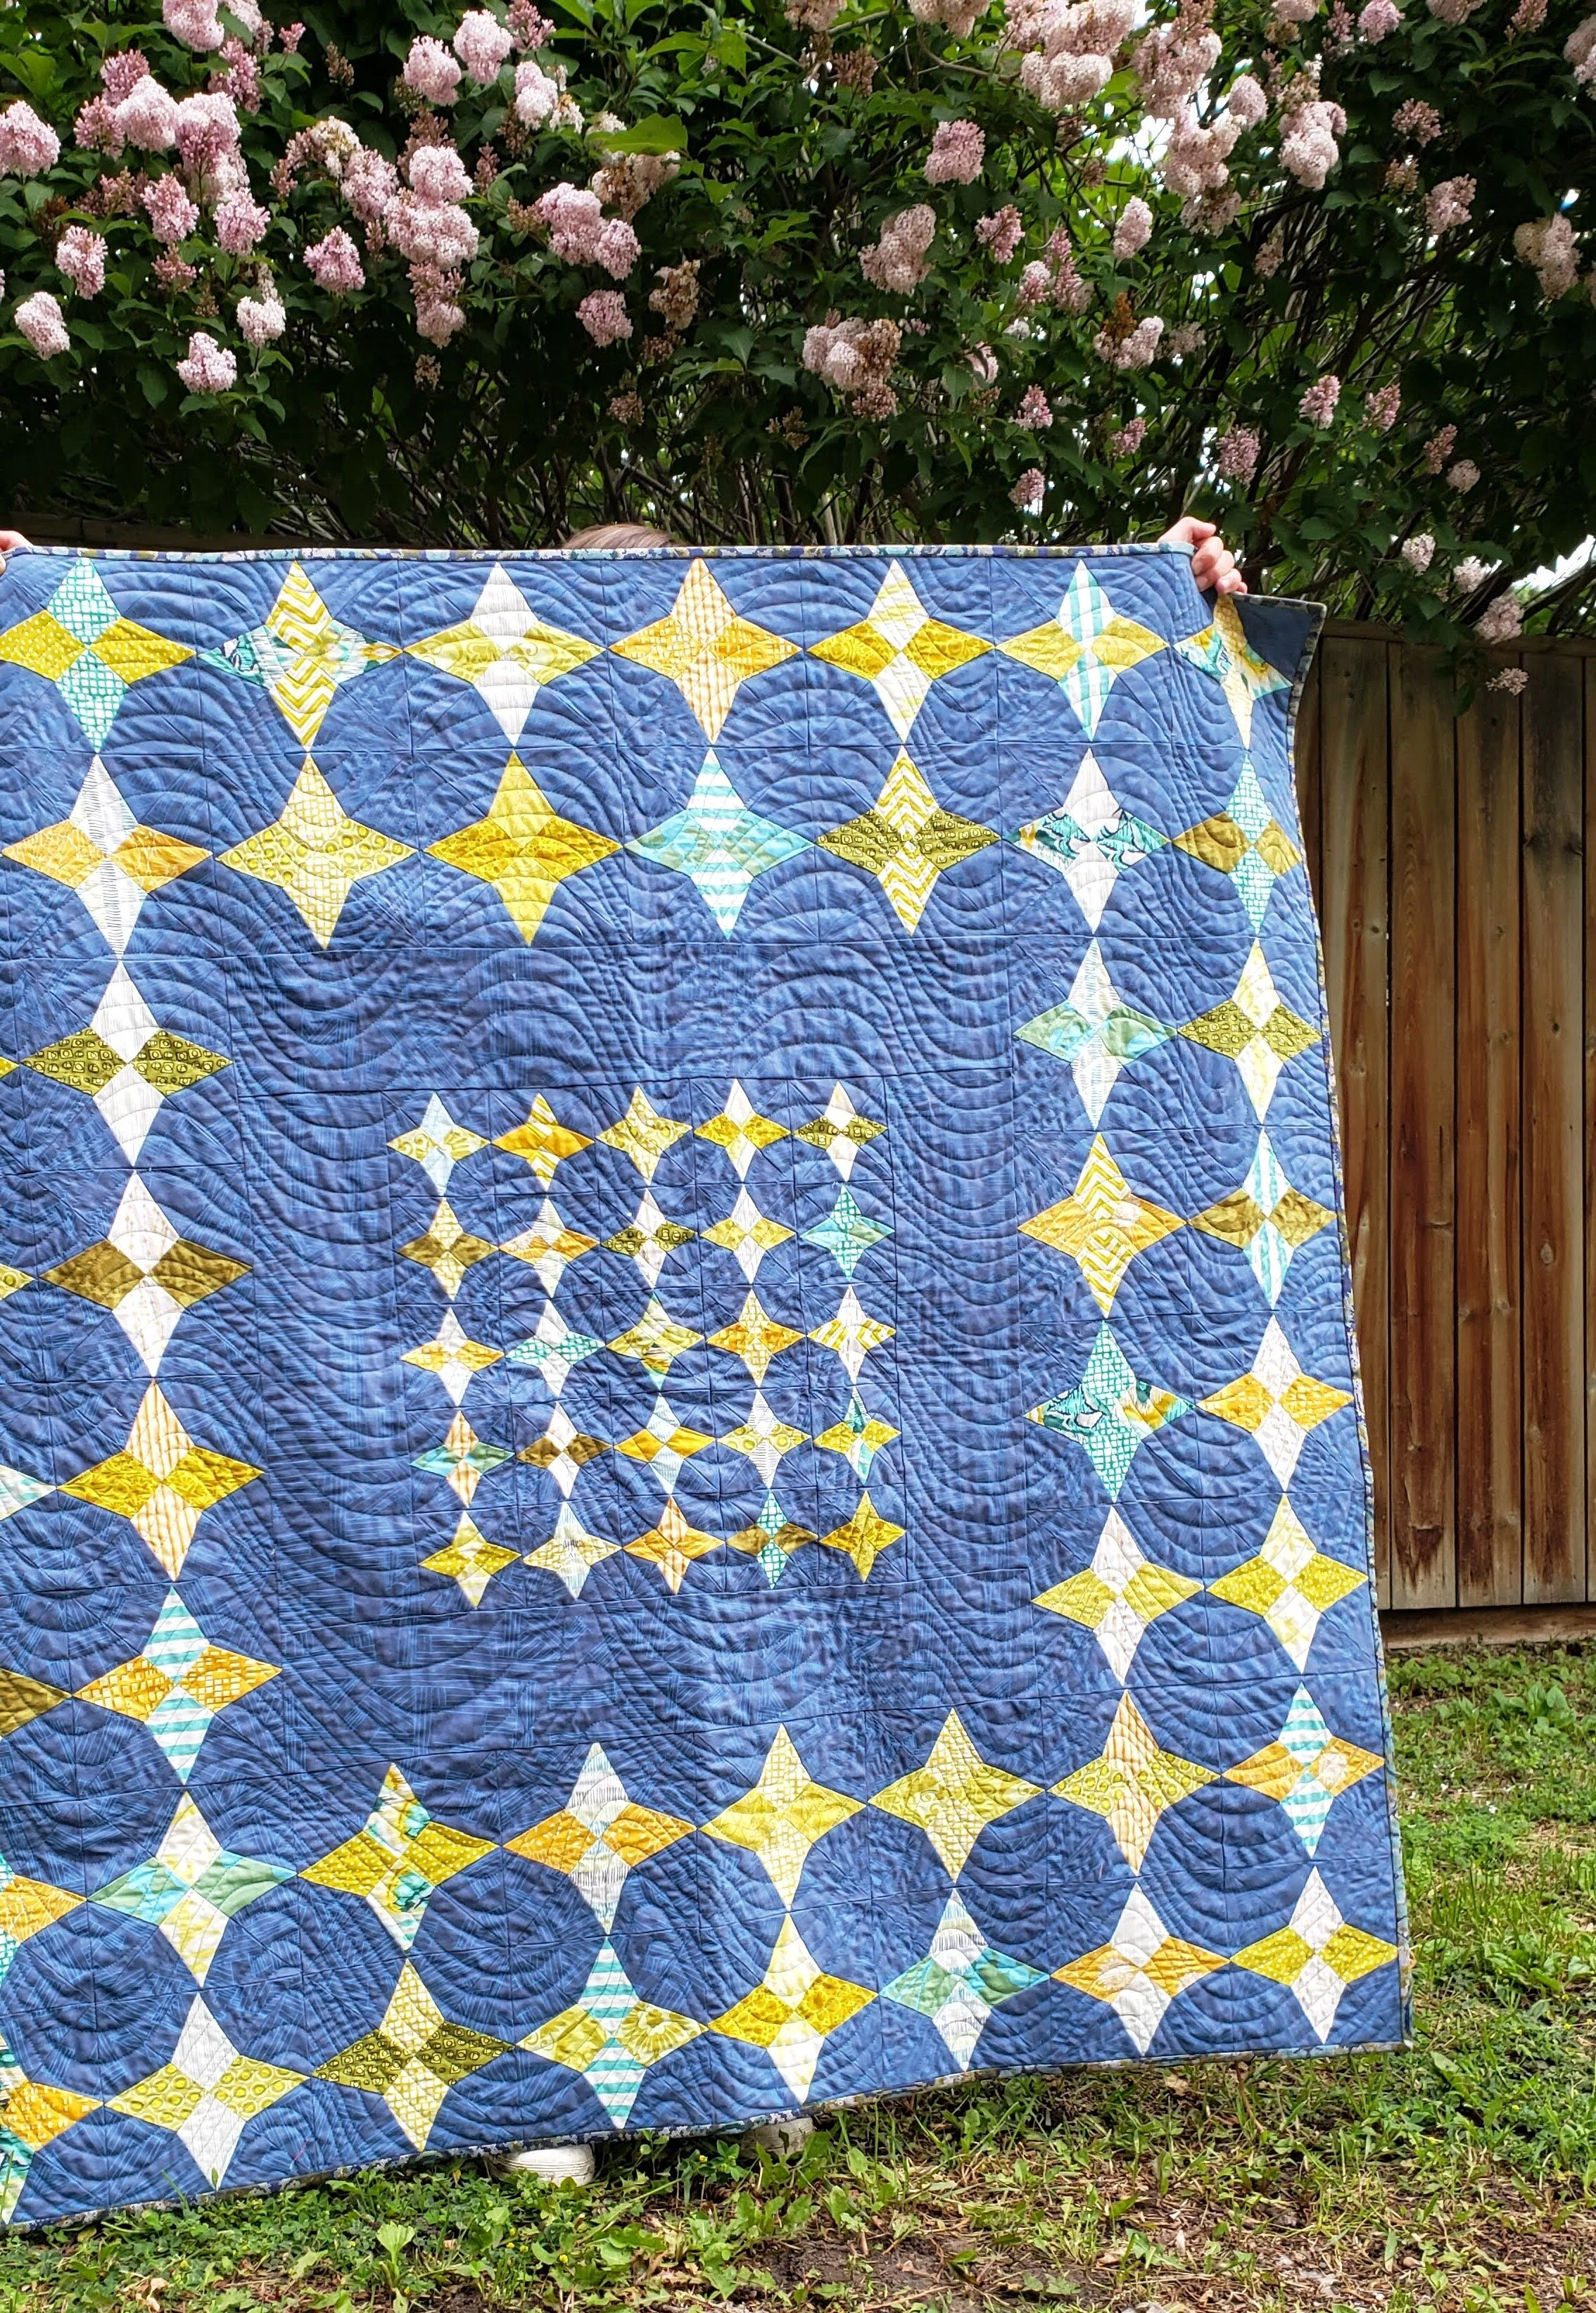
This quilt is a slight adaptation of a pattern by Kristyne Czepuryk in her recent book, Perfectly Pretty Patchwork. The only change I made was to skip the outside round of stars, thus reducing the overall size of the quilt. It was a definite change in making for me - using templates and all that precision piecing! Changing things up can be good though! Keeps you on your toes.

Cheryl Arkison Pretty By Hand Tula Pink Carolyn Friedlander

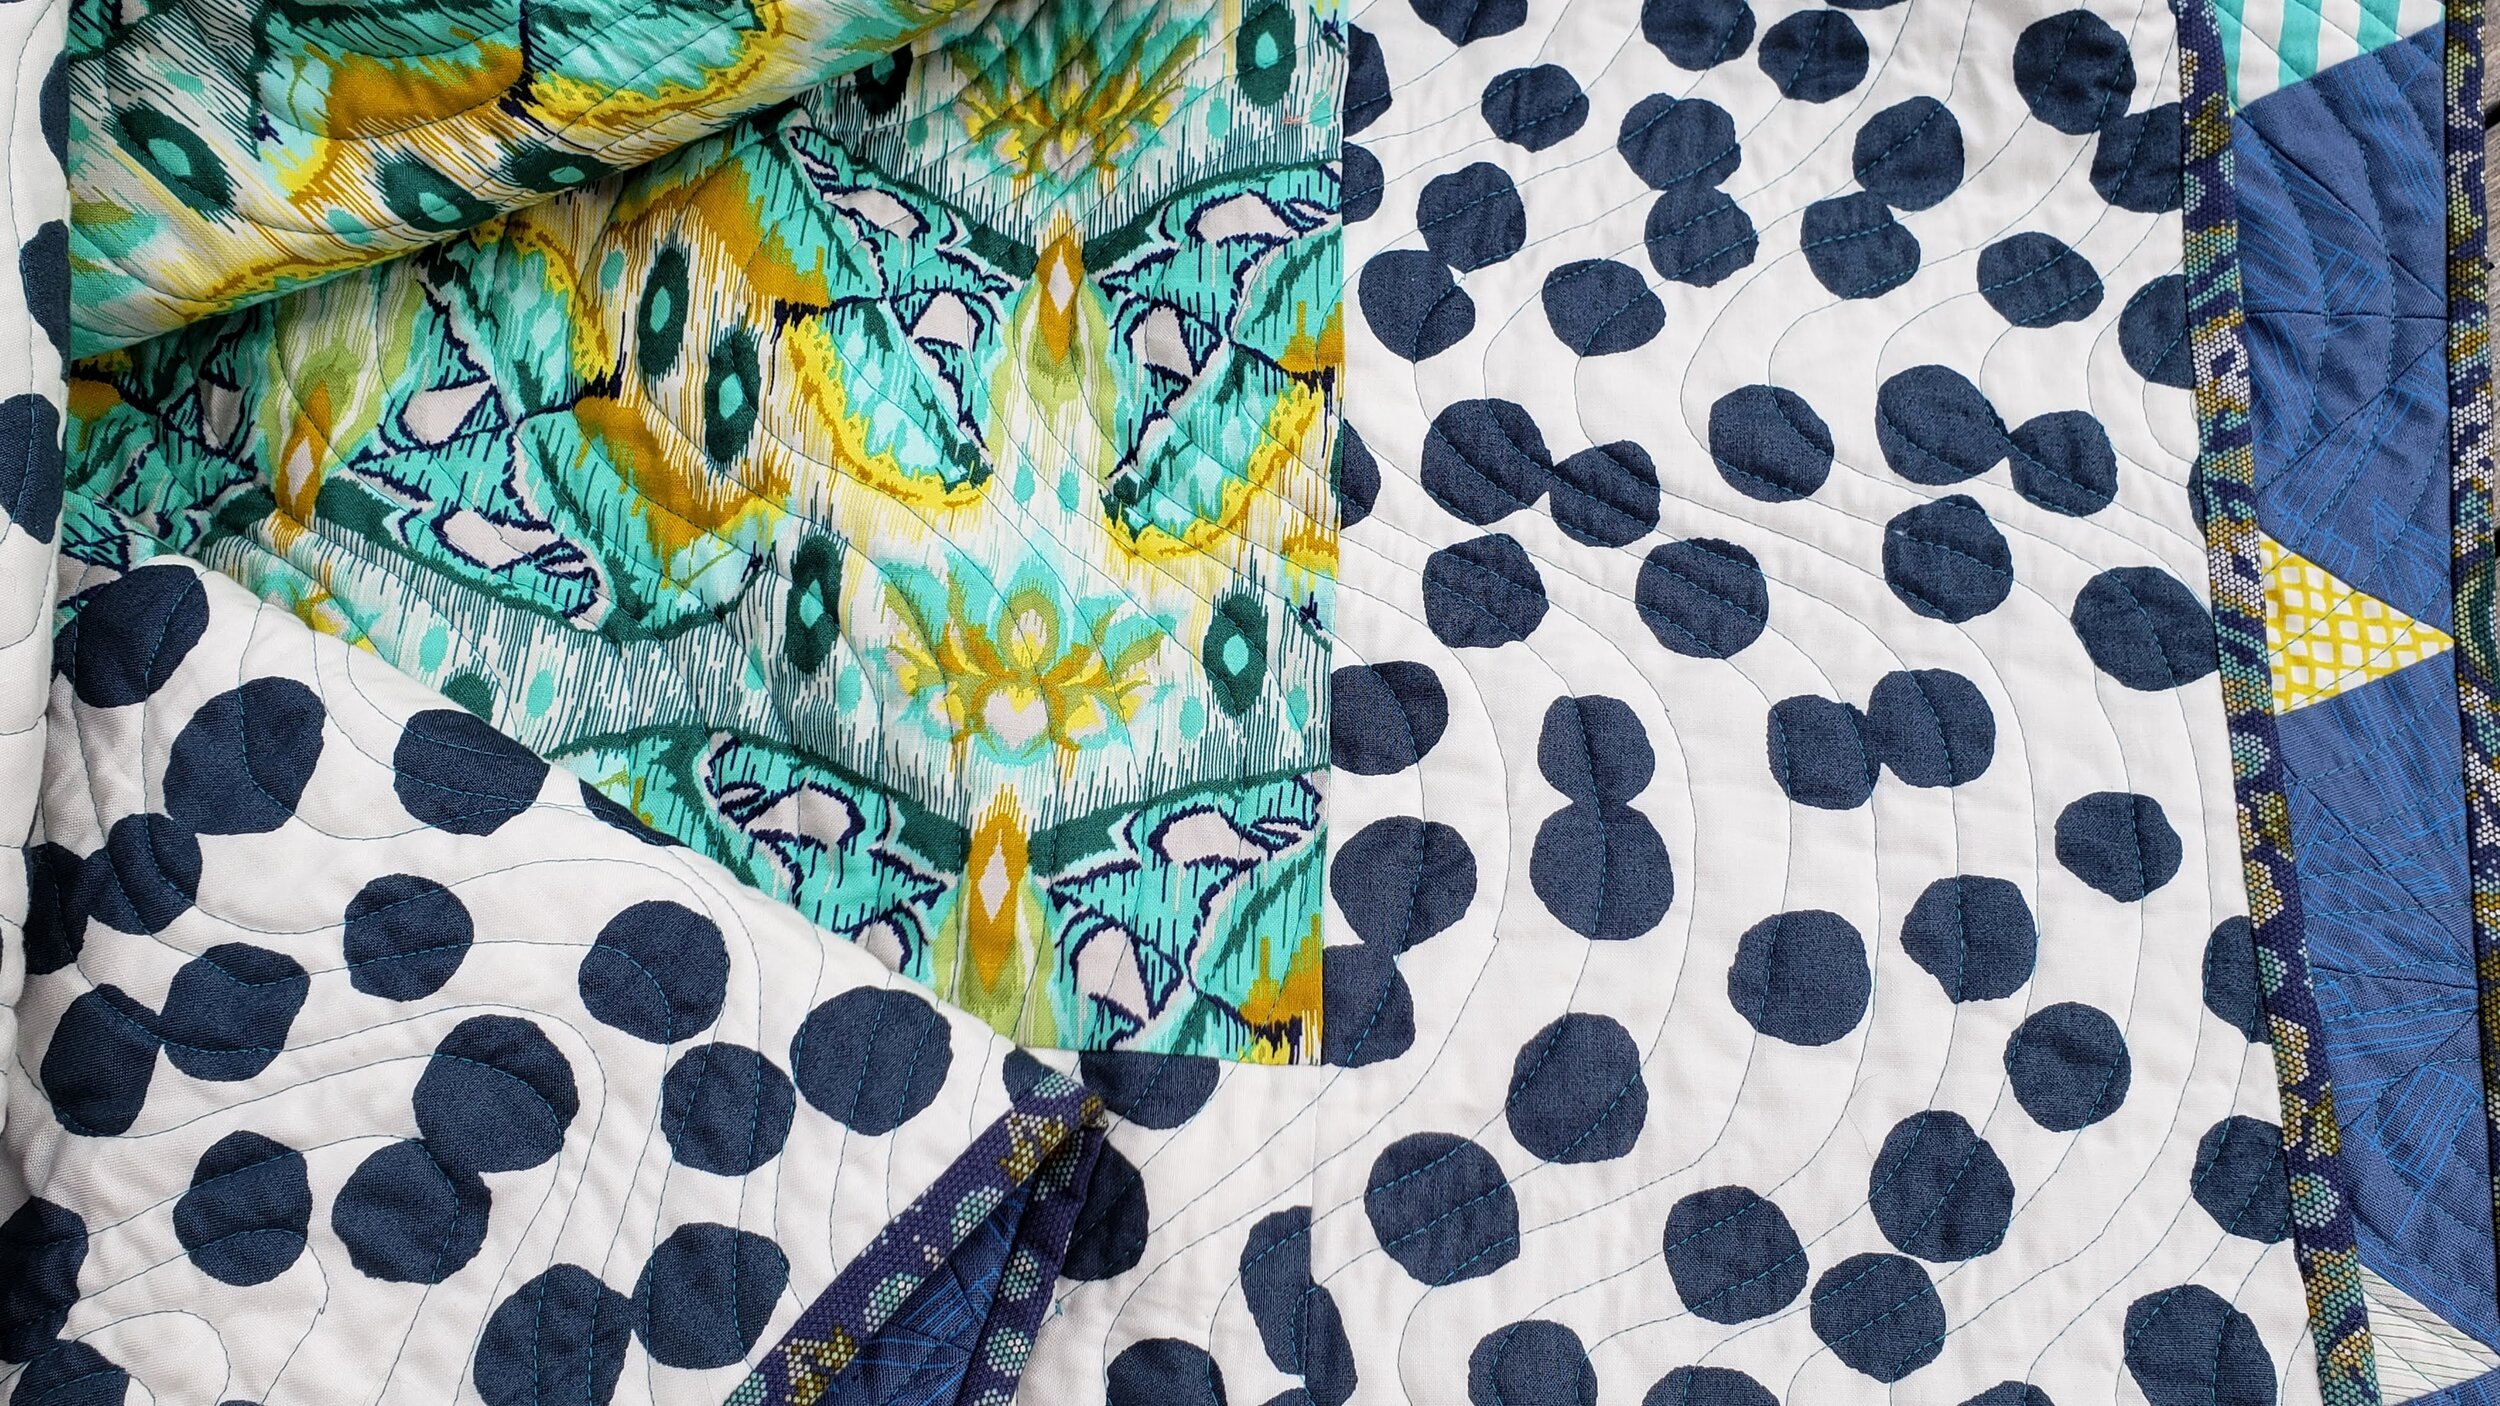
Most of Kristyne’s work is soft, pastel, and oh so pretty. It’s gorgeous stuff but not necessarily what I am drawn to for my own quilts. Not wanting to go shopping I decided to see what I could do with what was on hand. I’d been saving this Carolyn Friedlander print for a totally different project. It had been sitting long enough, however, and deserved to see some glory. The rest of the colours came from an Ikat butterfly print by Tula Pink. You can see it there in that corner star, and again on the back (below). The nice thing about this pattern is that I could dig through my stash and scrap bins to cut the diamonds for the stars. It meant a lot of variety; scrappy all the way. The prints used are a combination of old and newer, modern and boring, bright and simple. All together I think they balance nicely and create so much visual interest.

To quilt it I simply did an edge to edge wave, varying the thickness of the lines as I went. It was nice to have the change in texture from the points on the pattern. With a pattern like this I think you can really emphasize all those points with ditch or echo quilting, or you can contrast it. Bonus: contrasting it is easier. My thread choice was a dark turquoise Aurifil in my stash. It doesn’t stand out too much anywhere but doesn’t quite blend in. I rather love it.

Tula Pink Lotta Jansdotter fabric

Binding was an unexpected choice. I didn’t have enough of any green or yellow that worked to make it around all 4 sides. I debated using the same dominant blue print. Grey seems boring too. Then I spied this other Tula Pink in the stash. It’s a really cool pixelated print of tigers. (Both the binding and the inspiration/backing fabric are from her Eden line.) Cut for binding it looks totally different! I rather like the change and I think it frames the quilt nicely.

Again, because I couldn’t pop out to the store and wanting a backing done when I wanted it done I got creative with my stash. There wasn’t enough of the butterfly print to make it so I added these big blue dots (a leftover piece of Lotta Jansdotter fabric from our collaborative Lilla quilt) as a frame. This might be one of my favourite quilt backs ever.

Mills and Stars Cheryl Arkison Kristyne Czepuryk

Thank you for pushing me out of my box a little here Kristyne! I won’t lie, I’m a little sad to send this one out the door but a certain baby boy will surely appreciate it.