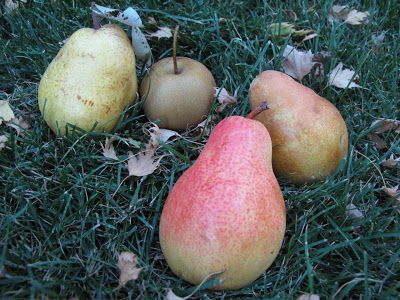
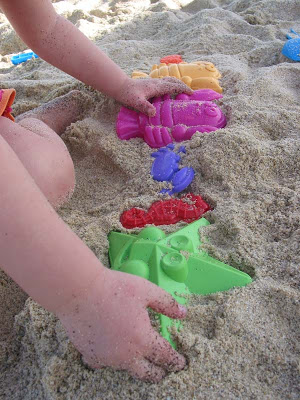
Walking the dogs the other night I was seriously tempted to do a little midnight gardening. Now, I'm a thirty-something mom with a mortgage, a real job (as opposed to a McJob), and significantly less alcohol running through my blood than I did 10 or even 15 years ago. Midnight gardening is not something I should be doing. You know what I mean, right? Sneaking into gardens to pull carrots, pick strawberries, and sneak raspberries? Oh, maybe that's just what us bored kids in the 'burbs did.
So there I am walking the dogs in the near dark. Business done, I notice this giant, neglected rhubarb plant in the corner of the alley. Just tucked behind someone's garage, begging to be chopped down, this lush plant called to me. "Pick me! Come on, you know you want to do it. Pick me!"
The thirty-something mom in me prevailed and I went home with only a dog-poop bag in hand.

A few days later, however, we were working on the fence with the neighbour. The girls wandered down the alley and when I chased after them I came across their rhubarb plant. I completely forgot that they have two of these plants. Since they would never harvest and use all of it, and they really didn't need to store one more thing, I volunteered to take it off their hands. Really, I'm that generous.
At this point it was necessary to bring out a bowl of sugar and introduce the girls to one of my favourite childhood treats - rhubarb dipped in sugar. We pulled up a pile of wood, watched Hubby cut some of that wood and our neighbour shovel gravel, munching away. Okay, I munched away, The Monster sucked sugar off and tried to peel her rhubarb, and Smilosaurus gummed the stalk and fought to put handfuls of sugar directly in her mouth. Perhaps the introduction was a bit too early?

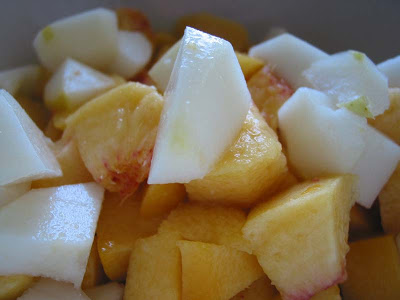
When it was time to get the girls out of the way of Hubby we came inside and baked. Conveniently, nature provides the perfect match for rhubarb, strawberries. I know it seems a little cliche, but they really are made for each other. There is a reason they mature together. Armed with the first of the BC strawberries I knew that nothing but a crisp was in order. Everyone else can have their cobblers, crumbles, and brown betty. I love me a crispy crisp.
In my eyes, a perfect crisp has a slightly runny syrup, chunky fruit, and a crisp, oat-filled top. Pick your fruit based on the season, but don't mess with the top. Ever. No extra seasonings, no fancy additions. Simple, plain, and balanced. And whatever you do, please leave the nuts out. They just don't belong.
Where it does pay to be creative is in the filling. Spice, limitless fruit combinations, and unexpected additions are all welcome here. Looking to branch out - just a little - from my usual strong vanilla accents with the strawberry rhubarb crisp I dug through my recently organized spices. Cinnamon? Nah, too predictable. Nutmeg? Feels too wintery. Cardamon? Ooh, now that could be nice. Holy freakin' gawd, it was amazing! Try this. Now.
When it comes to cardamon, a little goes a long way. It would have been a lot better if I had some whole pods to grind fresh, but a little ground, dried spice still worked wonders. It really was a perfect compliment to the tartness of the rhubarb and sweetness of the fresh strawberries. We invited our neighbours over for dinner. Good fences do make good neighbours. And rhubarb honestly got makes you a better neighbour.
 Cardomon Strawberry Rhubarb Crisp
(serves 4 for dinner, and possibly a little leftover for breakfast, topped with yogurt)
Filling
2 cups sliced strawberries
2 cups sliced rhubarb
1/4 cup brown sugar
2 tablespoons flour
1 tablespoon cornstarch
1/2 teaspoon - 1 tsp ground cardamon (depending on how strong it smells)
Topping
1/2 cup softened butter
1/2 cup brown sugar
3/4 cup flour
1/2 teaspoon salt
1 1/4 cup rolled oats
1. Preheat your oven to 350 degrees F. Spray an 8 by 8 baking dish (or similar size) with non-stick spray or butter the pan.
2. Gently mix together the fruit through to the cardamon. Pour into the baking dish and set aside.
3. Cream the butter and brown sugar. Add in the flour and salt. Finally, stir in the oats. Do not overstir or mix because you can break up the oats and that diminishes the crispiness.
4. Using your fingers, top the filling with clumps of the topping. Do not press down.
5. Bake for 20-30 minutes, until the filling if bubbling and the top is lightly browned. Let cool and serve with ice cream, whipped cream, or yogurt.

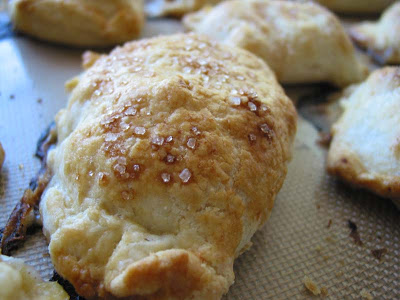
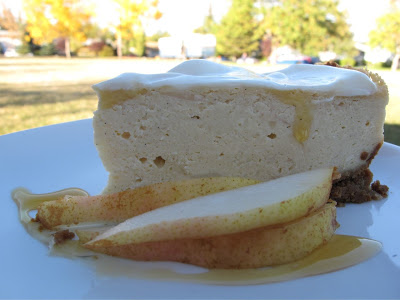
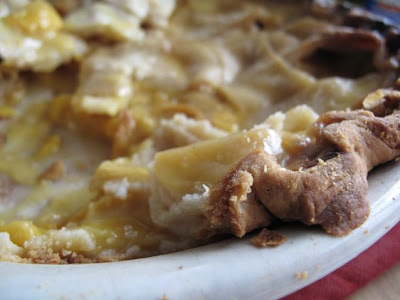
 It wasn't just the pie, but that definitely had something to do with it. It might have been the four day weekend. Or maybe staying home with our modern family (our friends) did it for me. Quite possibly it was simply sleeping for more than 5 hours a night. Whatever it was, I can feel some of my mojo coming back. And yes, this pie had a lot to do with it.


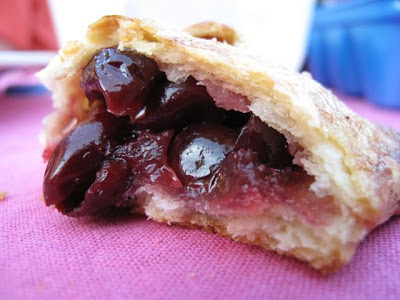

 To give you an idea of the size of a sour cherry here it is next to an organic Rainier. The organic ones are smaller than the regular ones and that sour cherry seemed positively tiny in comparison to a regular Bing. They were easy to pit, simply coming apart between my thumbs.
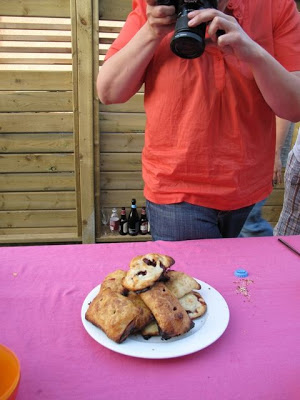

 Because beer doesn't qualify as food (although it has qualified as dinner before) it cannot truly be considered a comfort food. Besides, that would be a bit scary. But beer in cake? Definitely dinner and dessert, and a midnight snack or two, all in one tasty, brown, sweet, and crumbly package.
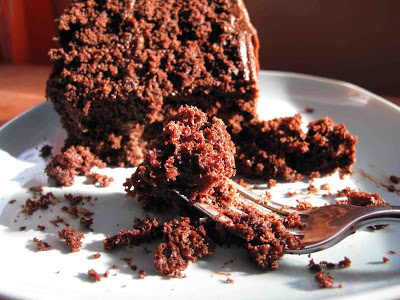
 I'm hoping to keep tabs on things by faithfully reading


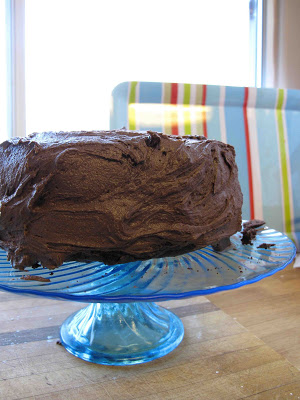
 The perfect brownie can make anyone feel better. I've been feeling the need to eat a lot of brownies lately. Not that I need more things brown in my life, what with the mud flat currently surrounding the house. And the mud piles in the backyard and the muddy paw prints and footprints littered over the hardwood... But these brownies really do make you feel better.
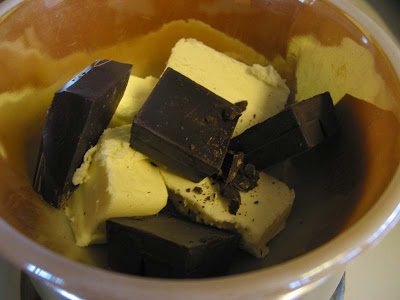
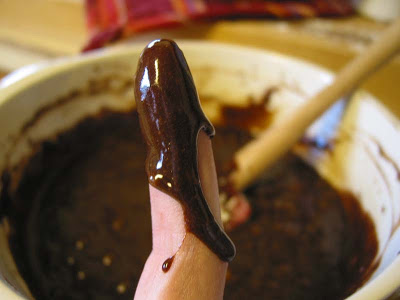 When all is said and done and the oven brings out the chocolate scent the hugs begin. It is almost painful to wait for them to bake and cool. Warm brownies are more fudgy, but I prefer them cool and dense. A good brownie can make you feel comforted and warm, a bad one leaves you cold and cranky.
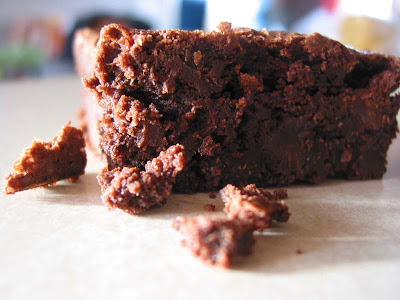
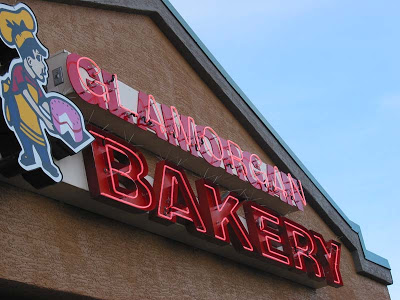
 Then came the sugar cookies. We came for the cheese buns and we will return again and again for the sugar cookies. He says that he remembers eating them as a child, although I find that hard to believe because my mother-in-law is a fantastic baker. But then, fueled by a childhood memory, he went back to bakery and tried the sugar cookies, . Shockingly, they were better than he even remembered.
 The dinosaur cookie was bigger than the Monster could handle so sadly I had to help her finish it. Let me rephrase that, I thought the cookie was too big and too good so I forced her to share it with me. Seriously, these are the best sugar cookies I’ve ever had. Not so much cookie as sweet butter that someone like
 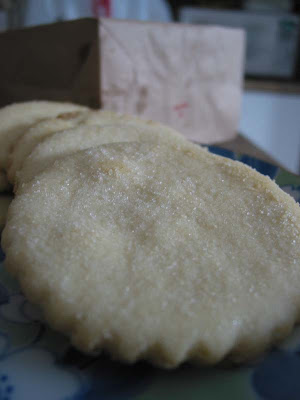 So I went back yesterday and bought more. Some for me and some for a girlfriend who was hosting us for tea in the afternoon as Little Miss Sunshine and I escaped
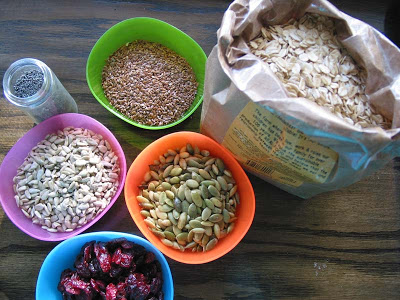
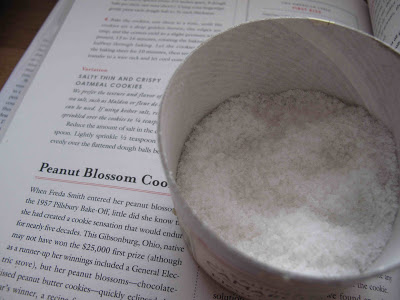
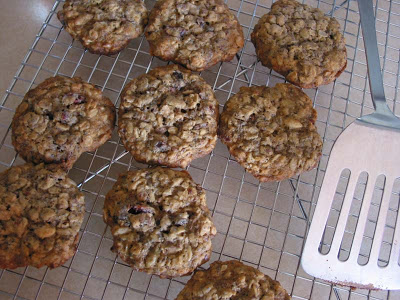 Okay, so I posted an oatmeal cookie recipe
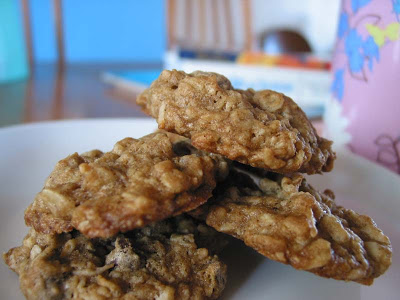
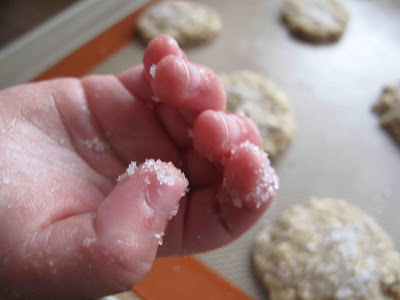
 With the days getting shorter at an alarming rate it is tough to make it to the park after dinner. And when Hubby is out of town, as he is this week, I try to stay home in the evenings to save my sanity. Oddly, baking cookies with the Monster is generally a sanity saving activity. I just have to keep her hands out of the mixing bowl while it is turned on because she so desperately wants to lick the batter.
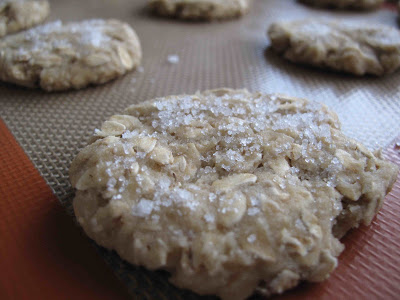
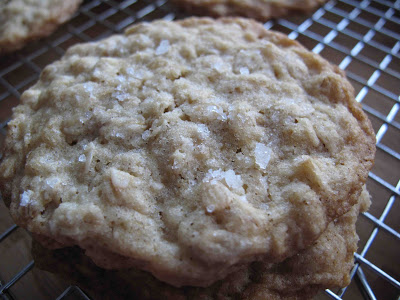
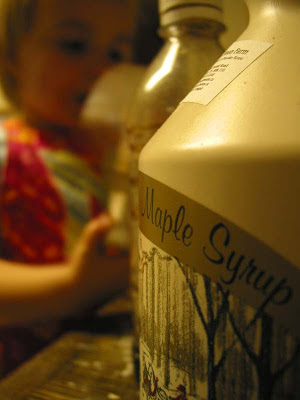
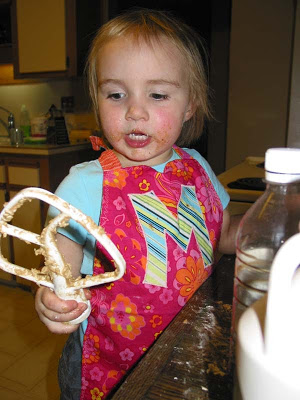 After years of testing recipes and getting used to the crappy oven that came with the house I finally got an oatmeal cookie recipe that makes my heart happy. I can't lay claim to anything original about it, other than using less coconut than called for last night because I ran out. Martha strikes again. When I found this cookie recipe I had to try it. Not shockingly, it was a clear winner for me. Even if it takes away from my precious maply syrup supply.
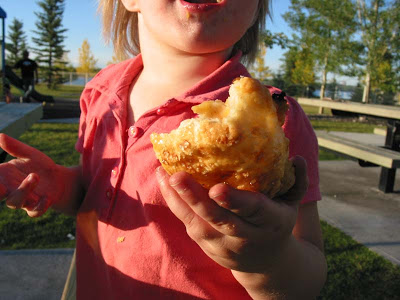
 After another week as a single parent I was rather excited for our picnic. The Monster was not. But I was smart, I went to the playground. Of course, that meant she spent most of the time playing and very little eating. Half an apple and half a pie. She hasn't been eating much of anything lately, perhaps she is getting some molars? How could I worry when she tore around the park, happy as could be? I even managed to nurse the baby while she climbed and slid. Oh, and I ate about 4 pies... Talk about emotional eating, or they were just that good.