"process"

What it really means to PLAY on the design wall

My absolute favourite part of making a quilt is the getting it all to work together part. For me, this means design wall play. Generally, I have a whole bunch of components and have to come to a lay out that I like. It would be different if I planned it all in advance. In that case the design wall would only be confirming what I intended. That just isn’t how I work.

More often than not I start out making a quilt without knowing I am actually going to make a quilt. An idea, a technique, a colour story. Anything can get me going. At the beginning, however, I don’t really know that it is will be a quilt. It is just something I want to try. Even if I have full quilt intentions, I have no idea how it will actually turn out. It could be awful or a different idea can come in to being. What is most important to me is to be open to the process.

Take my most recent project as an example.

I started off making sample blocks to promote my class with Marisa Anne of Creative Thursday fame. The Make Waves block is for the Thursday Club, an online class I taught earlier this month. With waves being obviously blue I made all my samples in shades of blue. Then Marisa suggested that I add in some other colours because not every one likes blue. (I know! Right?)

At this point I had no intention of making a quilt from these blocks. It was just fun times, a good sample. I honestly expected the blocks to sit around for a few years until I rediscovered them and then maybe made more.

Then I saw that yellow block, that pink one, the teal, the blue. I immediately thought SUNSET. More specifically, OCEAN SUNSET.

Make Waves Multi.jpg

And boom! I immediately starting making more and more blocks, picking colours of the sunset. Just running with the idea, no clear plan for a quilt just yet.

After I made a dozen orange and coral blocks I stopped to take stock. What exactly would I need? How many blocks should I make? Am I focused more on the sunset than the ocean now, or vice versa? Deep breath before I dive too deep. So I sketched a picture.

Make Waves Sunset Sketch.jpg

Nothing fancy, mind you. I just coloured the sunset of my imagination. An image search showed many, many variations on the theme of that red/orange sky and a dark foreground. The emphasis should be on the sky, not the water. This led to a more formal plan.

My goal was 2/3 sunset and 1/3 water. Since I’d already started with blocks squared up to 9 1/2’’ x 9 1/2’’ I kept that. If you know me at all, you know I don’t make small quilts, so my finished sized is typically over 80” square. It just so happens that that is the perfect size for a double bed and Oh! Guess what size bed all my kids have? Well then, 9 blocks wide gives me 81” finished. And 9 blocks tall gives me an even split into thirds. That meant I needed 54 blocks for the top part and 27 for the bottom. There, quilt math done.

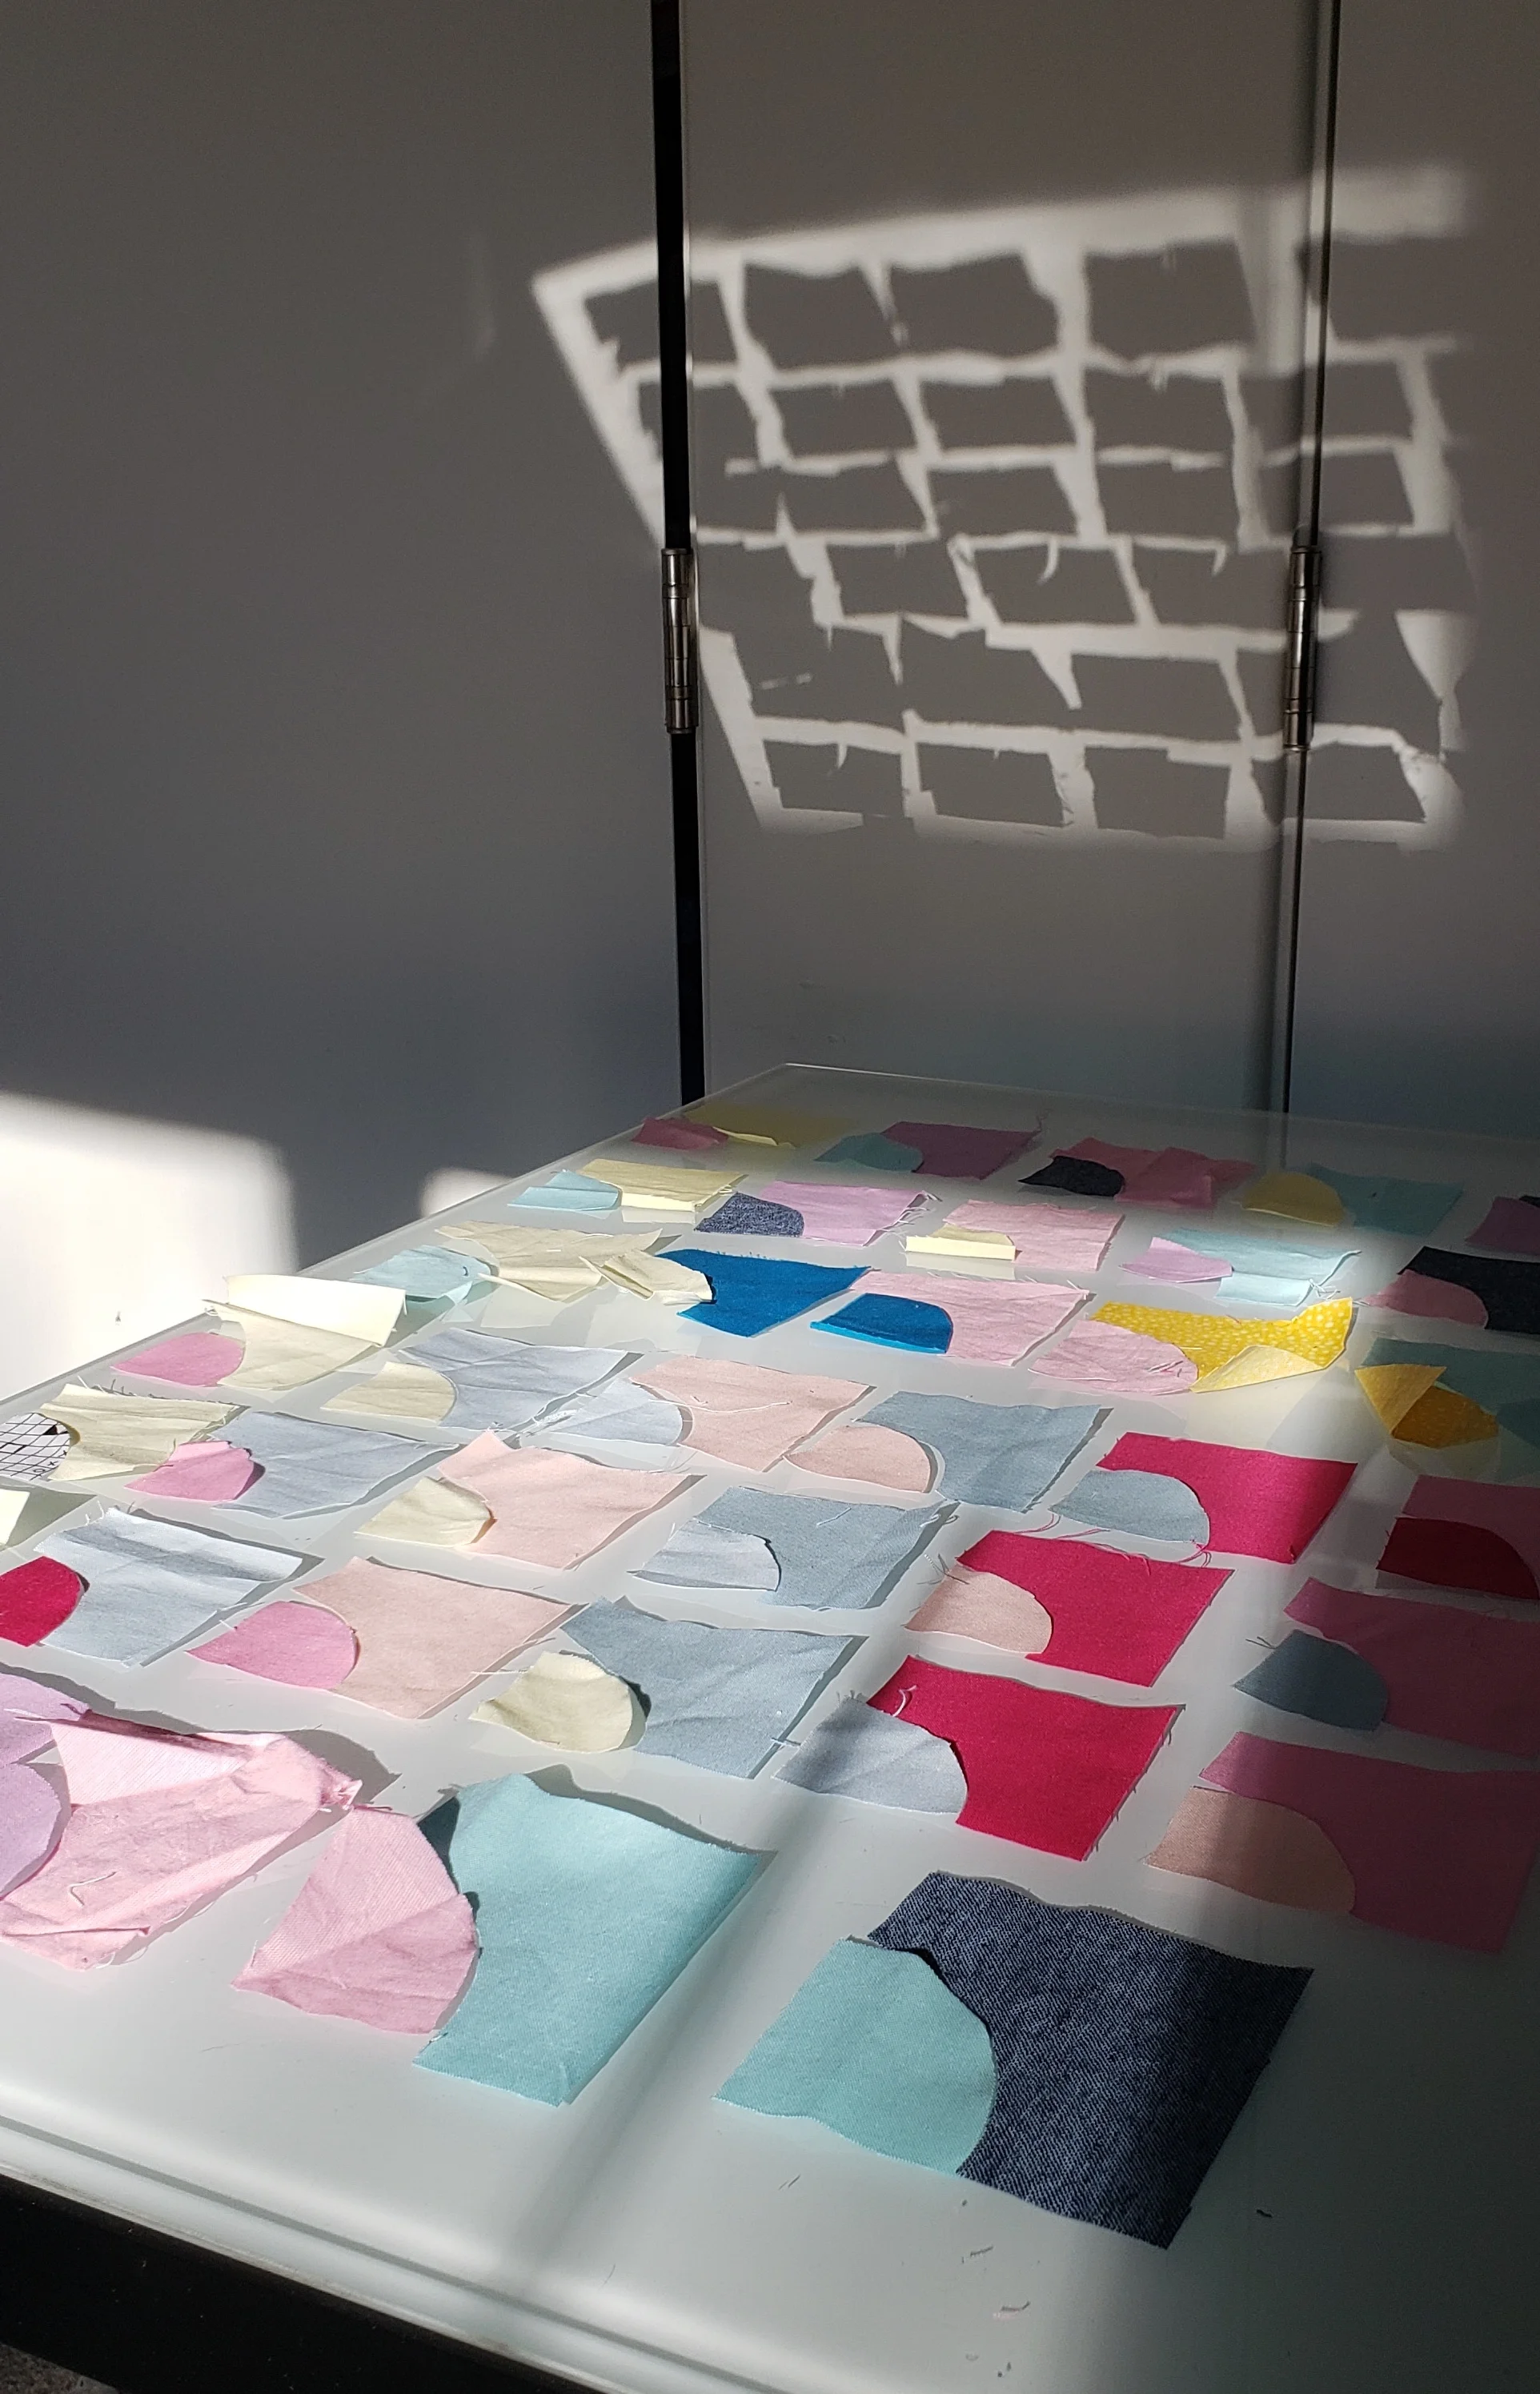
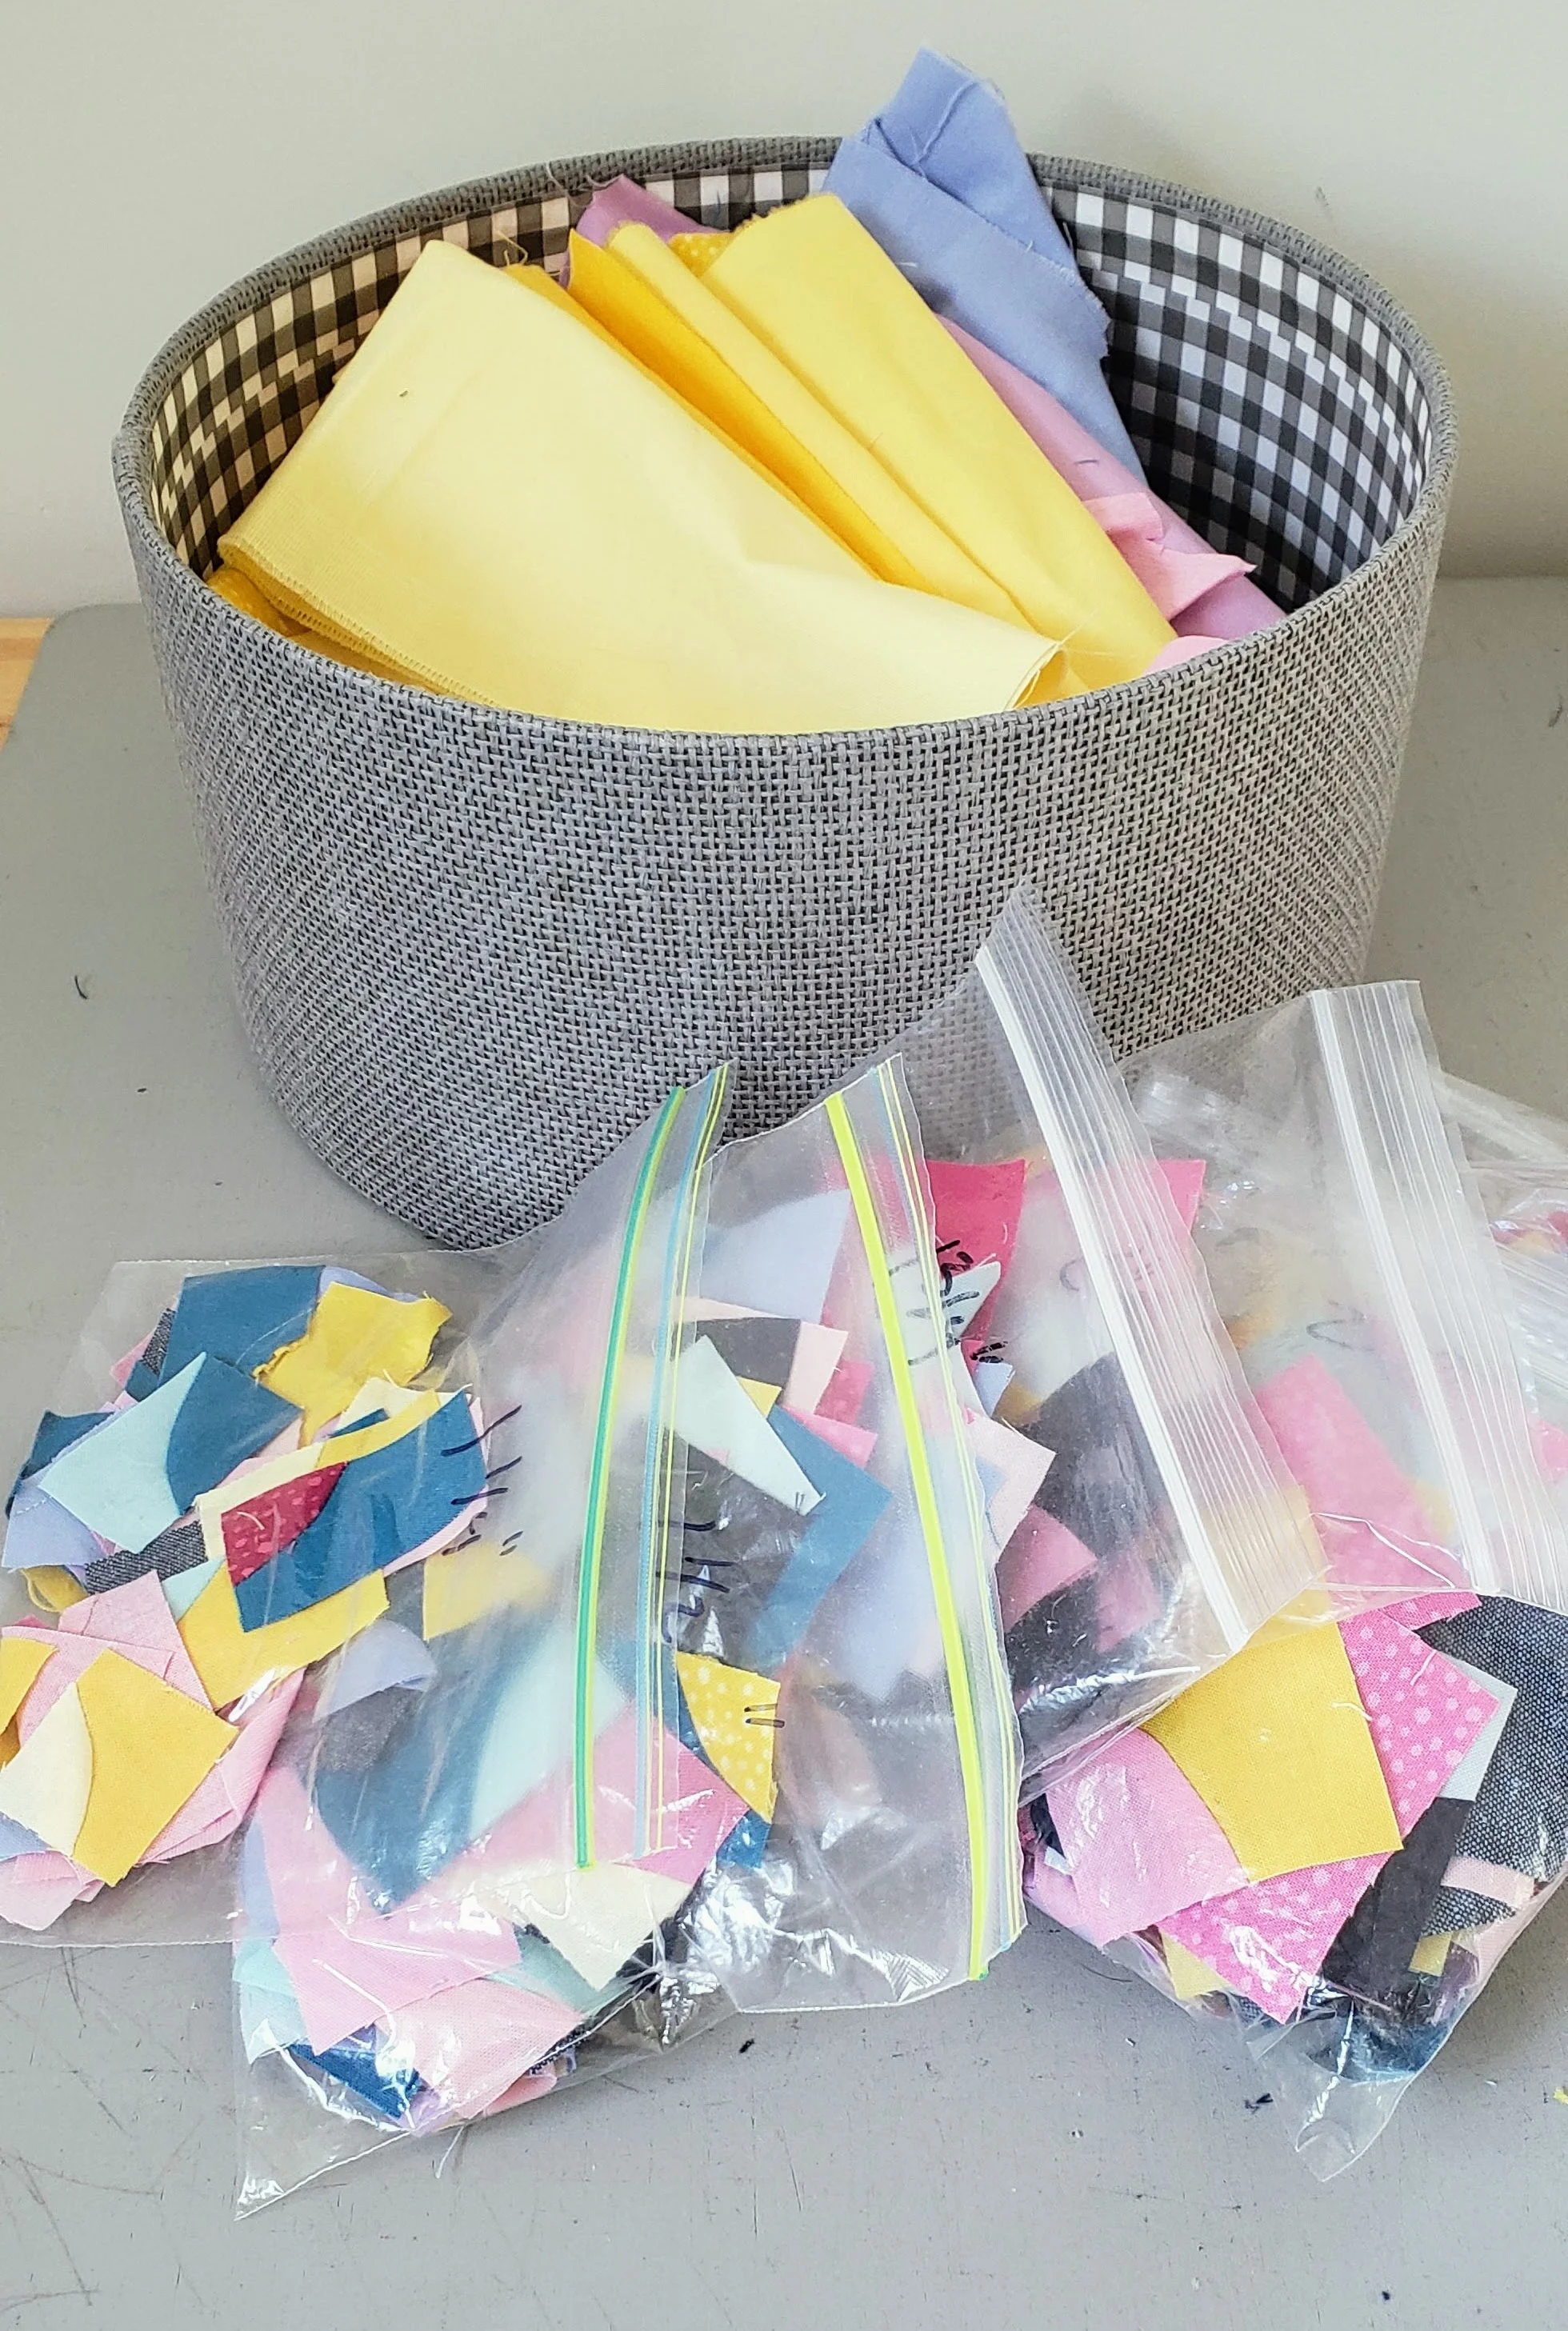
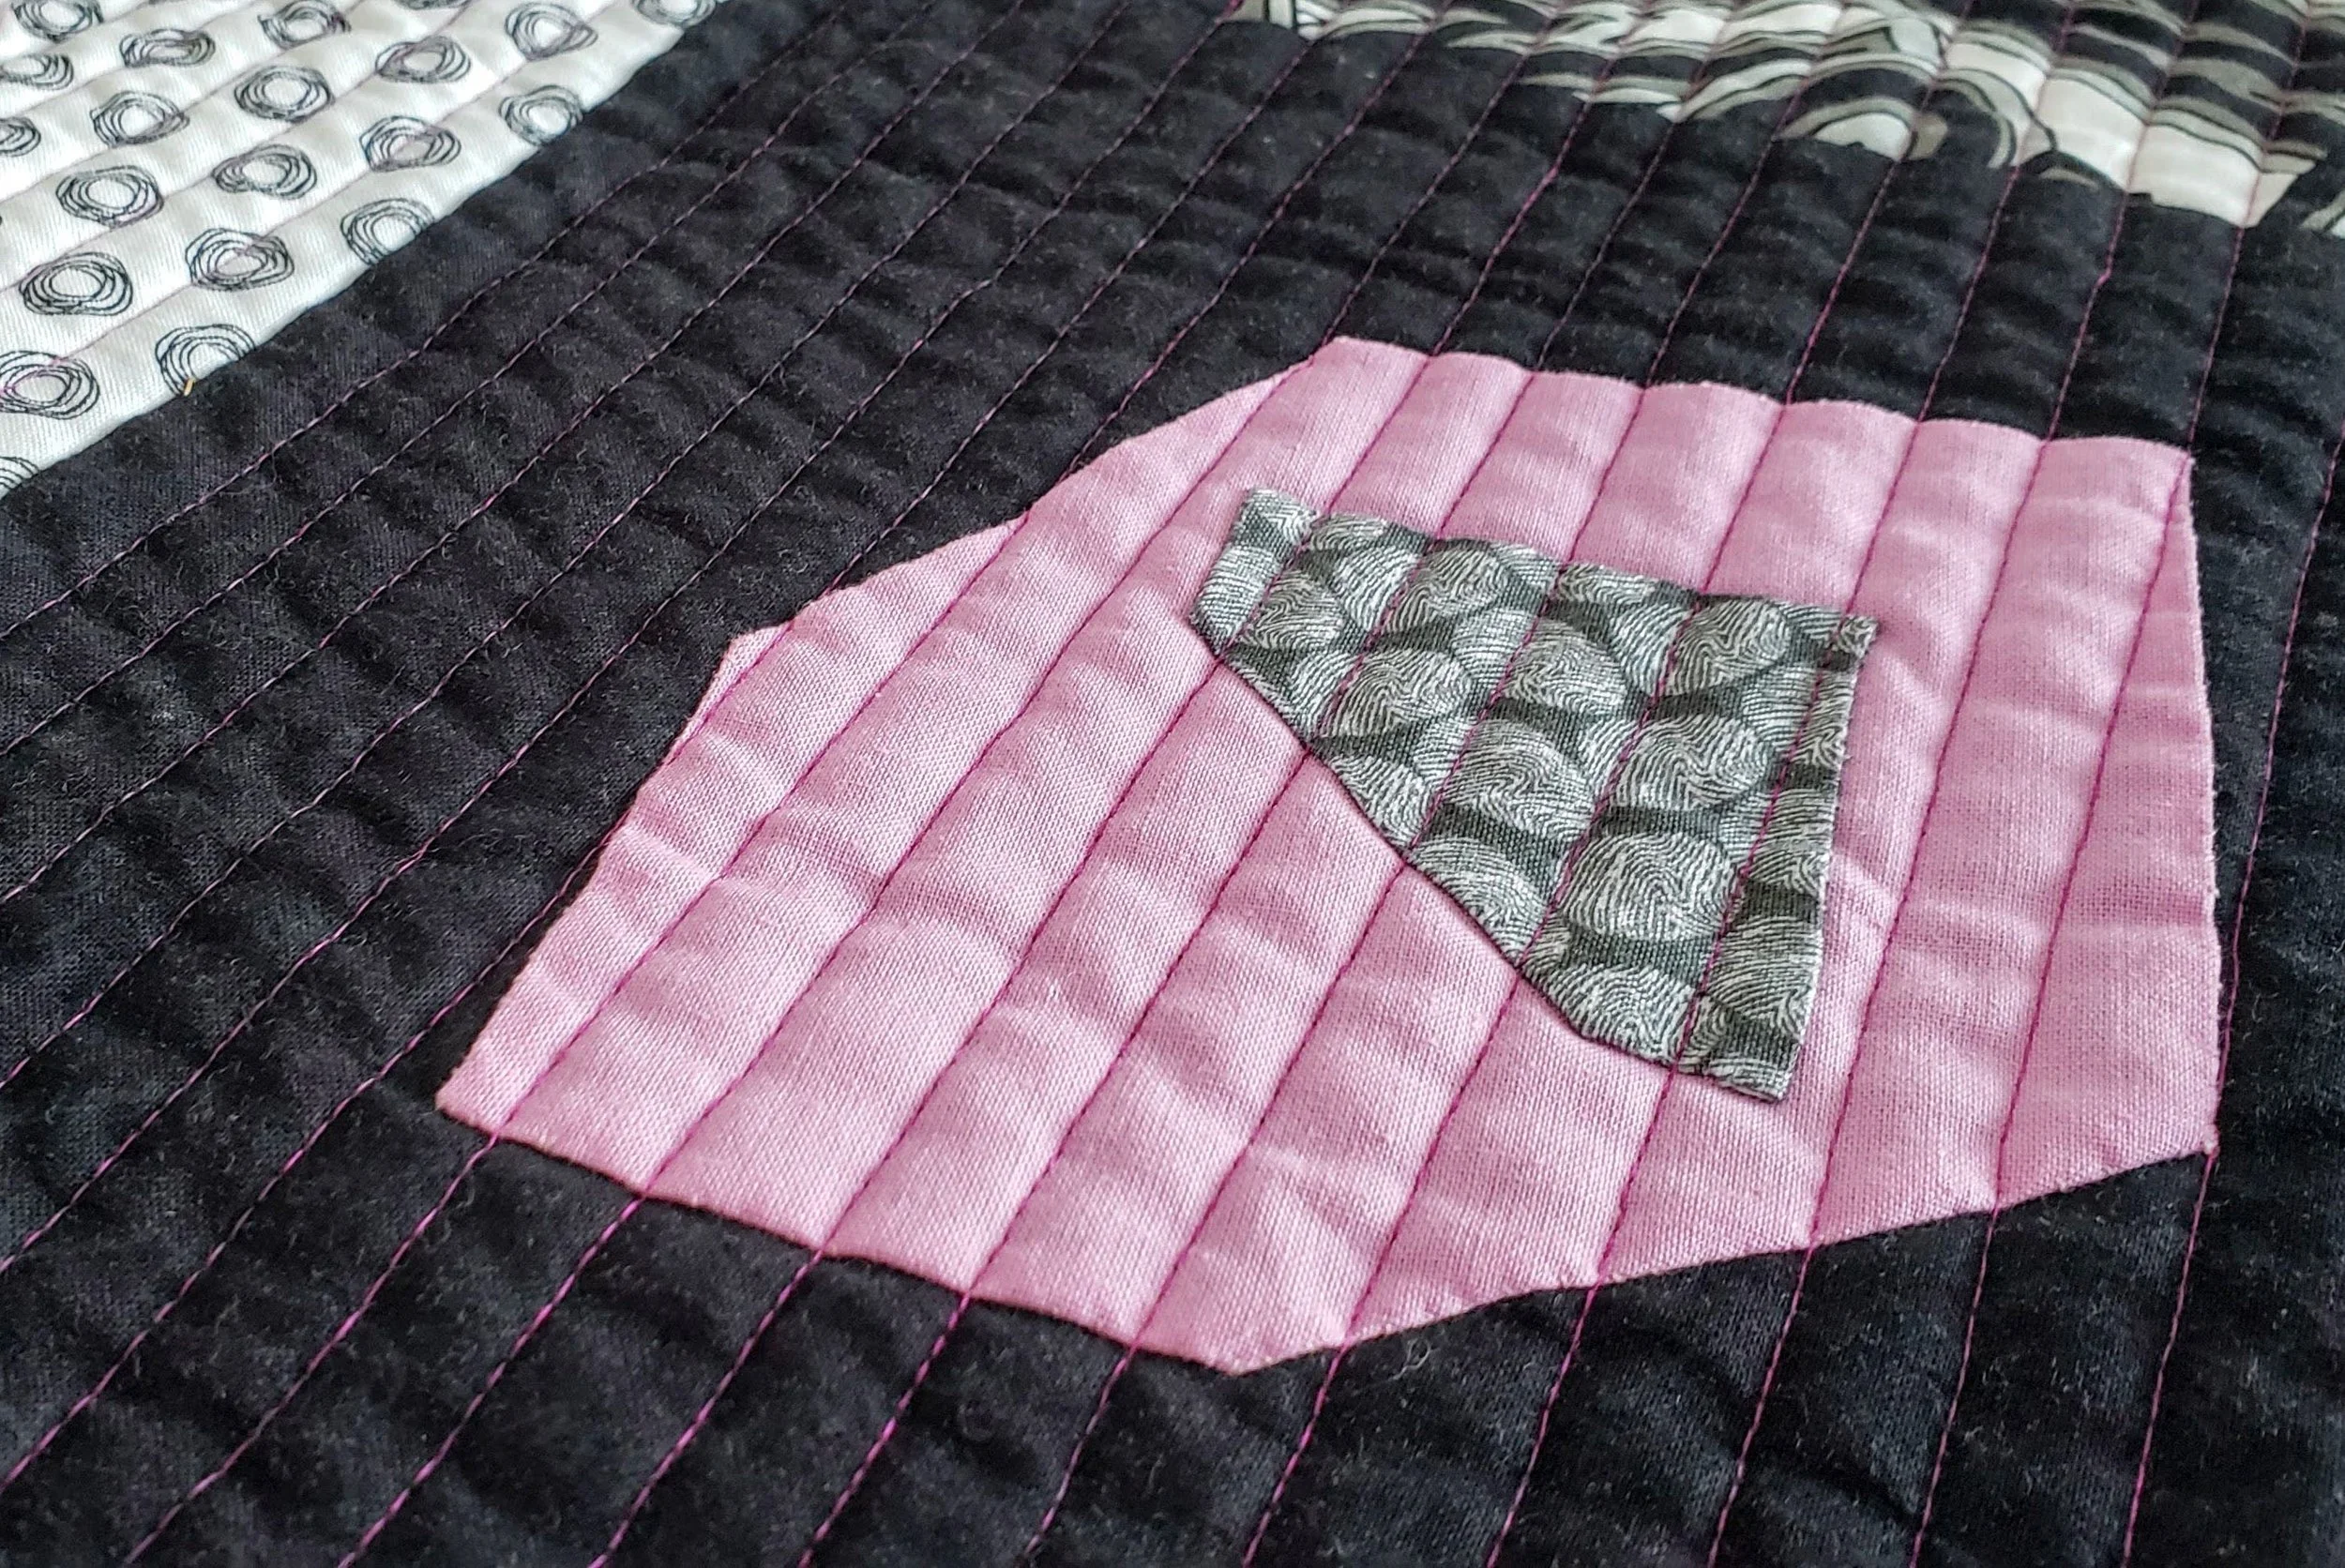
Over the course of a few weeks I got the sunset blocks done. I did precisely zero planning for how many blocks of each colour. I just cut a bunch of fabric - first raiding scraps, then stash - and made blocks. All blocks are improvised, but with the same technique of gentle curves and number of strips. I did save yellow for last, assuming I wouldn’t need as much because that was my sun. It’s up to the design wall play to make them work together. Of course, I am open to deleting some blocks and making others, if that is what is called for.

Then I had to lay it out on the design wall - where the fun really begins. And frankly, it doesn’t truly end until I start sewing things together and commit to the layout.

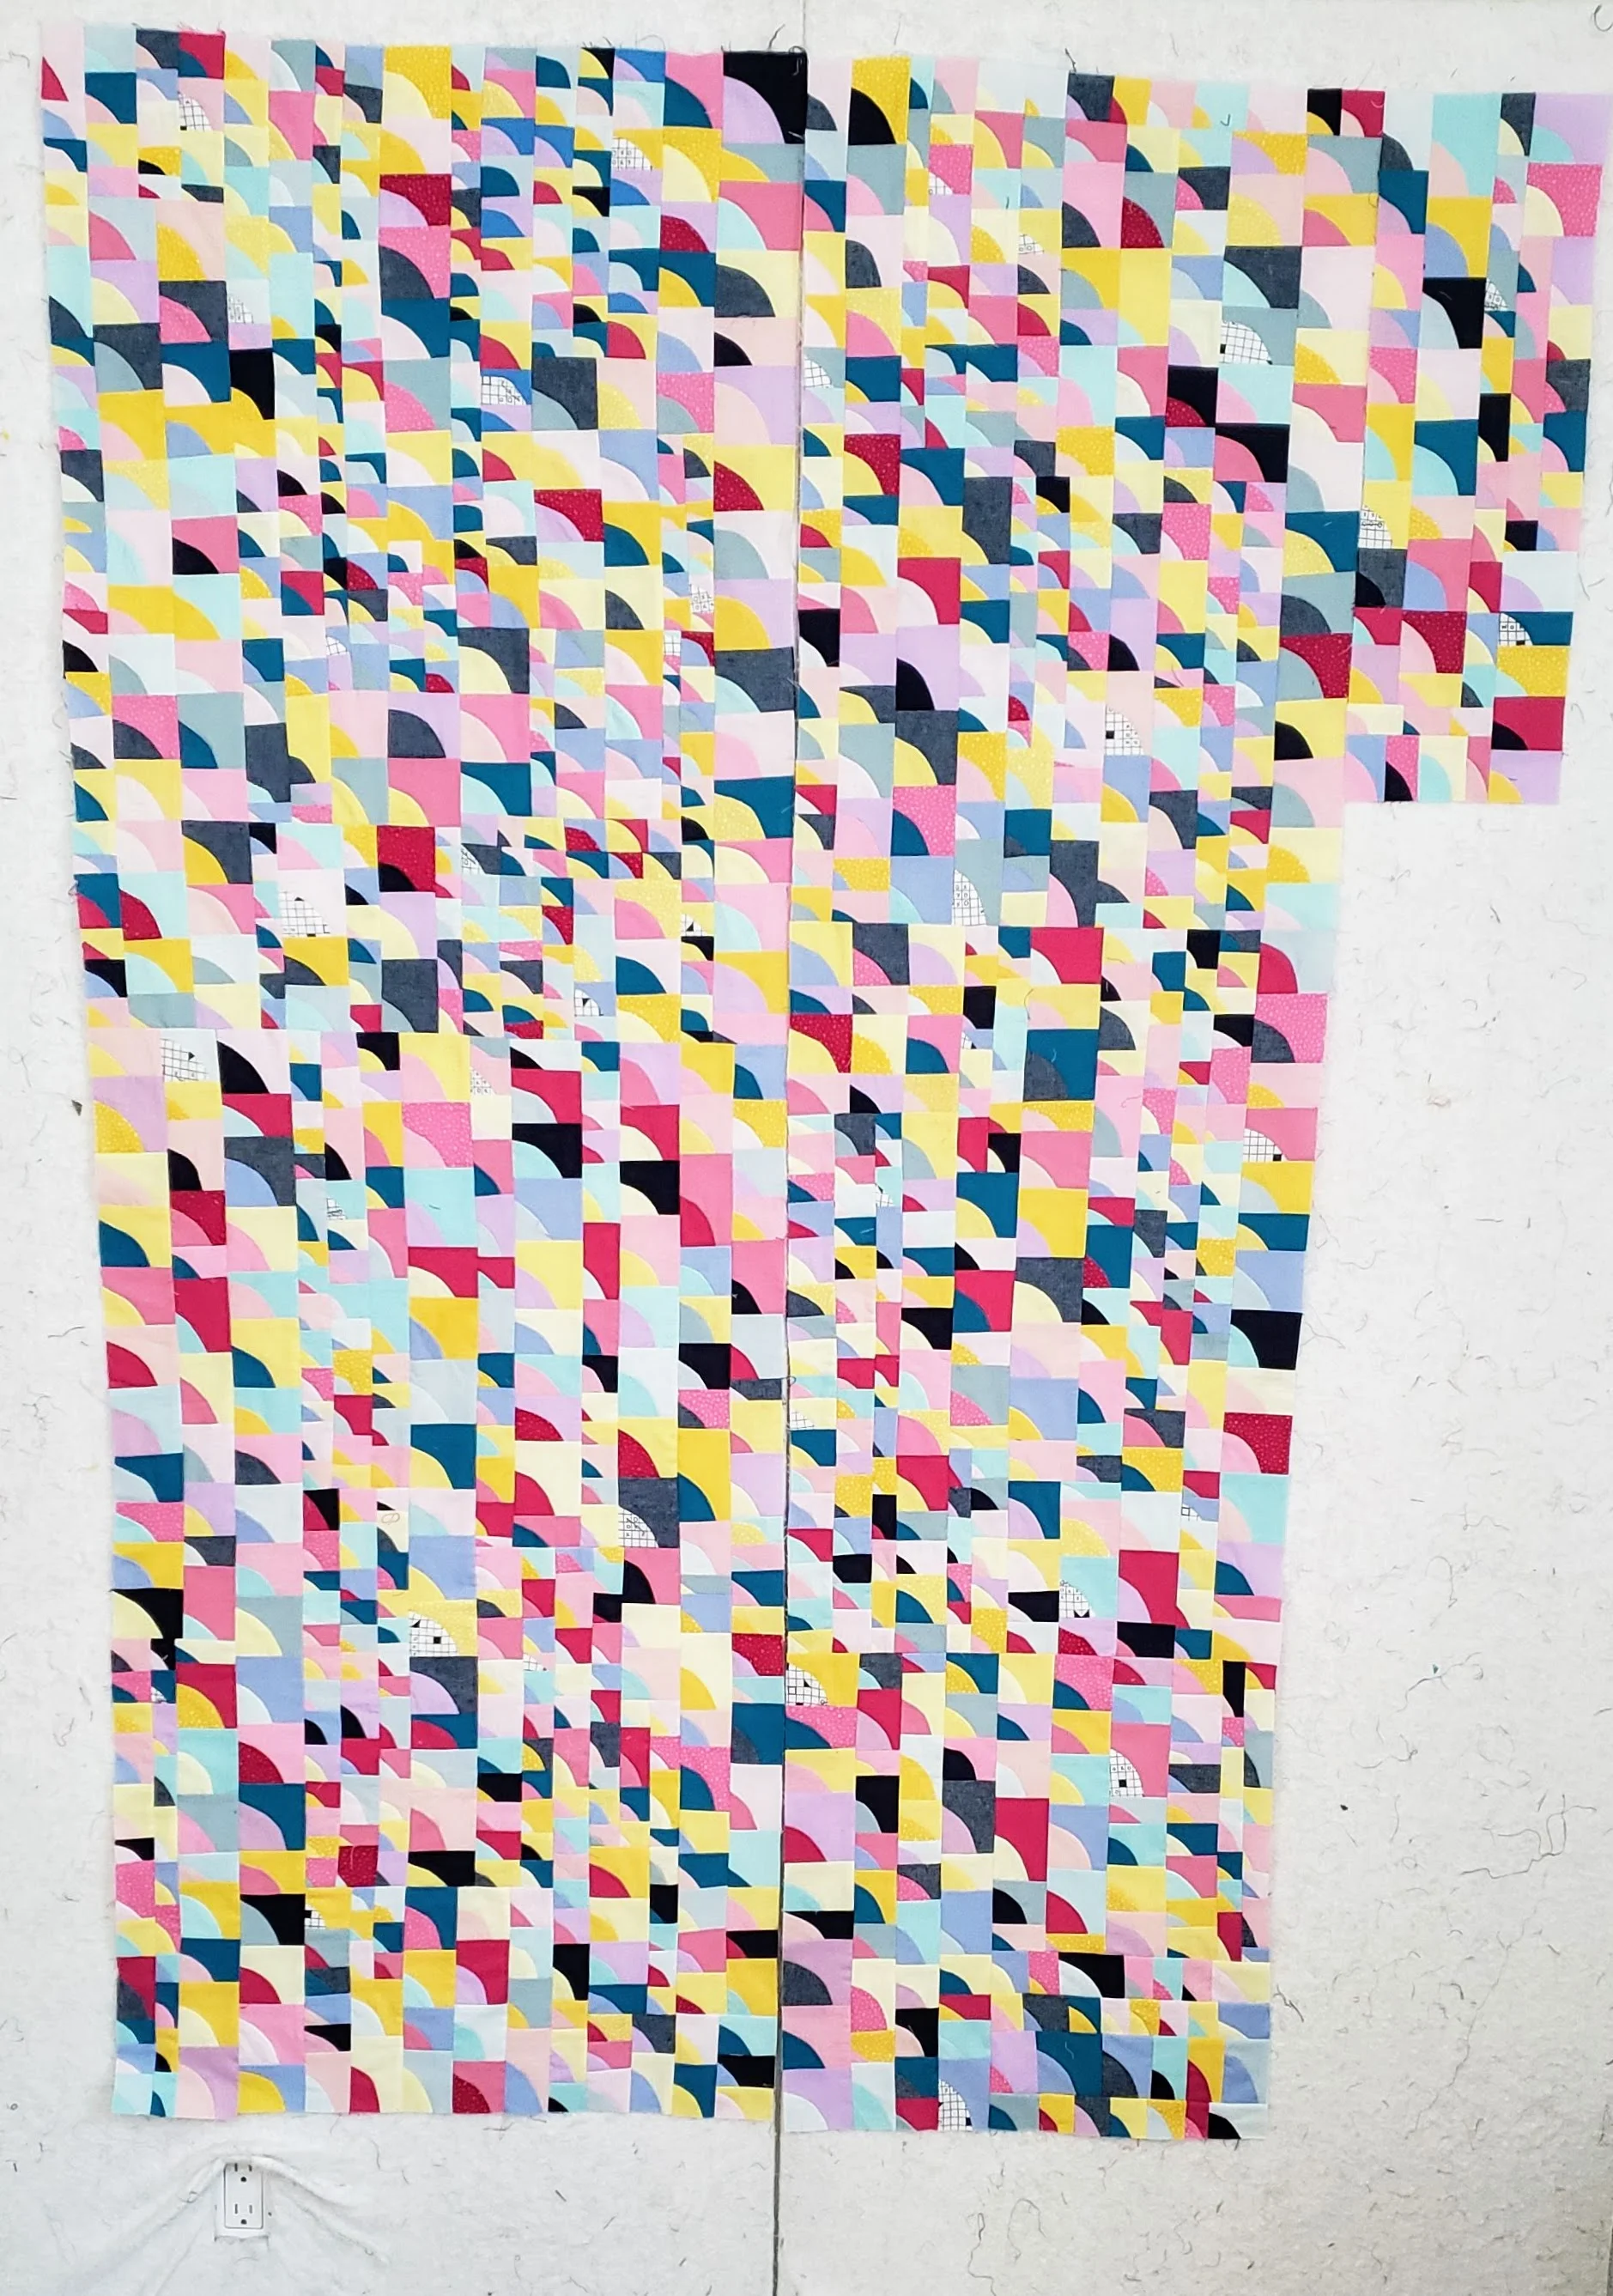
Here is the first go around with all 54 blocks.

Make waves layout A.jpg

It feels choppy, like the colours aren’t flowing. I’m never going to have a perfect gradation, but this is too far off. I also don’t like that one random bit of yellow in an orange block. It needs to be managed.

On to the next try.

make waves layout B.jpg

Much better. The pink is more on the one side and the orange on the other, but without there being a defining line. But a few blocks stick out too much to me, I want more flow. And that pesky yellow strip is a bit more under control.

Still need to play.

make waves layout C.jpg

Closer yet. I think the pink has too much of a vertical dividing line now though. I may need to wrap the pink around the orange a bit more. And maybe have all the lights be at the top?

This is how it currently stands on my design wall, which means I am not done yet. I’ll know when it feels right. I usually, involuntarily, squeal and jump when it feels good. Then I sleep on it. Now matter how perfect I think it is I do not sew it together as soon as I think so. I always sleep on it. Then I do two things. 1. Look at it is bad lighting. If it still looks good, it’s probably a winner. And 2. Take a picture. Not just to compare to previous iterations like I’ve done here, but because then it is like looking at it far away on the wall. That’s when colour and shape become prominent.

The key thing is to not rush it. Something the perfect layout is the first one you do. No need to doubt that! Sometimes it is the 10th or 20th. Don’t doubt that either. By embracing the process of quilt making, but thinking of this as play and not work, you are giving in to creativity.

Itty Bitty Curves Update 2 Years later

Tiny Piecing Improv Curves

When I posted some photos of these little curves the other day a non-quilting friend asked me if I was making another version of the quilt. Because she remembered me working on them last year. Nope, same quilt. More piecing.

I pulled this project back in to the rotation last week. After so many scrap projects of late it is nice to be working with a controlled colour scheme. Not that the piecing is any faster with these itty bitty curves! I guess this was the itch that needed to be scratched.

Many times I’ve been asked how big I plan to make this quilt. The answer is always “Until I run out of fabric.” Of course, since I am working with solids I could replace them. Frankly, I’ve done that once already. But even I have limits and will likely stop once this round of fabric is done. In actuality, the supply of yellow fabric is getting low so I guess that will be my limiting factor. As it currently stands, the pieces for the top make it about 40’’ x 60’’ .

Tiny Piecing Improv Curves Quilting

As the fabric supply dwindles I’ve decided to focus on making the little blocks instead of assembly. I have absolutely no idea how much bigger this can and will get. My little plastic baggies are filled with the size sorted blocks, like some sort of quilting drug deal. Every time I sew, press, square up, and add to the collection my potential finished quilt gets an inch or two bigger. By sewing all the blocks now I will ensure that my colours stay balanced across the entire finished quilt and not have a portion where there is no yellow, for example. So I will sew all the blocks first then sew them all together. Fingers crossed this leaves me with a functional sized quilt.

It’s been precisely 2 years since I started this project in a class with Chawne Kimber. At the time it was a fun experiment, a good way to play with one of my idols in the room guiding me. There is no rushing tiny piecing, especially when you want the finished result to be large enough to cover a lap and not just a wall. There is also an inherent boredom in tiny piecing, especially when making something larger. It is a A LOT of repetitive action. If it takes me a few years, it takes me a few years. I am thoroughly engaged in the process when I am doing it and have no problem letting my interest ebb and flow. I’m floating down a slow river and the ride is good.

Chawne Kimber tiny piecing

Pocket Squares - Improv Applique with Tag Fabrics

Pocket Square Improv Applique Quilt

Pocket Squares

40’’ x 50’’

So many of my quilts start with random ideas. Some times the ideas come to a full quilt, other times not so much. Happy to say that after a few years this quilt is now fully done.

It started with mini charm packs of my Tag Fabrics that I cut for giveaways. I had one left over. Enter the need for a hand work project. The mini charm pack made friends with a charm pack of Kona solids sitting on the cutting table. I snipped a corner off each minicharm and appliqued it to the charms. Each one has slight variations - improv in hand applique!

After finishing all those I decided that I would do another layer of applique, bringing Tag fabrics back in to it. Each fabric in this collection of mine is represented in the quilt twice - once small and once as the background.

Aurifil Straight Line Machine Quilting

NOTE: This is why I am no good at promoting fabric collections. I started this quilt 2 years ago when my first collection came out and I am only just finishing it.

It isn’t a fancy quilt. I’m not breaking any design barriers either. But it sure was fun to make! Another great example of the process being as important, if not more so, than the finished quilt.

Because it’s been a long time since I quilted anything myself I got back into the swing of things with some straight line quilting. Originally, I thought I might do a grid, but at first pass my lines are 1/2’’ apart. That would have been a tiny grid! With chronic pain plaguing me these last 9 months I didn’t want to push it too much. I was just happy to have got through basting the thing. The Aurifil thread in this purple ended up perfect.

If you’ve ever seen me talk or paid attention to my quilts you know how I love to throw contrast into the whole thing. In this case, I introduced a completely different colour with this teal and white binding. Which brings me to my first finish of 2019 and my first finish since May of last year.

Cheryl Arkison labels Tag  Fabric

Oh, and full naming credit goes to my friend Sharon at Color Girl Quilts. Every time I posted a picture of this quilt on Instagram she said it made her think of pocket squares.

The Places I've Been - Improv Letters in Action

Improv Letters and Words Quilting

The quintessential graduation gift is Dr. Suess’ Oh, the Places You Will Go! For whether you are graduating from kindergarten or medical school. It’s a fun one, full of optimism and encouragement. And while I don’t want to disparage any of that, I do think it is also important to look backwards some times. Not to hold grudges, obsess over past mistakes, or fester (although I do a fair bit of that myself). No, looking back sometimes is important for celebrating progress and success. It is a good reminder that our hard work did get us somewhere.

In the wake of some high profile retirements from the quilting industry, plus a few more you might not have noticed, I’ve been doing just that. Well, actually, I started this particular process years ago, but the past month really got me being reflective.

Quilting was a lifechanger and is a lifesaver for me, no question. I would not be the person I am, the mother I am, the woman I am, without quilting. It teaches me to embrace my own creativity. It provides a mindfulness that no amount of meditation would ever give me. It is an outlet for anxious hands. And, at the end of the day, is a career that provides financial freedom and personal challenge.

A few years back I started teaching a class on making letters and words, improv style. For my class samples I started working on the names of places I was at or had been. As a teacher I like having samples that can be something else some day, that can be built upon with each class I teach. It simply provides a focus. Picking the community names was a fun thing I tried. And it kind of stuck.

Cheryl Arkison Quilt Teacher

In all fairness, I haven’t got that far. I will admit to overwhelm when I think of having to add Charlottetown, Kangaroo Valley, and Prince Rupert to the list. That’s a lot of letters! But when I sit down to make a word, in the end, it doesn’t take that long. It becomes a wonderful trip down memory lane. I often pull out the photos from the trip and pick colours based on the scenery or something memorable from the class.

My plan is to make a quilt with all the places I’ve been. I can’t predict where I will go in this industry - it is constantly changing, as are my personal challenges - but I sure can appreciate where I’ve been. Since becoming a professional, as a writer and teacher mostly, quilting brought me to some pretty amazing places to meet some even more amazing people. How lucky am I?? I’ve worked hard and will continue to do so (this is not a retirement announcement). As I have no travel gigs booked for this year I might get this done to this point. Then we will see all the other places I will go!