
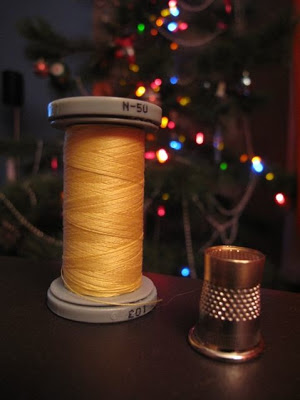
 The finishing stitches are going into my second version of this wonky rail fence. I've been sitting by the still up Christmas tree (Happy Ukrainian Christmas everyone!) and stitching for a bit each evening. I love handstitching the bindings, but it seems to take me a long time. I see it as a good meditation at the end of the process.
Where are you at this point with the Quilt Along? When we last spoke we focused on assembling our blocks together into a completed top. All that's left are the finishing details, right? Yes, because making a back, basting, quilting, squaring up, and binding are just minor details! Well, they don't make for particularly exciting Quilt Along material.
Backing
Many of us default to a large print with similar colours to our front. I've been known to use the fabric that maybe inspired the quilt top's fabric choices but didn't make the final cut. Use what works for you. If you want more ideas, check out this great Flickr group on Quilt Backs.
Basting
I pin baste my quilts. If it is a small quilt I can manage on my kitchen floor. For larger quilts I use the boardroom tables at work. Never have I used a spray, they kind of scare me (more chemicals) but I've heard lots of people have success with them. To baste I simply tape my back taut on the tables, smooth out my batting on top, then lay my top over the batting. I pin every 3-4 inches. To close the pins I use my favourite tool: The Kwik Klip.
Quilting
So much can be said about quilting this design. I think you can emphasize the notion of line with grid quilting, lines in any direction, or in the ditch work. With both my quilts I've chosen to contrast the top's design with swirly or loopy quilting. It is a personal preference. Don't get too hung up on picking the perfect design, go with what you are comfortable with. This is a busy quilt and detailed quilting will likely get lost.
Squaring Up
Many, many of us skip this step - including me some times. But it really does help with your overall finish and is quite useful when you haven't cut everything on grain as is the case with this quilt. See my tutorial for how I do this. I do it after quilting but before attaching the binding. And cutting all the excess off the quilt is the step where I can see my quilt as a quilt, I love this step.
Binding
99% of the time I use a double fold binding. 100% of the time I attach each side individually and still mitre the corners. And it works everytime. Here is a tutorial on creating your bindings and one on attaching and finishing them.
So this is where I am at right now. Next week I will share with you the completed second quilt.
At this time I also want to announce a prize for those who participated with me. All you have to do is leave a comment on this post, or email me directly, and let me know where you are at in your quilt. Even if you've just picked out your fabrics but haven't make a single cut, I want to hear about it. If you have a blog or Flickr account, show me what you've done - I have to have some proof of progress. Besides, I would love to be able to share your work with others.
The prize will be 3 1/2 metre pieces of fabric - for stash or to start you on your own wonky rail fence - and some coordinating Presencia thread (my fave). I have some specific fabric in mind, but I am willing to cater to the winner's preferences (within reason). All you have to do is comment or send me an email by Tuesday January 12 at midnight MST.