"tips and tutorials"

Friday Favourites - Brayer


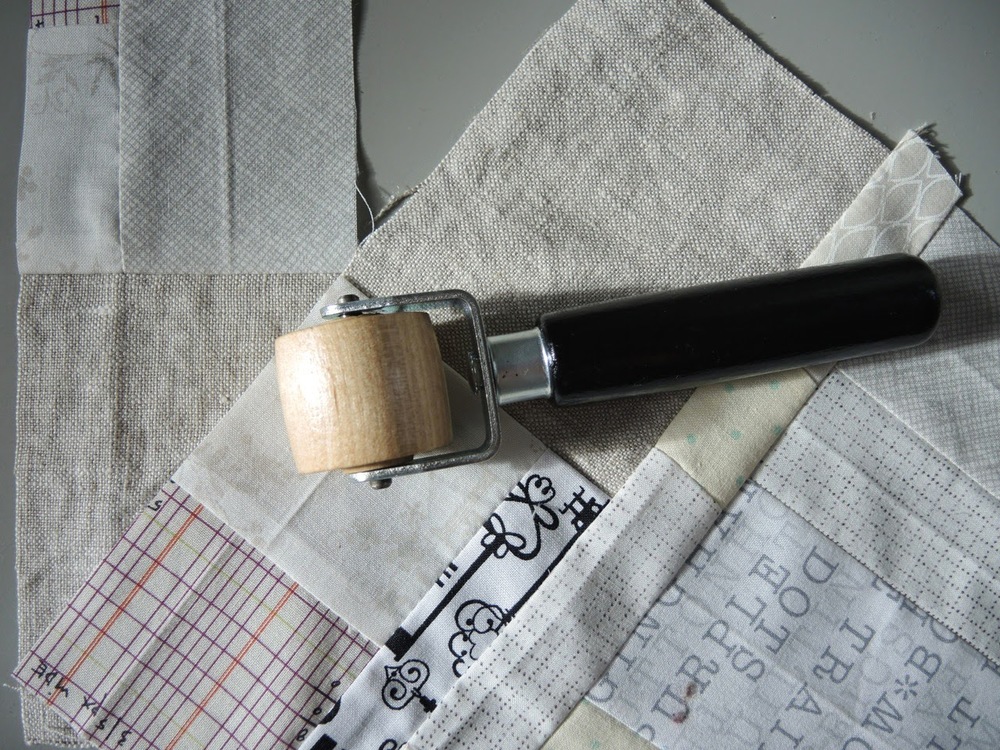
When I was finishing that Hot, Awesome Mess I had the chance to use one of my favourite sewing room tools. It is called, as far as I know, a brayer.

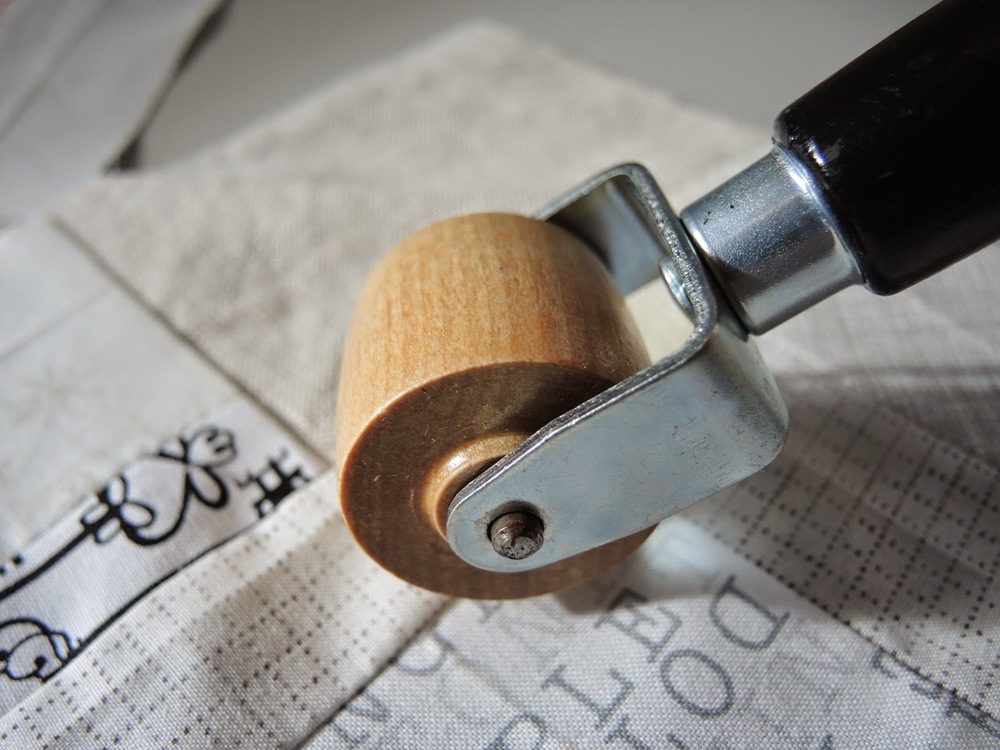
Typically, a brayer is used in the print making process. It is a flat roller designed to apply consistent pressure across the surface - perfect when applying ink. But thanks to the awesomeness of my friend Jules, I am now obsessed with using a brayer when I improv piece.Jules was a volunteer in the Denyse Schmidt Improv class. Having already bonded over motherhood and BBQ she happily shared with me this handy tool as we went through the day.

It works as a mini iron, pressing short seams right at the table. Now, it isn't as good as an iron, but it is infinitely better than finger pressing. It provides a crisp edge and allows you to continue to sit and sew for a while before getting to the hot iron.

And, because Jules is pretty great, she sent me one all the way from Australia because I couldn't find one here. If you ever see one I strongly recommend picking up one, or two.


Friday Favourite - The Kwik Klip


My least favourite part of quiltmaking is basting quilts. It really is the reason quilt tops languish in my closet. I think I'm slow at it, that's part of the problem. And now, with our TV in the basement, I can't rope Hubby into helping me anymore! I baste on the living room floor. When the TV was up here he had no choice - watch me get in his way or get on the ground and help me. Now he runs away to the TV as soon as he sees me pull out the masking tape and pins.

Loving me is not enough, the only reason he was willing to help me is that he was allowed to use the tool involved. Men and tools, right? Man oh man, he can wield a Kwik Klip like the boss.

Honestly, if it wasn't for a Kwik Klip none of my quilts would get basted. I am a pin baster, and I use a lot of pins. (I didn't think it was a lot, but then I saw people commenting on an IG photo of someone else's basted quilt. So many pins! Wow, you sure use a lot of pins! And there I was thinking that it looked totally normal. But I don't get puckers with my quilting. Happy for that trade off.) So the Kwik Klip makes very short work of closing all those pins. And it saves both what is there of my nails and my fingertips.

You simply hold the tool in your dominant hand, lift up the straight part of the pin, and clip it into place. Done. I've heard of people using an old teaspoon to the same effect. That, however, is not as fancy as the tool. And seriously, if a tool is what it takes to get your man to help you with the basting then a tool is what you should get.

I'm sharing this post as part of National Sewing Month, brought to you by The Sewing Loft. Check out a month long list of sewers sharing their favourite tools.


Ring Tutorial


In my Craftsy class: Inset and Applique Circles by Machine I had a request for a short tutorial on making a ring, instead of a circle. It's an effective design and a great adaptation of a single technique.

1. Gather Your Supplies
Paper scissors, sewing scissors, compass, freezer paper templates, fabric glue, and fabric for the background, ring, and inner circle.
I've made this a 12 1/2'' by 12 1/2'' block. So my background fabric is cut to the same size, as are my freezer paper templates.

2. Make Templates
For this ring I've used an 8'' circle and a 4'' circle. You need two separate templates. From your 12 1/2'' by 12 1/2'' squares draw and cut out your circles.


3. Insert The Circle
For this block we are using the Reverse Circle technique reviewed in Lesson 3. This technique achieves the look of an inset circle with no headaches and consistent results. Use the first template, the 8'' circle, to start the block.
You can see in the photo above that I haven't trimmed my excess circle fabric after sewing it in place. Do so before you move on to the next step.


4. The Second Circle
Apply the template for your smaller circle to the block of the block, after trimming, from Step 3. Prepare for sewing the same way your did the first circle: cut out and opening - leaving seam allowance, fringe the seam allowance, press back, glue, apply fabric, then sew in place. Only this time your background is actually the first circle.


Here is what it looks like from behind, before trimming.


And after trimming.

What a great effect, right? Don't hesitate to adapt this technique. You could try off center rings, circles within ovals or vice versa, and maybe even multiple rings. The design possibilities are endless!


Love the example, but want to learn more about the technique? Don't forget you can sign up at any time for my Craftsy class: Inset and Applique Circles by Machine. Access it on-line, anywhere, whenever you want!


Friday Favourite: Easy Thread Sewing Needles


With a million threads to bury on that beast of a quilt I pulled out these needles. They were part of some swag in the Denyse Schmidt Improv class from QuiltCon and they originally come from Purl Soho. I put them aside after trying them for binding. (Not a good use there - it cut the thread sometimes and was thick for getting through the small edge of the binding.) But I find them absolutely perfect for burying threads.

I must admit, I never used to bury my threads. I just stitched once or twice where I started then cut flush. Frankly, I was lazy. But the finished look was nowhere near as neat. So now I spend the evening burying threads and am much happier with the finished results. I do tend to wait until I'm done all the quilting so it can add up to a fair amount of work, but I find it easier and it doesn't break with my machine quilting rhythm.

I do exactly the same technique as Amanda. And these easy thread needles are perfect for it. They save you trying to thread two threads into the eye of the needle, and having sit awkwardly in order to use your eye, at eye height, to thread what are likely to be short threads attached to a heavy quilt.


Oh, and in case you were wondering about the intensity of that quilting, here is my thread. Can you see it? That's 1000 meters of thread per spool! I used one whole spool and then some.