Wandering aimlessly and picking bits of thread of my shirt...
Moving, sorting, and removing piles of fabric...
Taking out old projects to fondle but then putting them away...
Packing up quilts to put in the cupboard because I don't need to see twenty of them laying around...
Blank sketchbooks...
Being way too interested in my daughter's Rainbow Loom...
Procrastinating on promised gifts and volunteer commitments...
Letting the clutter accumulate...
There isn't much sewing going on, other than the mindless nature of my hand sewing. Definitely no starting of anything. I am the major league hitter with a mid season slump.
Finishing the manuscript, I'm sure, has a lot to do with it. With the previous two books I had something to jump into as soon as it was done - like a new baby or the next book itself. So there wasn't any time to decompress or wallow. Just boom! And on to the next thing. Right now there is no next thing.
I've also had to make the very tough decision to back off teaching for a while. I'm still teaching, but I will not be travelling much for it in the next year or so. It was about to take off in a very good way, but that professional success came with personal sacrifices I wasn't quite willing to make. It is absolutely the right decision, but that doesn't make it easy to live with. I LOVE teaching and the travelling and meeting people... I will miss it for sure but am thankful for the local opportunities coming up.
Without a doubt the state of our house is getting me down. Personally, I can't stand clutter. But I live with 4 people who aren't bothered by it at all. They love me, but they can't quite get themselves to tidy up enough. I can nag more, but that won't do any of us any good. I stay on top of it as best I can, but the bitterness grows and the frustration peaks. Then, when I do buckle down for a good clean up I get cranky because I touch the broken cabinets, the tuck tape never coming off the wall, the unfinished bathrooms, the carpet remnants laying around. I try to keep my studio clean so that can be just my refuge. But still.
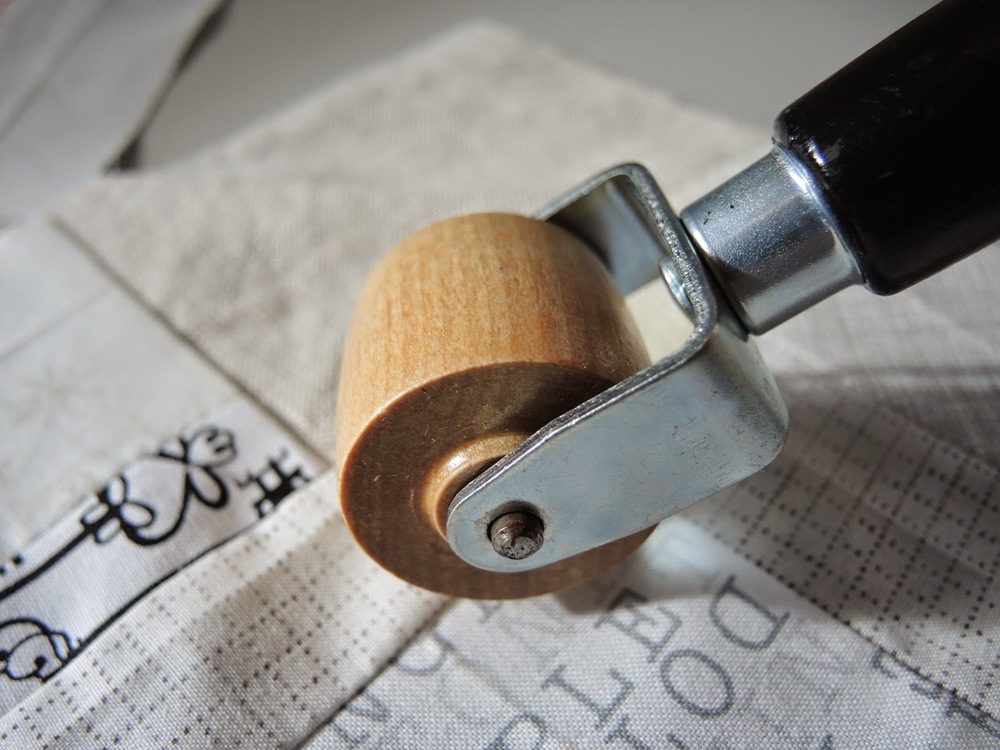
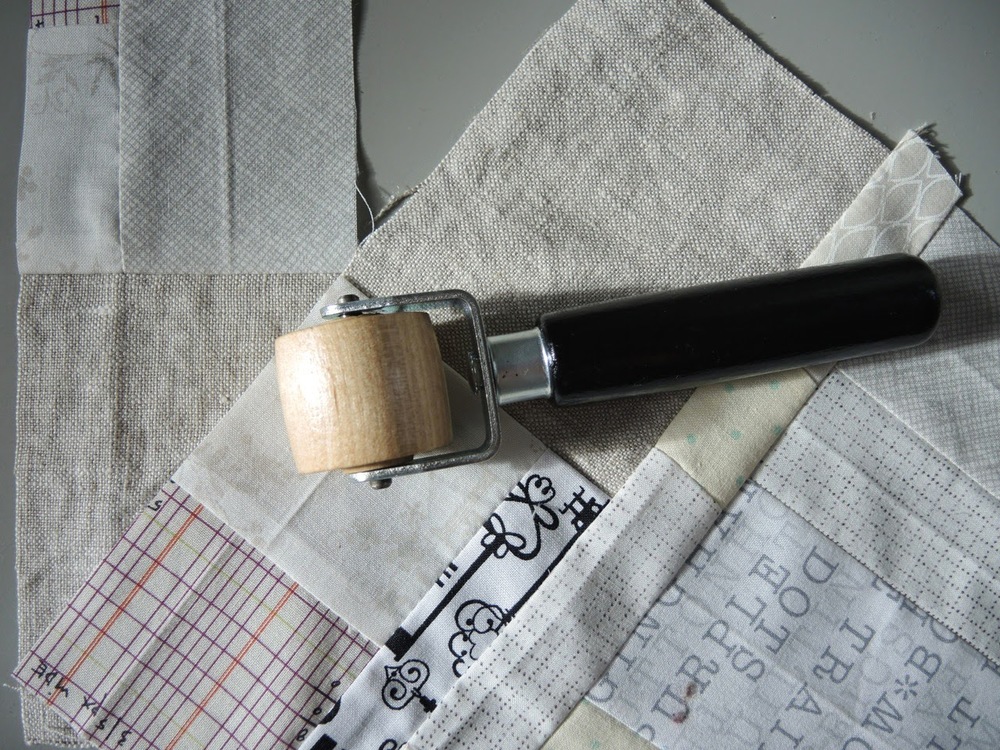
It used to never bother me that I have so many UFOs/WIPs, but that might be the problem. That is a form of clutter, after all. So I've got two quilt backs now made so those tops can go to a long armer. And I've puttered with a few of the projects to see if that helps. Fine and a little bit fun, good to keep the muscles moving. They aren't getting me super excited though. At some point I should get a bit more motivated and sort through them all while taking a good hard look in the mirror. What is going to get done and what is not? Then move on.
Regardless of the reasons, I'm itching to find my mojo again.
A bit of it came back over the weekend. We took a gorgeous drive to a beautiful spot to spend the weekend with precious loved ones. I flipped through trashy magazines, stomped in the forest, taught the girls how to canoe, ate a lot of cheese, and obsessed over pregnant elks. Somewhere in there an idea for another book emerged. It was so invigorating to have that creativity spurt forth. And to know that I was still receptive to new ideas.
You see, I believe that we have to exercise our creative muscles and put the work in to keep us going, but that is no guarantee of creativity. It only makes sure we've left the doors and windows open for the butterflies. But if your butt isn't in the seat doing the work, the beautiful creatures will pass right by without you noticing. Creating isn't inspiration, it's work.
In this slump, however, I have been literally slumped over. Head down, moping, shoulders hunched, and eyes closed to the world. My muscles are working, no doubt about that, but I am not open to the space and forces around me. It's just too internal.
In the past I find that pushing myself for charity work is the way to opening up. It gets me out of myself. Thinking and doing for others. Right now I am still doing that though, as I try to wrap up the last Just One Slab quilts. Confession: even these feel like they are dragging me down right now. But I keep plugging away because they are more important than any of my own sluggishness.
It won't last forever, that I know. Sometime soon I will have something to show you. Even just voicing all this seems to be pulling my shoulders back. I've also identified a short list of my own suggestions for getting through.
- Keep sewing. Keep your muscles moving, your brain activated to the process.
- Finish something, anything.
- Take inventory of the WIPs, admit that you won't finish some and pass them on.
- Wash the windows, or get them washed. New light, clean light will highlight the path and let the butterflies in.
- Try a new technique.
- Give away a quilt, a finished quilt.
- Say no to a commitment.
- Get up early to sip tea and do nothing in the quiet morning light.
- Colour, paint, or create with your kids.
- Turn off the computer, walk away from Pinterest and Instagram
- Put away the inspirational stack of fabric you pulled out two years ago.
- Sign up for a swap or bee.
- Take a road trip, even if just for the day.
- Have faith in yourself.
Do you have any other suggestions of your own to share?
For now I am enjoying my quiet mornings, even if they aren't all that productive. I'm working on a quilt that is a gift (I'll share when I'm done). I'm prepping for a round of teaching gigs and a family trip to Toronto. And I'm writing a proposal for a book I can't start for at least 6 months, but I've got to run with what is getting me excited. Summer is starting soon - the emerging blossoms (such a late spring) and energy of the kids is indeed invigorating. Today, today I will stand up a little straighter and keep my eyes open for butterflies.